How to Weather Model Train Buildings: Complete 2026 O-Gauge Scenery Guide
October 21, 2026
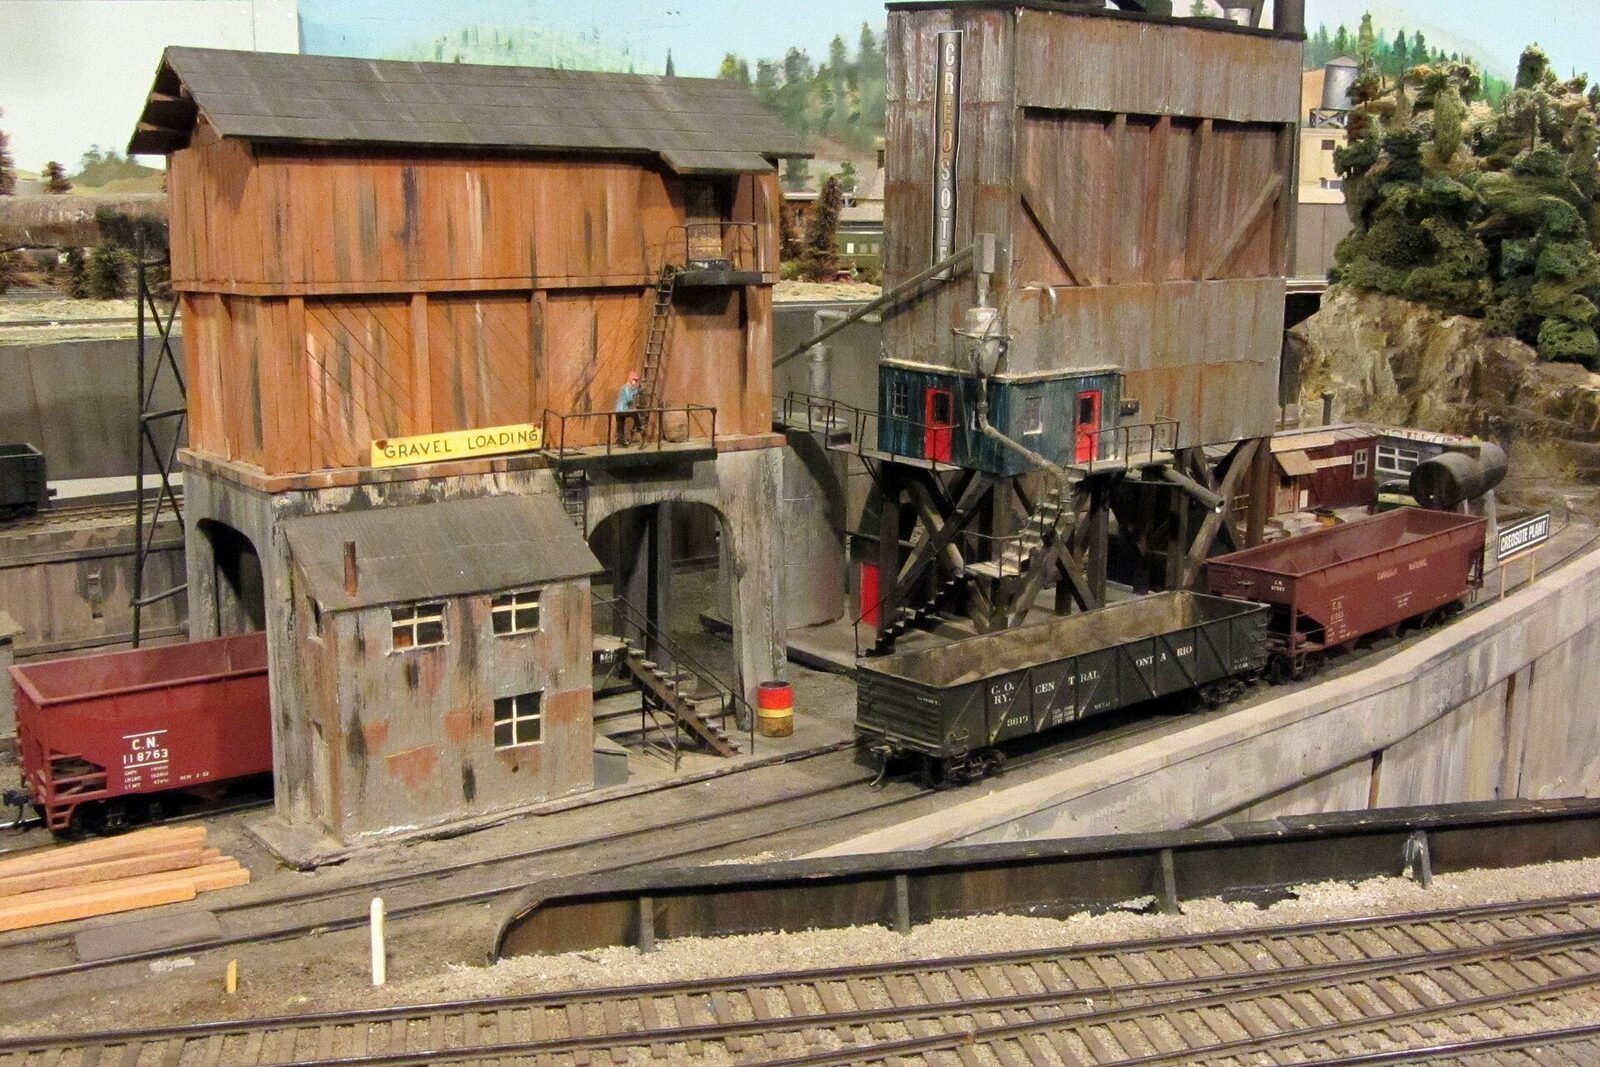
Weathered buildings are what separate a model railroad from a toy train layout. Factory-fresh structures look like plastic kits on a shelf; weathered buildings look like actual industrial, commercial, and residential structures sitting on the right-of-way. The techniques are straightforward and the materials inexpensive, but amateur weathering looks fake just as reliably as unweathered buildings look toy-like. This complete 2026 guide walks through weathering model train buildings for O-gauge layouts: materials, techniques, specific weathering effects, common mistakes, and the step-by-step approach that produces convincing results.
Why Weather Buildings
Weathering transforms structures three ways:
Visual scale. Weathered buildings read as full-size real structures in a model landscape. Clean buildings read as miniatures.
Historical accuracy. Prototype buildings carry decades of visible wear. Even "new" structures on real railroads accumulate dirt, discoloration, and texture quickly.
Integration with scenery. Weathered buildings tie into weathered ground cover, ballast, and vegetation. Clean buildings look pasted on.
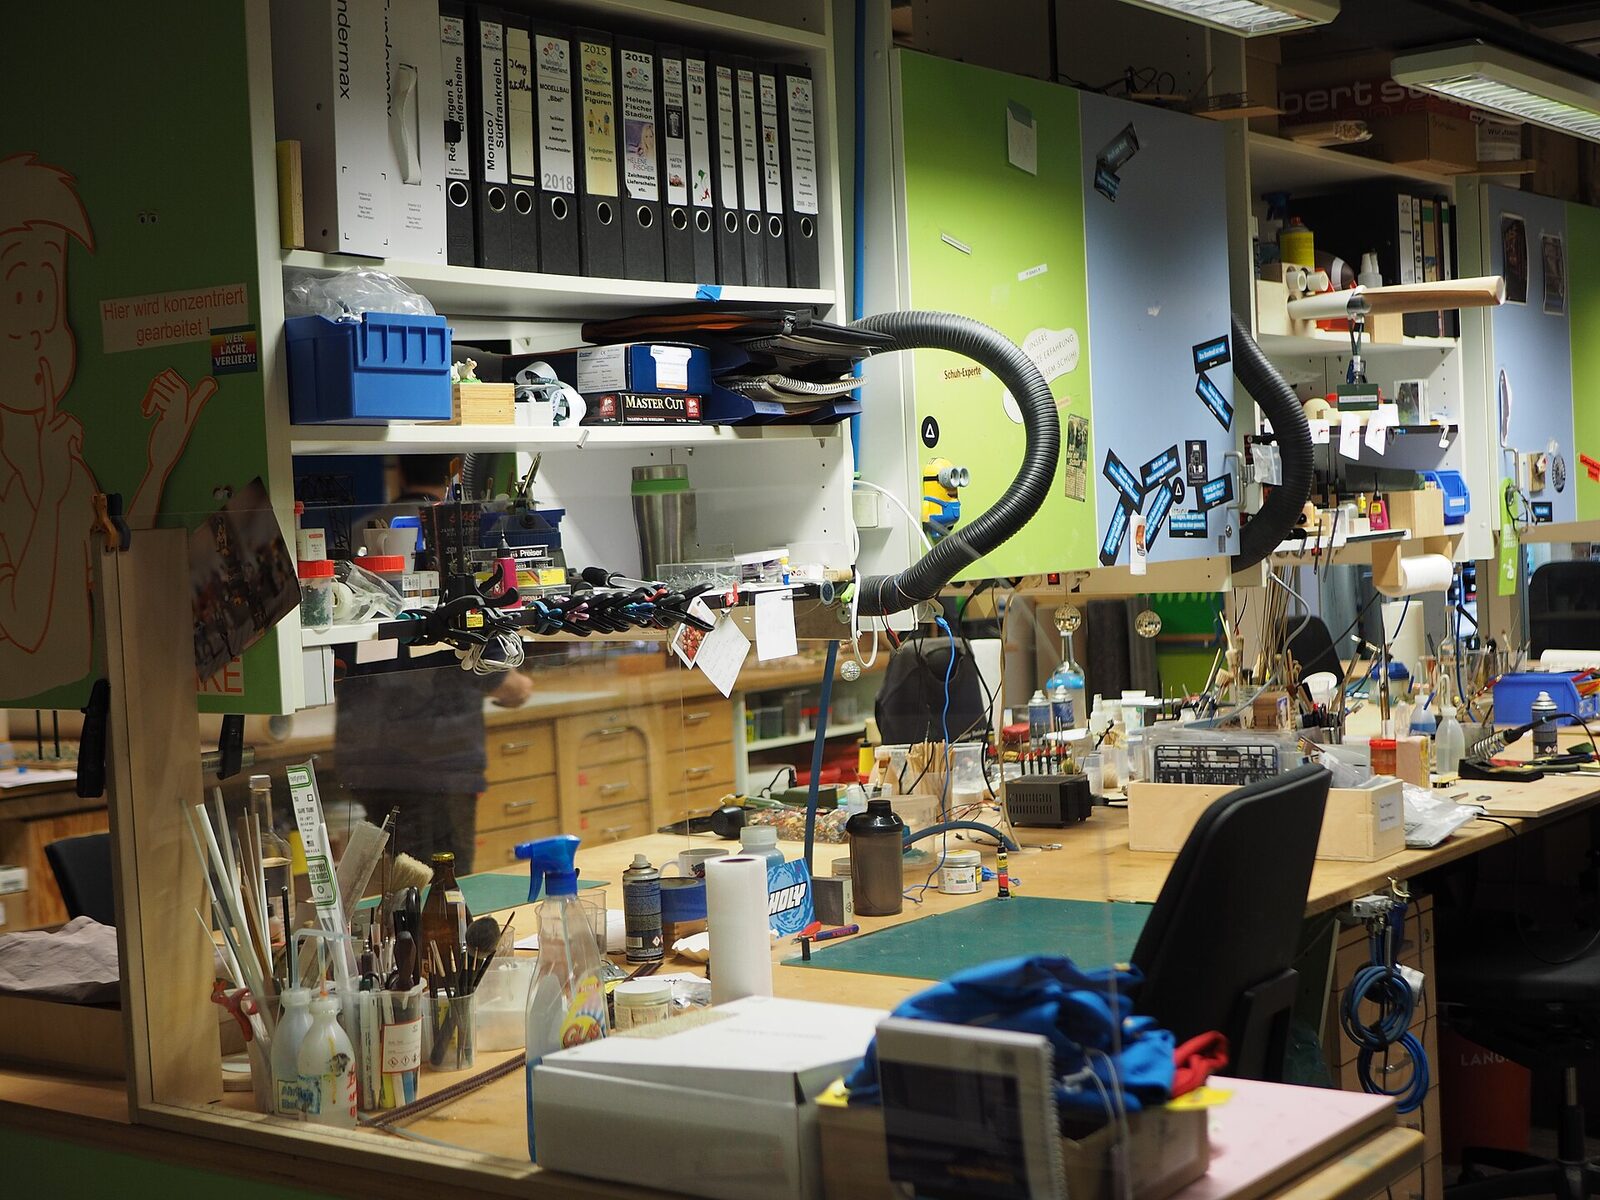
Weathering Materials
Acrylic Paints
Standard model acrylics (Vallejo, AK Interactive, Model Masters) in weathering-specific colors:
- Rust orange and brown
- Dirt browns (light and dark)
- Dust tans and grays
- Grime black
- White chalk (for alkali and lime deposits)
- Green moss and algae
$3-$8 per bottle. A set of 6-8 weathering colors runs $25-$50 total.
Weathering Powders and Pigments
Dry pigments applied by brush. Standard brands: AK Interactive, Mig Pigments, Secret Weapon Miniatures.
- Dust (light, medium, dark)
- Rust (multiple shades)
- Soot and smoke
- Dirt and mud
- Oil stains
$5-$12 per color. Set of 6-8 colors $35-$60.
Washes and Enamel Weathering
Thinned paint applied for subtle coloring effects. Pre-made enamel washes from AK Interactive, MIG. Or make your own by thinning acrylics with water.
$6-$12 per bottle for pre-made. DIY essentially free from existing paint.
Brushes and Tools
Specialized brushes for weathering:
- Round brush #4 (general application)
- Flat brush 1/4" (streaking)
- Fan brush (dust effects)
- Stippling brush (texture)
- Soft cotton applicator (dry pigment application)
- Toothpicks and detail brushes (fine detail)
$15-$30 for a basic brush set.
Other Materials
Isopropyl alcohol (90%+): Thinner and cleanup.
Soft cloth or paper towels: Blotting and application.
Cotton swabs: Fine detail application.
Static grass applicators: For integrating vegetation at building bases.
Dullcoat spray (Testors): Fix weathering and reduce shine. Essential finish step.
Pre-Weathering Preparation
Step 1: Assemble and glue the building. Complete structural assembly before weathering. Easier to weather intact.
Step 2: Clean the surface. Light sanding of mold release lines. Wipe with alcohol to remove oils.
Step 3: Base paint if needed. If the kit color isn't appropriate, base paint before weathering. Darker base = easier weathering overlay.
Step 4: Install any lighting. Internal lighting easier to install before weathering around windows.
Step 5: Protect windows and signage. Mask windows, signs, and other elements that should stay clean.
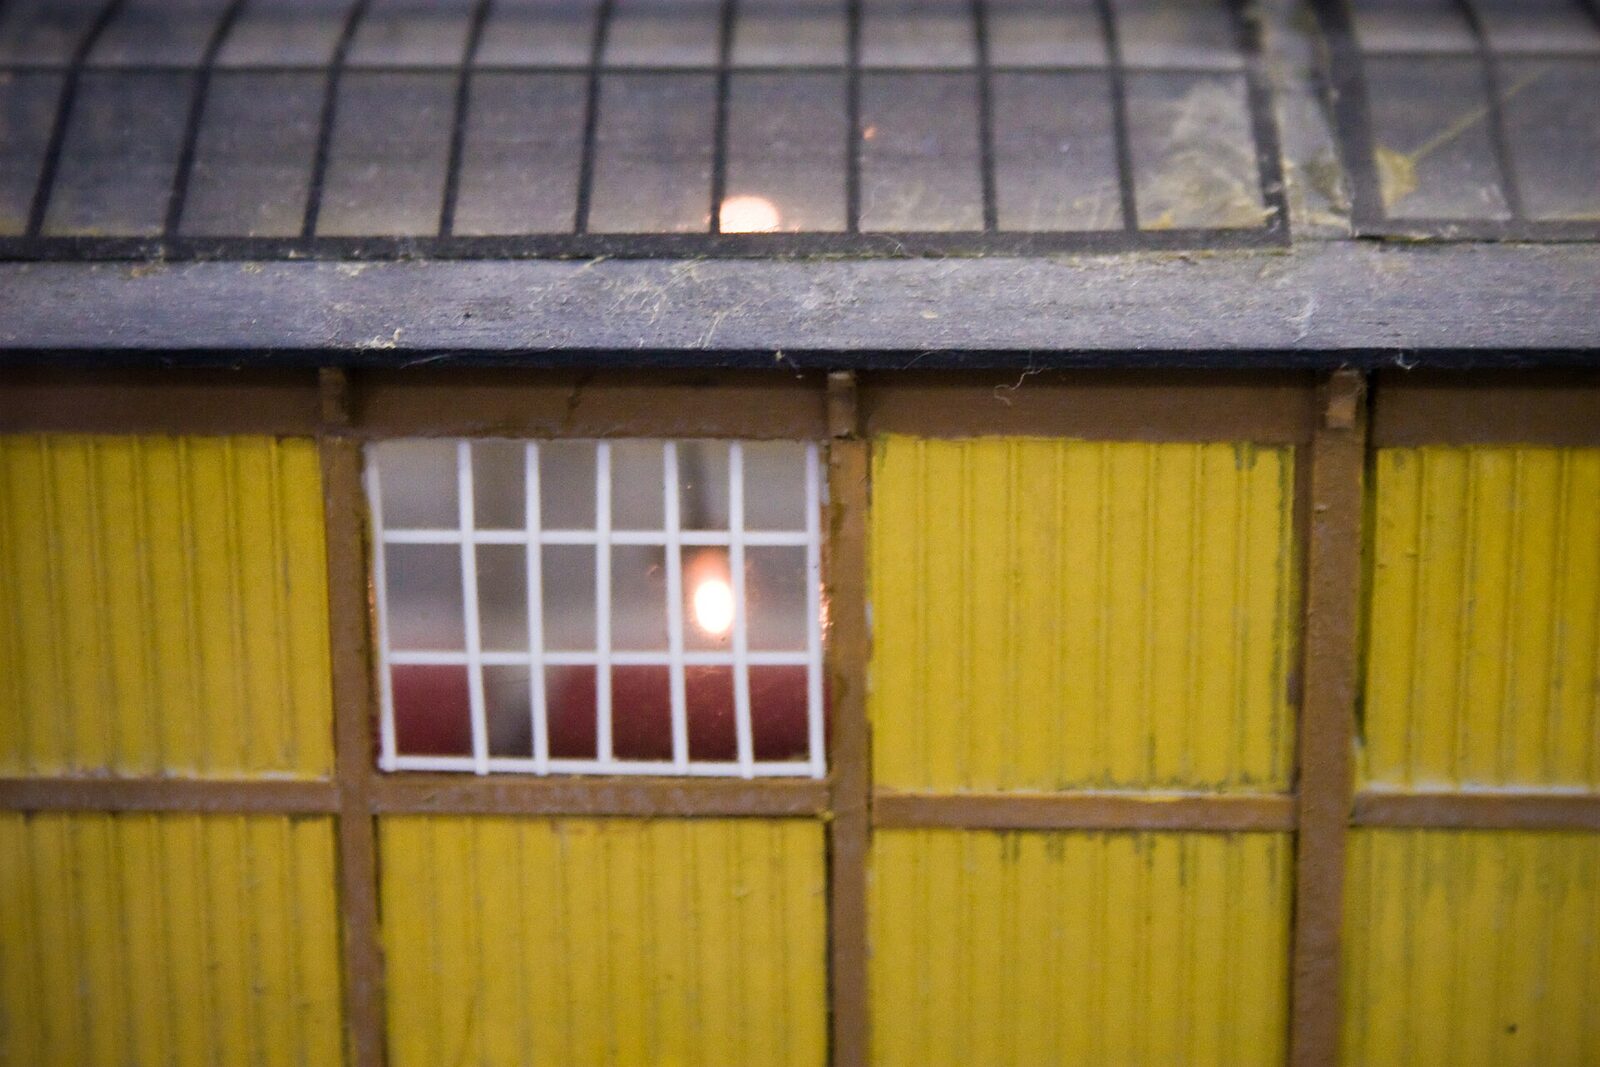
Weathering Techniques by Effect
Dust and Grime
The most common weathering effect. Simulates general airborne dust accumulation.
Technique: Light dry-pigment application with soft brush. Apply horizontally more at the base of the building, lighter upward. Use multiple pigment colors blended for depth.
Color choice: Match the environment. Industrial districts use darker pigments (coal dust, soot). Rural areas use lighter dust tans. Snow-era layouts use white and gray.
Rain Streaking
Vertical streaks from water running down walls over time. Essential for weathered appearance.
Technique: Vertical streaking with thin wash (burnt umber + black). Apply with flat brush pulled vertically from top down. Repeat 2-3 times for visible effect.
Prototype note: Rain streaks concentrate below windows, roof edges, and architectural features where water collects. Not uniform across the whole wall.
Rust and Corrosion
Essential for metal buildings, railings, roofing. Also appears on building corners where paint has worn to bare metal.
Technique: Rust orange and brown applied in irregular patches. Use stippling brush for texture. Rust pigments applied over the paint for added depth.
Prototype placement: Rust appears where paint has worn, corners, edges, hardware fittings. Not uniform surfaces unless the piece is severely weathered.
Peeling Paint
Simulates aged paint lifting from substrate.
Technique: Apply thick paint spots with brush, allow to crack naturally during drying. Or carefully scrape with knife point to simulate peel. Alternatively use masking fluid under paint; peel masking after paint cures.
Prototype placement: Peeling paint concentrates on wood surfaces, metal with poor priming, and architectural features that collect moisture.
Dirt and Mud at Building Base
Buildings don't float: they sit on dirt, concrete, or pavement with visible transition.
Technique: Blend ground cover material against the base of the building. Add dirt pigment overlays. Mix with ballast or static grass as appropriate.
Prototype placement: Industrial buildings have oil stains and spilled material around loading areas. Residential buildings have plantings and softer transitions.
Smoke and Soot
Essential for industrial buildings, locomotive servicing facilities, buildings near heavy diesel operation.
Technique: Dark pigment or wash applied around chimneys, exhaust stacks, locomotive service areas. Build up gradually; easier to add than remove.
Prototype placement: Soot concentrates near heat sources, exhaust stacks, and specific industrial processes. Match to prototype operational patterns.
Algae and Moss (Shaded Areas)
Greenish discoloration on shaded surfaces. Essential for buildings in wooded areas, waterfront structures, and shaded alleys.
Technique: Green pigment applied in subtle patches on surfaces facing away from sun. Use subtle application; too much reads as fake.
Prototype placement: Algae/moss concentrates in continuously shaded areas, near water, in corners where moisture collects.
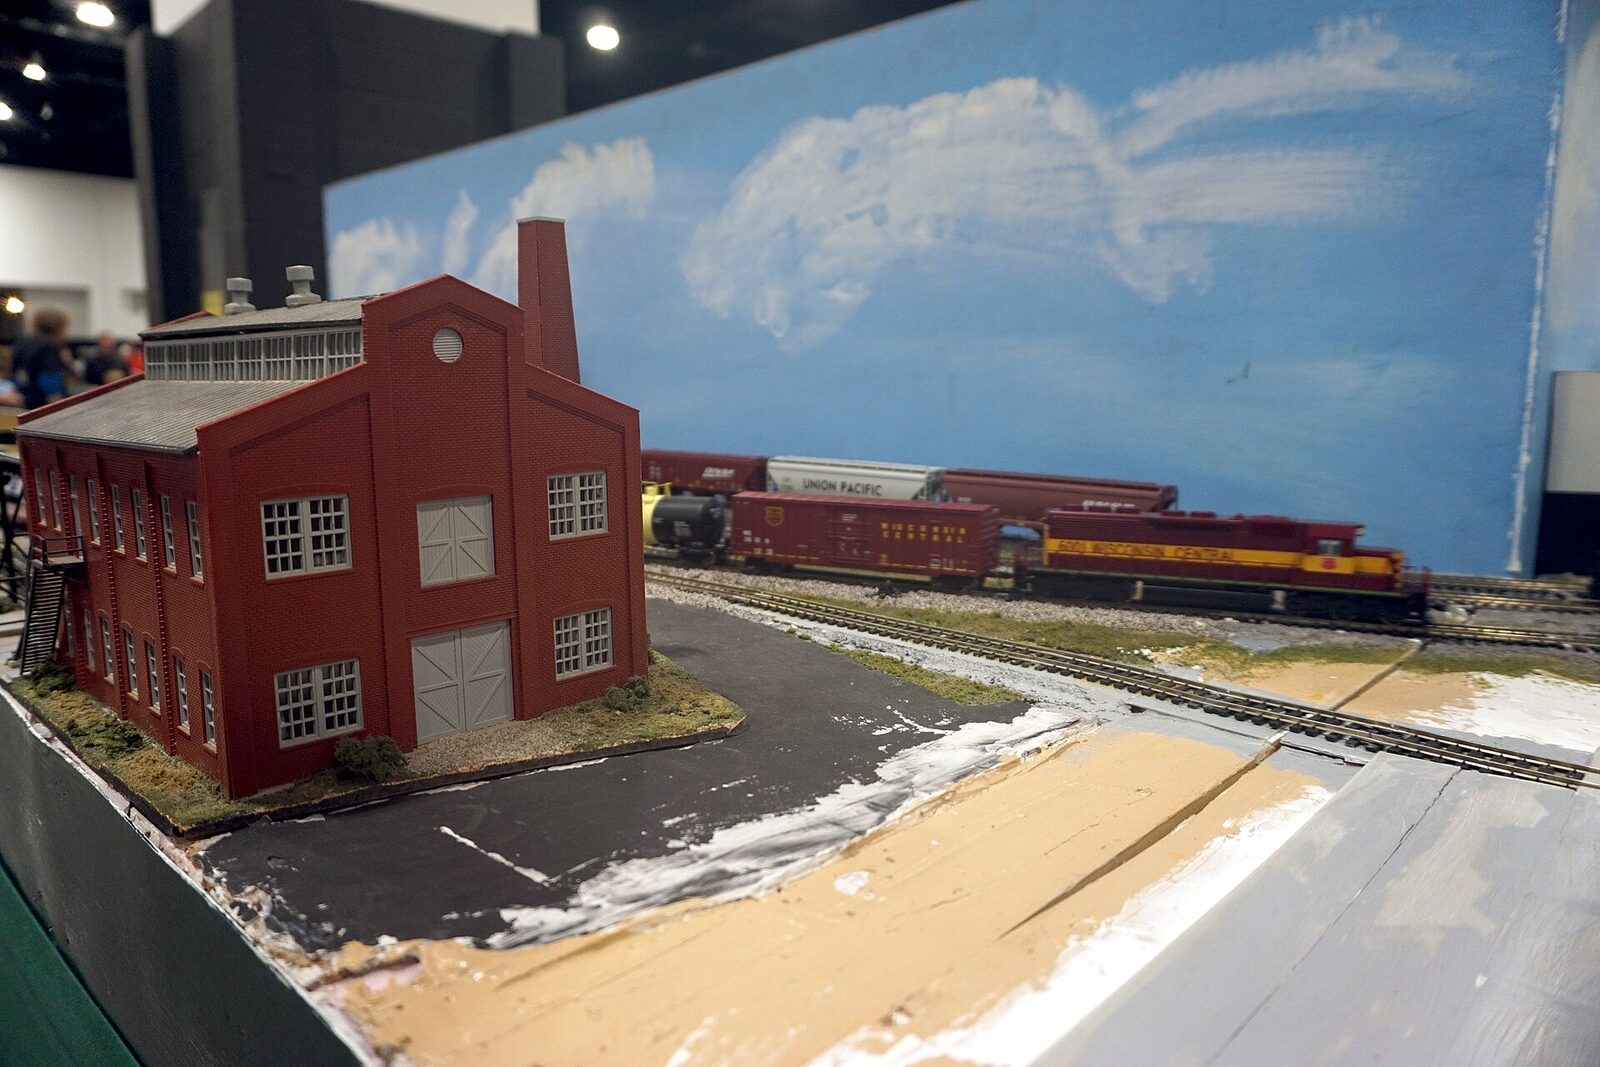
Step-by-Step: Weathering a Standard Factory
Step 1: Base Dust Application
Apply light dust pigment uniformly across the whole structure. Light brush application, allowing some to settle into recessed detail.
Step 2: Window and Door Trim Highlights
Darker wash applied around windows and door trim where dirt collects. Pull wash with brush, allow to settle.
Step 3: Vertical Rain Streaks
Light vertical streaks from top of walls downward. Multiple streaks, varying intensity. Concentrate below gutters and roof edges.
Step 4: Corner and Edge Wear
Rust spots and paint wear at corners and architectural edges. Light application.
Step 5: Base Dirt and Oil Stains
Darker pigments and dirt applied at the base of the building and across any pavement. Oil stains near loading areas.
Step 6: Specific Industrial Effects
Soot near chimneys. Rust on specific metal features. Vegetation growing in cracks.
Step 7: Dullcoat Finish
Light spray coat of Testors Dullcoat to reduce shine and fix pigment/paint application. Essential for realistic appearance.
Step 8: Final Details
Window grime inside glass. Sign fading. Final touch-ups to specific features. Install on layout.
Common Weathering Mistakes
Too much weathering. Over-weathered buildings look as fake as unweathered buildings. Subtle wins. Build up gradually.
Uniform application. Real weathering is non-uniform. Buildings have specific weathering patterns tied to their orientation, use, and age.
Wrong color choice. Weathering colors must match environment. Industrial dust reads differently than rural dust.
Missing the base integration. Buildings sitting on bare plywood or ballast look pasted on. Integrate the base with surrounding scenery.
Shiny finish. Weathered buildings should have matte or satin finish, never gloss. Dullcoat finish is essential.
Ignoring architectural logic. Rust appears where paint wore off; algae grows in shaded spots; soot concentrates near heat sources. Follow real-world logic.
Rushing drying time. Weathering effects need to fully dry between layers. Rushing creates unwanted bleeding and mixing.
Not photographing reference. Reference photos of real weathered buildings in your prototype area provide guidance that imagination doesn't.
Specific Building Types
Residential Buildings
Subtle weathering. Light dust, minor paint wear. Vegetation around base. Avoid heavy industrial-style weathering.
Commercial Buildings
Moderate weathering with specific focus on signage fading, window grime, and awning wear. Pedestrian traffic creates specific wear patterns at entrances.
Industrial Buildings
Heavy weathering appropriate. Rust, soot, oil stains, chemical discoloration. Loading dock wear specific. Vegetation grows in neglected corners.
Rural Buildings
Dust-heavy weathering reflecting dirt road environments. Paint peel on wooden structures. Vegetation integration essential.
Railroad Buildings
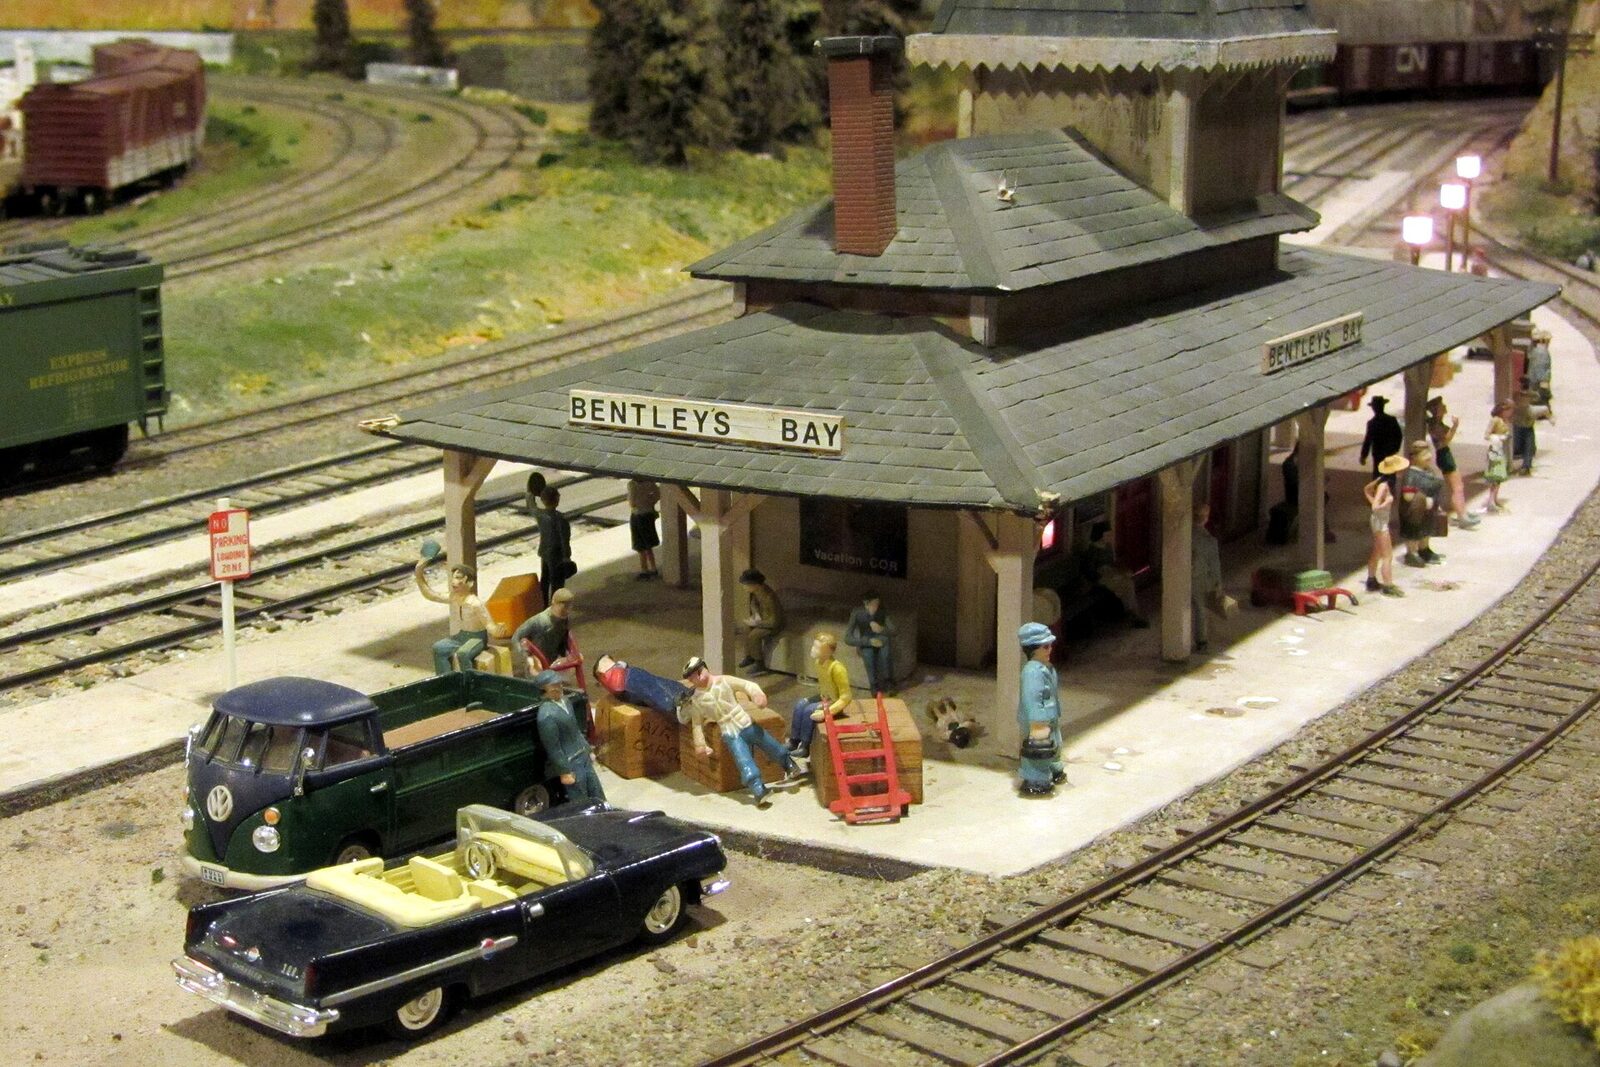
Specific weathering for railroad environment: soot from locomotives, oil stains, grease marks, severe rust on metal components. Operational wear patterns distinctive.
Reference Photo Resources
Prototype railroad photography: Online archives of prototype railroad buildings provide weathering reference. Search by specific railroad and era.
Model railroad publications: Model Railroader, Classic Toy Trains, O Gauge Railroading all feature weathering articles with reference material.
Weathering reference books: Specific weathering technique books (Pelle Soeborg, Mig Jimenez) provide detailed technique guidance.
Social media: Instagram and Facebook groups focused on model railroad weathering offer current technique sharing.
Frequently Asked Questions
How much does weathering a layout's buildings cost?
Basic setup (paints + pigments + brushes + Dullcoat): $50-$100. Weathering 10-20 buildings on a typical layout: additional $20-$40 in materials across the project.
How long does weathering take?
Simple weathering of one building: 1-2 hours including drying between layers. Complex industrial building: 3-5 hours. Allow multiple sessions for layered effects.
Can I weather pre-built structures or only kits?
Both work. Pre-built structures weather just as well as kit-built. The painted finish on pre-built may require specific preparation.
Should I remove weathering if I don't like it?
Possibly. Dry pigments brush off with soft brush. Painted weathering harder to remove: may require repaint of affected area.
What's the single most important weathering technique?
Base dust application. Even just a subtle dust layer across the whole structure dramatically improves realism over factory-fresh appearance.
Verdict
Weathering buildings is one of the highest-impact scenery investments for an O-gauge layout. Modest materials cost, moderate time investment, and dramatic realism improvement combined. Start with simple techniques (dust pigment base + vertical rain streaking) on 1-2 buildings before expanding to the full layout. Match weathering color and intensity to your prototype environment and era. Always finish with Dullcoat. For related scenery guidance, see our ballasting guide, our weathering model trains guide, our backdrop installation guide, our water scenes guide, and our foam sub-roadbed guide.
Newsletter
Weekly O-gauge tips & reviews
New reviews, layout ideas, and hobby news — straight to your inbox.