How to Build Realistic Water Scenes on Your O-Gauge Layout: Complete 2026 Rivers, Ponds, and Streams Guide
September 28, 2026
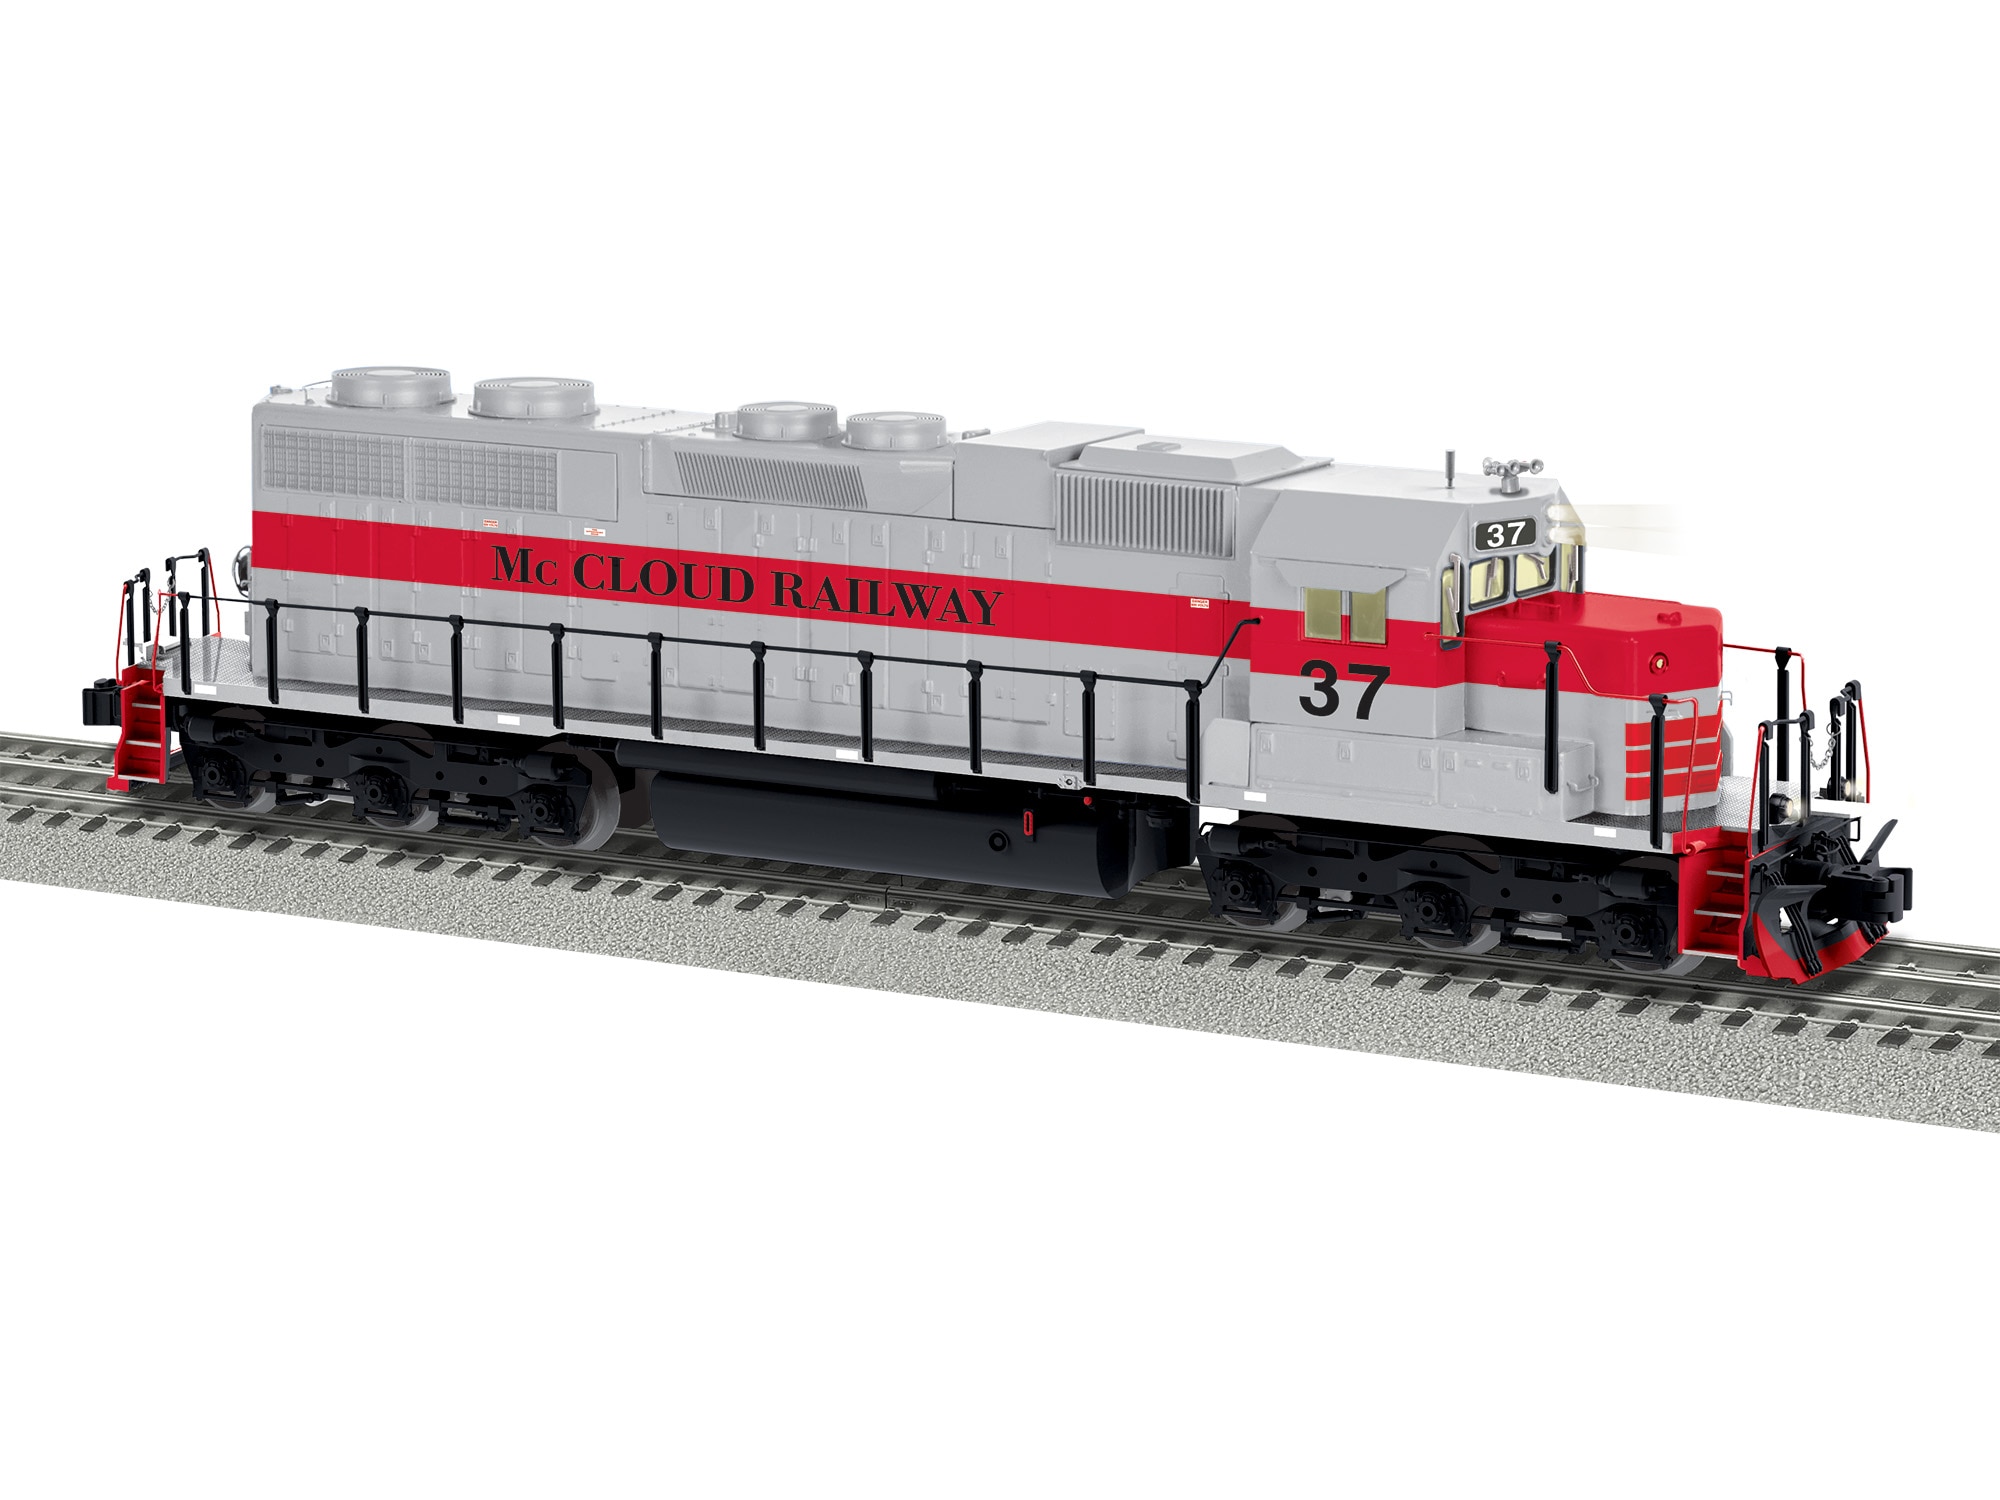
Water is one of the most dramatic scenic elements you can add to an O-gauge layout. A river running under a bridge, a small lake next to an industry, a pond behind a farmhouse — realistic water instantly transforms a layout from a track loop into a landscape. And modern water-effect materials make achievable results dramatically easier than they were even a decade ago.
This complete 2026 guide walks through building realistic water scenes on your O-gauge layout: what materials work, planning water features, step-by-step construction for rivers, ponds, and streams, and how to avoid the amateur mistakes that make water scenes look fake.
Why Water Scenes Matter
Three reasons water transforms a layout:
Visual drama. Water is the single most eye-catching scenic element you can add. Viewers immediately notice water scenes; static ballast and grass cover barely register.
Prototype realism. Real railroads cross water constantly — rivers, streams, lakes, harbors. A layout without water reads as artificial. A layout with even modest water reads as real landscape.
Scenic depth. Water creates depth in scenes that flat terrain cannot. Reflections, ripples, and the visual difference between land and water add dimensionality.
Water Materials: What Actually Works
The water-effect materials market has matured significantly. Current options that deliver realistic results:
Woodland Scenics Realistic Water: Two-part clear resin that pours into a scene, cures to a crystal-clear water appearance. The industry standard. $25-$45 for enough material to cover 2-4 square feet.
Woodland Scenics EZ Water: Simpler single-part resin. Cheaper alternative to Realistic Water. Slightly less clarity. $18-$28.
Envirotex Lite: Two-part epoxy typically used for jewelry making. Works excellently for water scenes. Requires careful application. $25-$40.
Deep Water Molds: For scenes requiring more than 1/4 inch water depth (harbors, deep lakes), pour in layers over multiple sessions to avoid heat and cracking.
Woodland Scenics Water Effects: Gel-based product for surface ripples, wave crests, and moving-water simulation. Add on top of cured base water. $15-$25.
Acrylic paints: For the pond/river bottom before pouring water. Blues, greens, and browns in various shades for prototype-accurate bottom appearance.
Planning Your Water Scene
Before pouring anything:
Step 1: Decide the water type. Slow river, fast stream, still pond, harbor, or lake? Each has different visual characteristics.
Step 2: Sketch the water course on paper. Where does the water enter the scene? Where does it exit? What structures are around it?
Step 3: Plan the depth. Realistic Water works best at 1/8" to 1/4" depth. Deeper scenes require multiple pours or specialized deep-pour products.
Step 4: Plan the bottom. Rocks, gravel, mud, sand — the bottom shows through clear water. Paint and add materials before pouring.
Step 5: Plan the banks. Where does water meet land? Sloping banks, sharp rocky edges, or reed-lined shorelines — each looks different.
Step 6: Plan any bridges or structures crossing the water. Install these before pouring water.
Step-by-Step: Building a River Scene
Step 1: Excavate the River Course
Cut the river course into your layout's foam or plywood base. Slightly deeper at center, shallower toward the banks. Total depth 1/4" to 1/2" for realistic proportions.
Step 2: Seal the Base
Line the river course with plastic sheet or apply clear caulk to seal against any resin leakage. Some builders use painted latex over foam for a smooth sealed surface.
Step 3: Paint the River Bottom
Apply base coat colors — deep blue-green at center, transitioning to lighter greens and browns at edges. Multiple layers add depth. Add darker patches for depth variation.
Step 4: Add Bottom Detail
Small rocks, gravel, or sand along the river bottom. Don't overdo it — real river bottoms have relatively subtle detail. Glue detail in place with white glue before resin pour.
Step 5: Install Bridges and Structures
Any bridges crossing the river must be installed BEFORE pouring water. Same for pilings, piers, or other water-adjacent structures.
Step 6: Pour the Water
Mix Realistic Water or equivalent per manufacturer instructions. Pour in thin layer (1/8" maximum per pour). Multiple pours over multiple days for deeper effect. Work slowly — this is not the step to rush.
Step 7: Add Surface Effects
Once cured, add Water Effects gel for ripples, wave crests, and moving-water simulation. Small dabs around structures and where flow patterns would occur.
Step 8: Add Bank Detail
Reeds, tall grass, riprap, bank vegetation — the transition from water to land is what makes water scenes convincing. Don't skimp on bank detail.
Building Different Water Types
Still Ponds and Lakes
Simpler than rivers because there's no flow direction. Focus on realistic still-water appearance:
- Slightly darker bottom in center
- Subtle color variation from center to edges
- Very light surface texture (mostly smooth)
- Rich bank vegetation
- Dock structures, reflective surface interest
Fast Streams and Rapids
The dynamic option. Requires more surface effect work:
- Rocky, uneven bottom with visible boulders
- White-water effects around rocks
- Dramatic surface ripples along the current
- Splashing effects at rocks and cascades
- Wet rocks visible along banks
Harbors and Deep Water
Requires special deep-pour products or multi-pour approach:
- Very dark bottom coloring
- Multiple resin layers built up over time
- Sunken debris and structure detail
- Docks, pilings, and industrial waterfront structures
- Boat models for scene population
Common Water Scene Mistakes
Pouring too deep at once. Realistic Water and similar products should be poured in thin layers (1/8" max). Deeper single pours generate excess heat and can crack or cloud.
Wrong color palette. Real water is rarely bright blue. Study prototype photos — most rivers are murky brown-green. Ponds are often nearly black-green in center. Match reality.
Skipping bottom detail. Water shows through to the bottom. Bare foam or plywood shows through clear resin and reads as fake.
Ignoring the banks. Bank transition matters as much as the water itself. Vegetation, riprap, and shore texture must be developed thoughtfully.
Overdoing surface effects. Real water is often nearly smooth. Excessive ripples and waves read as cartoon-like. Restraint sells realism.
Adding water before adjacent structures. Bridges, piers, and shoreline structures should be in place before pouring. Adding them after pour is difficult and rarely looks natural.
Water Feature Placement Ideas
Where water scenes work best on O-gauge layouts:
Beneath signature bridges. A dramatic bridge crossing a river is a natural layout centerpiece. Position for maximum viewer visibility.
Alongside industrial districts. Historic railroads often ran along river banks with industry positioned to use water. Prototype-accurate placement.
Between two operational zones. A river can separate two distinct scenic areas — urban and rural, freight yard and passenger terminal.
At the layout's front edge. Water at viewer eye level creates dramatic depth and reflection effects.
Corner locations on L-shape layouts. The L corner is your natural focal point. A water feature there anchors the entire layout.
Frequently Asked Questions
How much does building a water scene cost?
Small pond or stream: $30-$60 in materials. Medium river with bridge: $80-$150. Large harbor with detailed shoreline: $200-$400 in materials plus significant time investment.
How long does building a water scene take?
Small pond: 4-8 hours across 2-3 sessions (excavation, painting, curing time). Medium river: 12-24 hours across 4-6 sessions. Large harbor: multiple weekends.
Can I add water scenes to an existing layout?
Yes, though it's easier to plan water into the layout from the start. Retrofit installations require careful excavation without damaging surrounding scenery.
Do I need special lighting for water scenes?
No, but overhead lighting reveals water scene detail. Under-track fluorescent or LED strip lighting brings out water reflections.
Will water scenes degrade over time?
Modern water-effect resins are stable across decades under normal conditions. UV exposure can degrade some formulations — keep water scenes away from direct sunlight when possible.
Verdict
Water scenes are among the highest-return scenic additions you can make to an O-gauge layout. Modest materials cost (typically $30-$150 per scene), moderate time investment (4-24 hours), and dramatic visual impact combined. Start with a simple pond or short river, learn the material handling, then expand to elaborate multi-scene water features as your skill develops. For related scenery guidance, see our weathering guide for model trains, our L-shape track plans (great for corner water features), our freight yard design guide, and our FasTrack installation guide.
Newsletter
Weekly O-gauge tips & reviews
New reviews, layout ideas, and hobby news — straight to your inbox.