How to Build Grades on Your O-Gauge Layout: Complete 2026 Grade Construction Guide
October 29, 2026
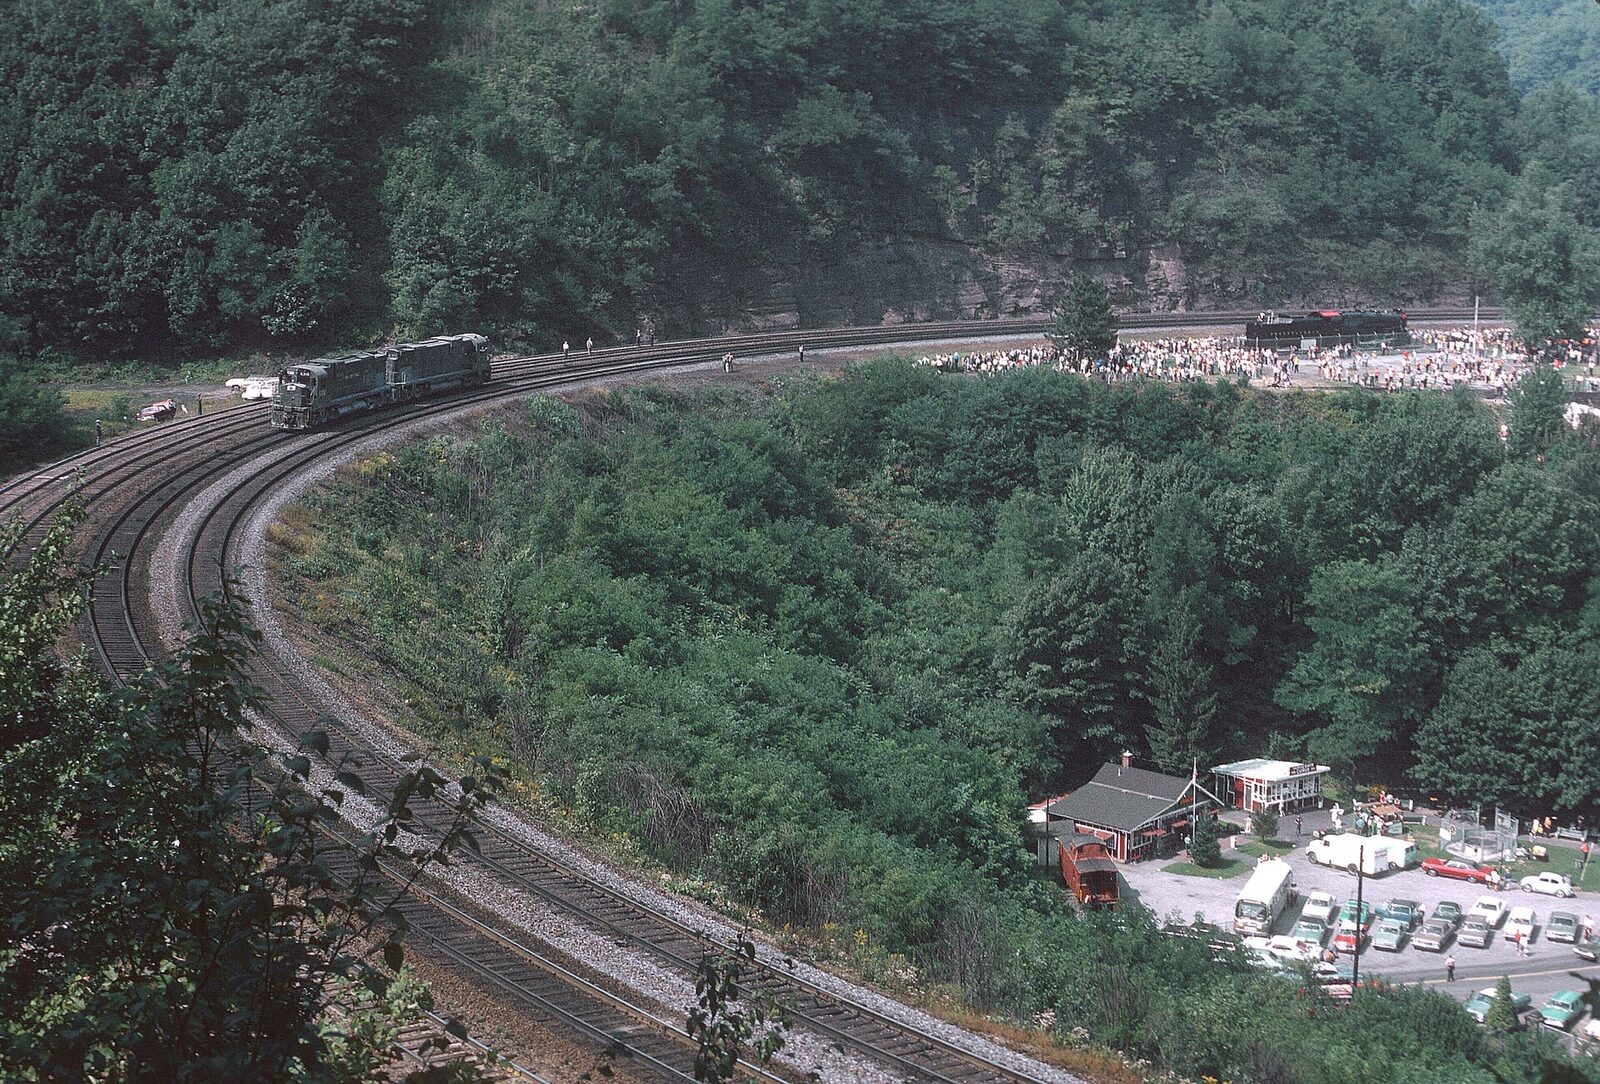
Grades, the gradual elevation changes that let your mainline climb from valley floor to mountain pass, are one of the most satisfying scenery projects on an O-gauge layout. They add visual drama, operational interest (locomotives working harder going up, drifting down), and prototype realism. They're also the easiest piece of scenery to get wrong: too steep and your trains can't climb; too long and you waste bench space; built badly and your track derails every lap. This complete 2026 guide walks through grade construction for O-gauge layouts: materials, grade percentages that actually work, step-by-step construction, operational considerations, and the mistakes that force teardown and rebuild.
Why Grades Matter
Three reasons grades are worth the effort:
Prototype realism. Real railroads cross varied terrain. Flat layouts read as toy loops; graded layouts read as miniature landscape.
Operational interest. Watching a locomotive work up a grade (sound notching up, smoke intensifying, speed slowing) is one of the most satisfying operating experiences in model railroading.
Scenery enablement. Grades allow you to run track through hills, cross valleys on trestles, enter tunnels, and build the vertical dimension that transforms layouts.
Grade Percentage: What Actually Works
Grade percentage = rise over run × 100. A 2% grade rises 2 inches per 100 inches of run.
Prototype railroads: 1-2% is typical mainline. 2.2% is "ruling grade" on major mountain crossings (Donner Pass, Horseshoe Curve). 3% is extreme (requires helper locomotives). 4%+ is specialty (cog, logging, mining).
O-gauge recommendations:
- 1-2% grade: Ideal. Most locomotives handle without issue. Looks subtle and prototype-realistic.
- 2-3% grade: Noticeable. Larger steam and modern six-axle diesels handle. Starter locomotives may struggle.
- 3-4% grade: Steep. Requires strong locomotives and shorter trains. Visually dramatic.
- 4%+ grade: Specialty only. Logging operations, mining layouts.
LionChief starter equipment: Stick to 2% maximum. LionChief motors have modest pulling capacity.
LEGACY and Vision Line articulated steam: Can handle 3-4% grades with reduced train length.
Modern six-axle diesels (SD70M, ES44AC): 3% comfortable. 4% workable with lighter trains.
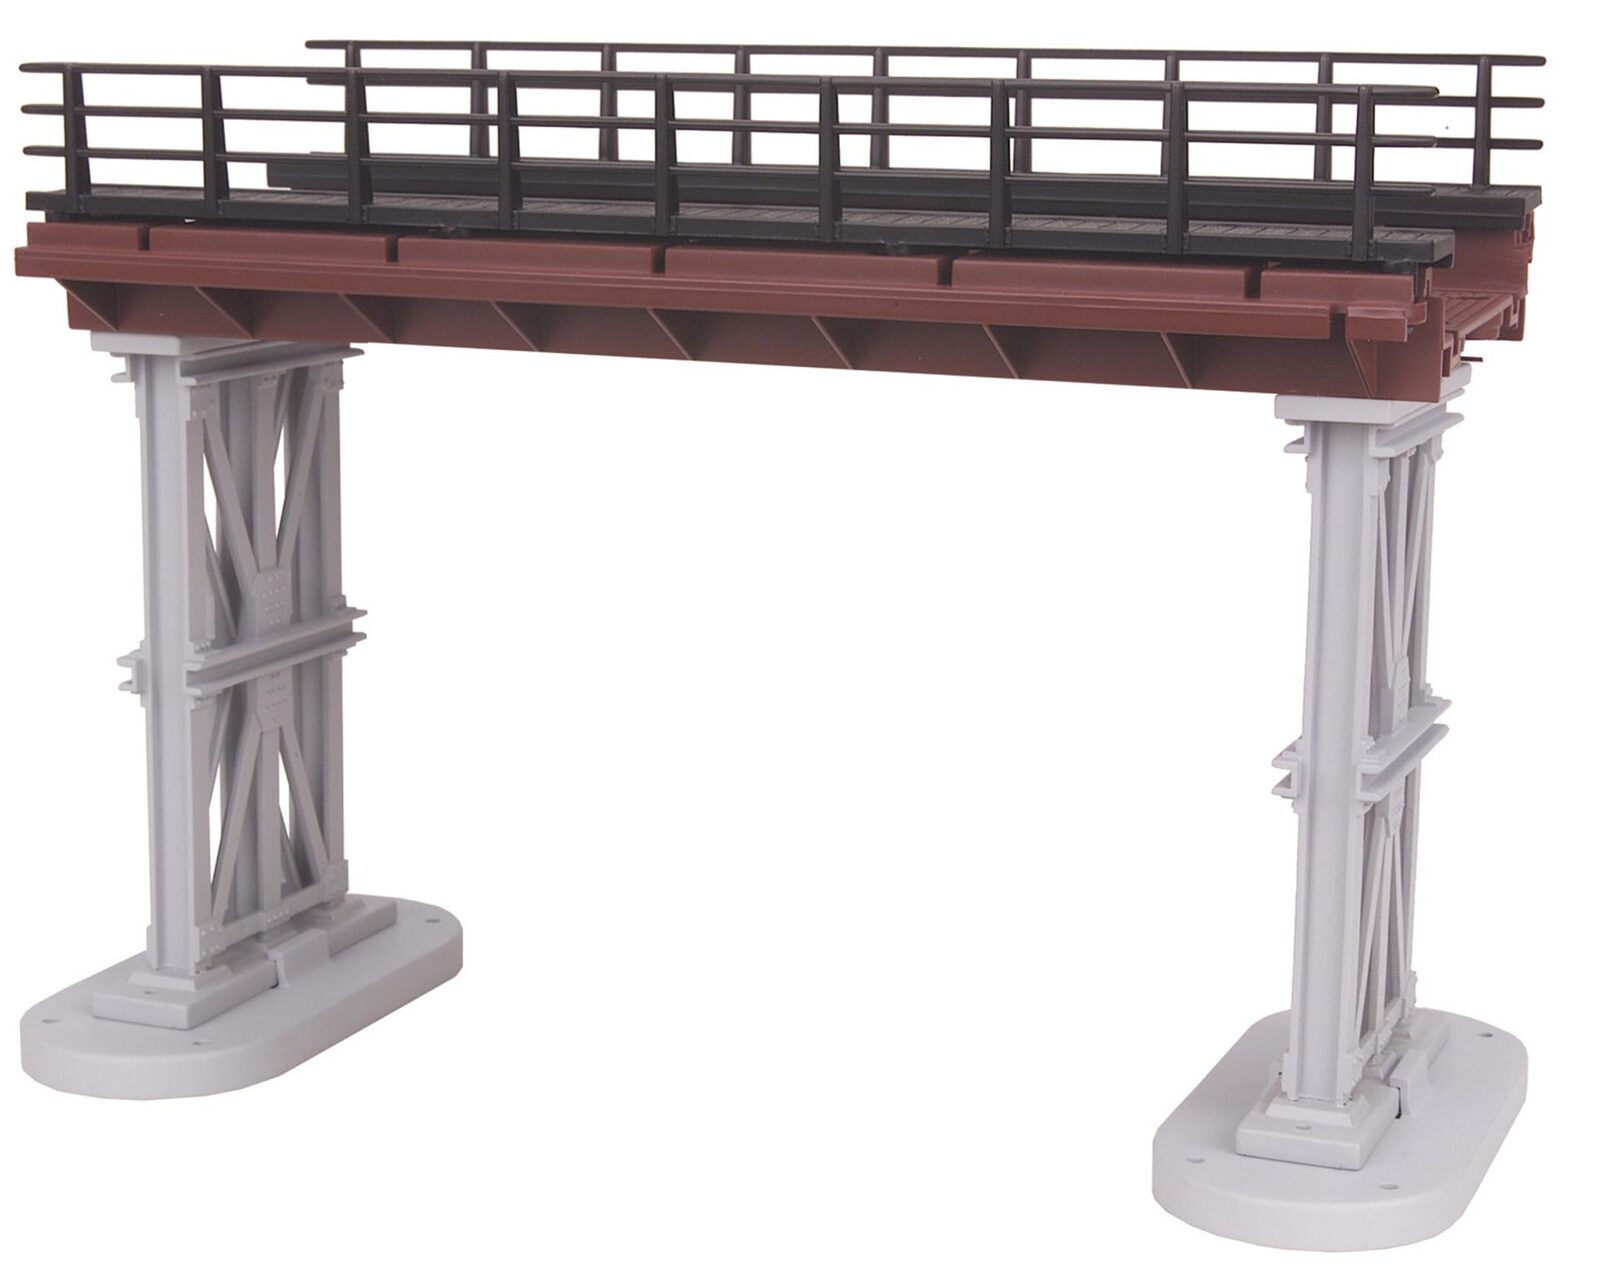
Materials for Grade Construction
Pre-formed Foam Risers (Easiest)
Woodland Scenics Risers: Pre-cut extruded foam risers at specific heights (2", 3", 4"). Lightweight, easy to install. $12-$25 per piece.
Woodland Scenics Inclines: Pre-shaped foam incline sections at specific grade percentages (2%, 3%, 4%). Standardized rises. $18-$35 per set.
Woodland Scenics Grades: Pre-shaped grade pieces for common applications. Convenient for standardized layouts.
Custom Foam Construction
2" or 3" XPS foam sheets: Owens Corning Foamular or Dow Styrofoam Blue. Cut and shape to custom grade profiles. See our foam sub-roadbed guide for materials selection.
Hot wire cutter: Essential for smooth foam shaping. $25-$75 for basic unit.
Foam-safe adhesive: Loctite PL-300 or Liquid Nails Foam Projects. Standard construction adhesive dissolves foam.
Plywood Grade Construction (Traditional)
1/2" plywood: Standard for traditional grade construction. Riser blocks of 2x2 or 2x4 at calculated heights supporting plywood sub-roadbed.
Jigsaw: For cutting plywood to grade profile shapes.
Deck screws: For securing plywood to risers.
Cork or Homasote Roadbed
Cork roadbed: Standard model railroad roadbed. 3/16" or 1/4" thickness. Applied over sub-roadbed before track installation.
Homasote: Classic sound-dampening sub-roadbed. Can be used on grades with specific cutting techniques.
Planning the Grade
Step 1: Calculate rise needed. How many inches of elevation does the grade need to achieve? Typical: 4-6 inches for simple mountain passage; 8-12 inches for substantial mountain scene.
Step 2: Calculate minimum run. At 2% grade, 4-inch rise needs 200 inches (16.7 feet) of run. At 3% grade, 4-inch rise needs 133 inches (11.1 feet) of run.
Step 3: Verify your layout accommodates the run. A 10x10 basement layout can support 10-15 foot grades along one wall. Shorter layouts need steeper grades or less rise.
Step 4: Plan transitions. Grades don't start/stop abruptly. Transition zones at both top and bottom allow trains to smoothly enter and exit the grade. Minimum 1-2 feet transition at each end.
Step 5: Mark the layout. Pencil the grade start and end points, plus marked elevation at each foot interval. Essential for construction accuracy.
Grade Construction Step-by-Step
Method 1: Foam Riser Approach (Most Common)
Step 1: Install foam sub-roadbed per our foam sub-roadbed guide.
Step 2: Cut Woodland Scenics Risers or custom foam riser blocks to planned heights at specific points along the grade.
Step 3: Glue risers to sub-roadbed with foam-safe adhesive. Allow to dry.
Step 4: Apply flexible foam incline over the risers, forming the grade profile.
Step 5: Smooth transitions at top and bottom of grade.
Step 6: Install cork roadbed over grade.
Step 7: Install track with careful attention to joint smoothness.
Step 8: Test operation before committing to permanent scenery around the grade.
Method 2: Plywood Riser Approach (Traditional)
Step 1: Install riser blocks (2x2 or 2x4) at calculated heights along the grade path.
Step 2: Cut plywood sub-roadbed to width (3-4 inches wide for O-gauge).
Step 3: Install plywood sub-roadbed over risers, screwed down to each riser.
Step 4: Install cork roadbed over plywood.
Step 5: Install track with careful joint attention.
Step 6: Test operation.
Transition Zones
The transition between flat terrain and grade (and back) is where most grade problems originate:
Abrupt transition: Train hits sudden grade change, derails or loses coupler contact. BAD.
Smooth transition: Grade starts gradually, builds to full percentage over 2-3 feet. CORRECT.
Vertical curves: Think of grade transitions as vertical curves. Just as horizontal curves have minimum radius, vertical transitions have minimum vertical radius. Larger locomotives (long wheelbase) need gentler vertical transitions.
Construction technique: Taper the grade start, begin at near-zero slope, increase to full grade over 1-2 feet. Mirror at the top.
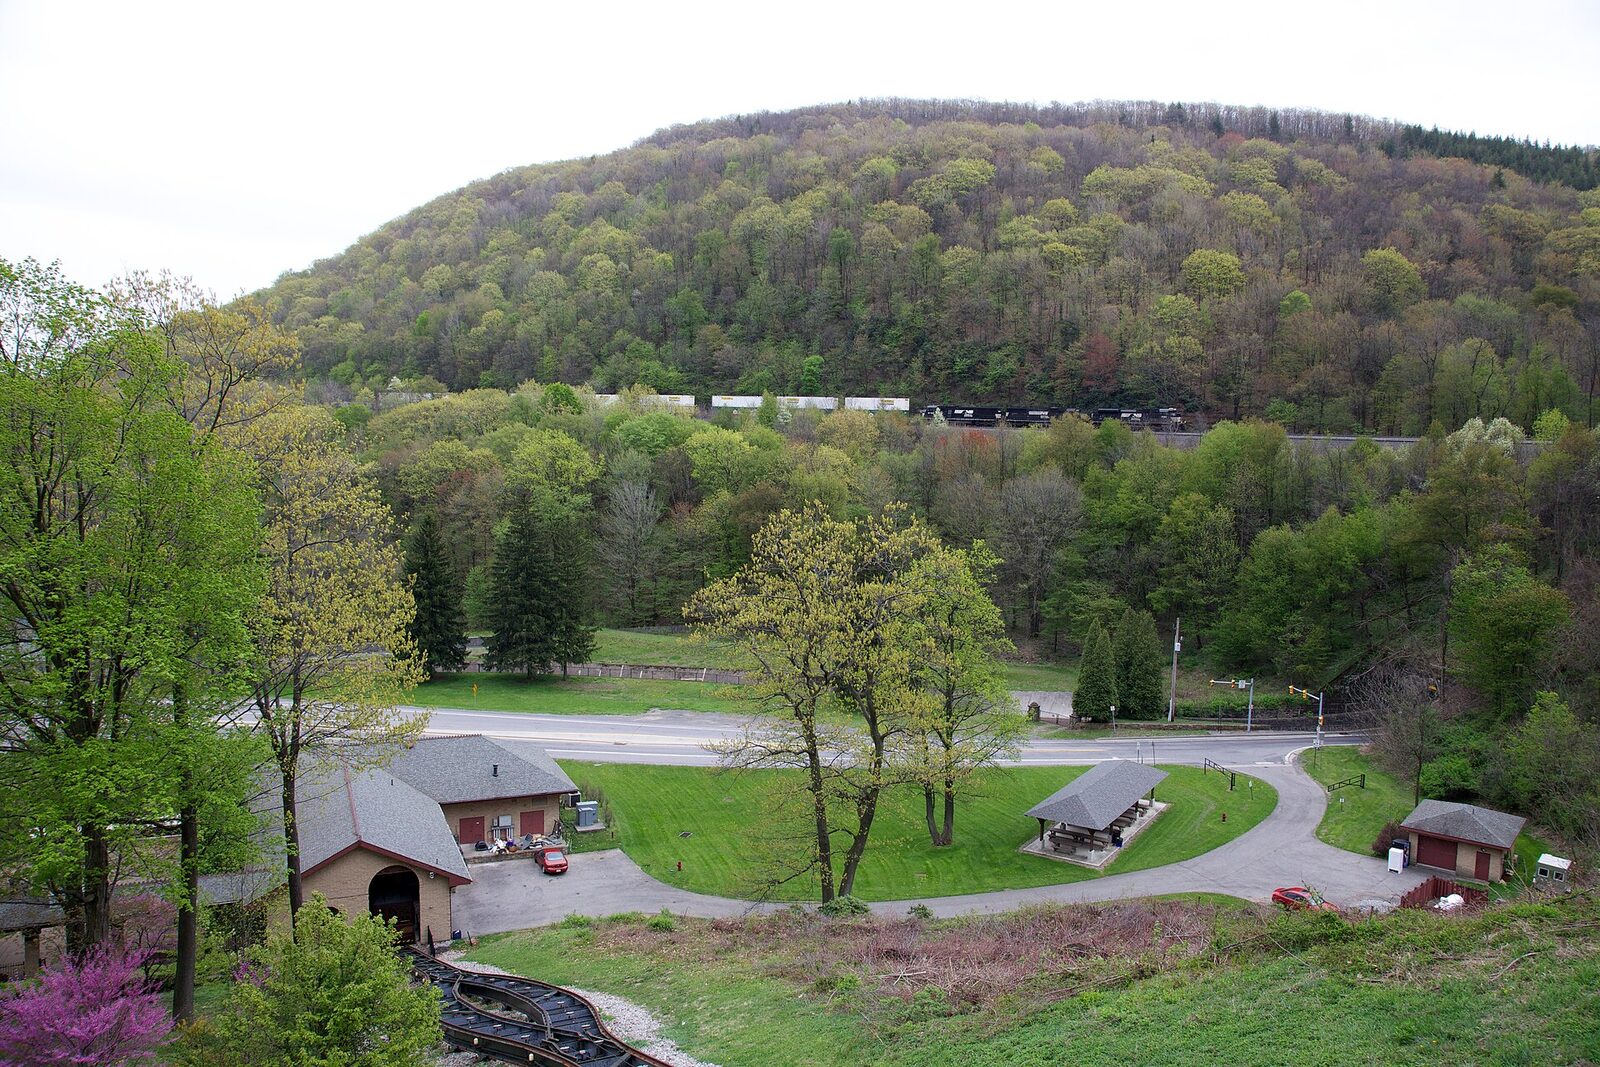
Operating Considerations on Graded Layouts
Pulling capacity reduction: On a 2% grade, locomotive pulling capacity drops ~20%. On 3%, drops ~30%. Plan consist length accordingly.
Train length on grades:
- 2% grade: Full normal consist length (20-30 cars for mainline diesel).
- 3% grade: Reduce to 15-20 cars.
- 4% grade: Reduce to 10-15 cars. Consider helper locomotives.
Speed control: Trains naturally slow going up grades. LEGACY cruise control compensates automatically. LionChief Bluetooth with speed control also compensates.
Direction of operation: Trains going downgrade can accelerate dangerously. Verify brake sounds and realistic drift behavior.
Helper locomotive operations: Prototype railroads add helper locomotives at bottom of grade for assistance. Model layouts can simulate this with doubleheaders or operating helper districts.
Common Grade Construction Mistakes
Grade too steep. 4-6% looks visually dramatic but constrains motive power choices. Keep to 2-3% for broad locomotive compatibility.
Insufficient run. Trying to achieve substantial rise in limited run creates unworkable grades. Plan the physics first.
Abrupt transitions. Not tapering grade starts/stops causes derailments and coupler problems.
Horizontal curves on grades. Combining tight horizontal curves with grades compounds operational difficulty. Prefer straight grades where possible.
Ignoring vertical curve requirements. Long locomotives (articulated steam, long passenger cars) need gentler vertical transitions than short switchers.
No test operation before scenery. Install grade, test with varied motive power, THEN commit to permanent scenery. Problems caught early save teardown.
Track joints at grade changes. Rail joints exactly at grade transition points cause problems. Position joints away from transition zones.
Riser spacing too wide. Insufficient riser support causes sub-roadbed sagging. Space risers 12-18 inches apart maximum.
Scenery Around Grades
Grades enable specific scenery opportunities:
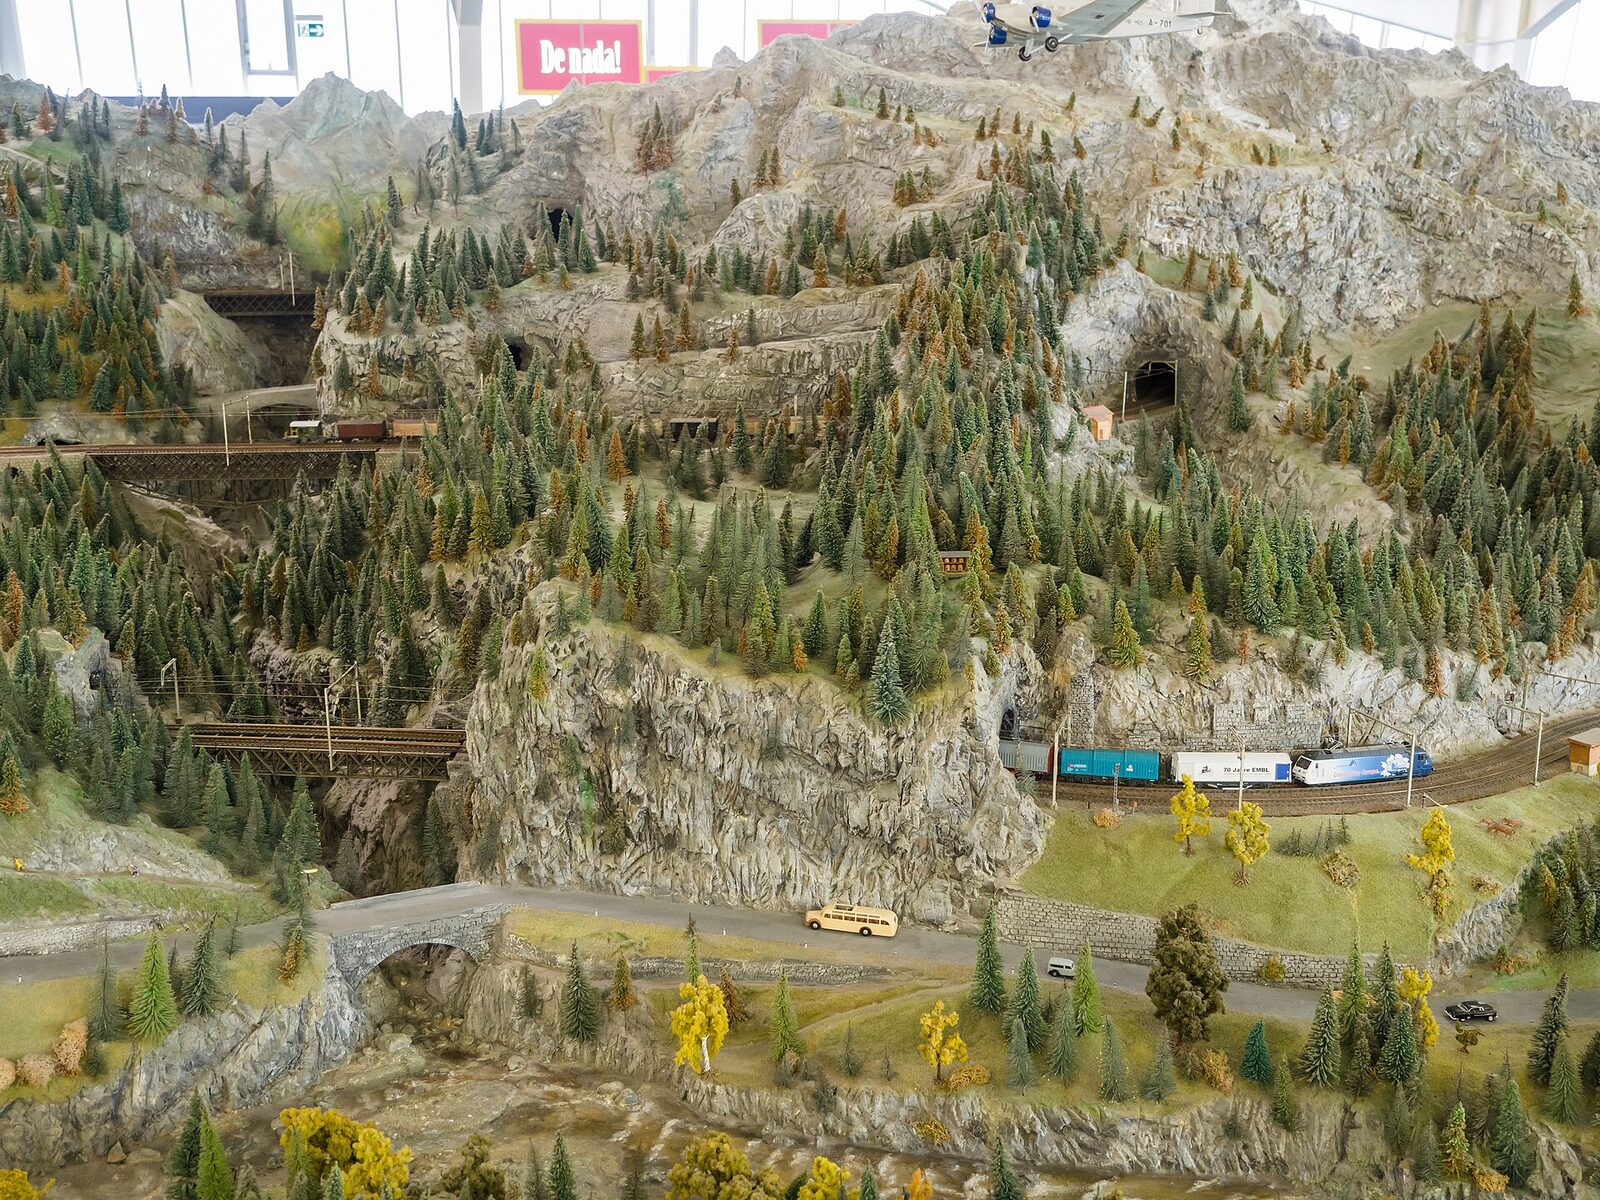
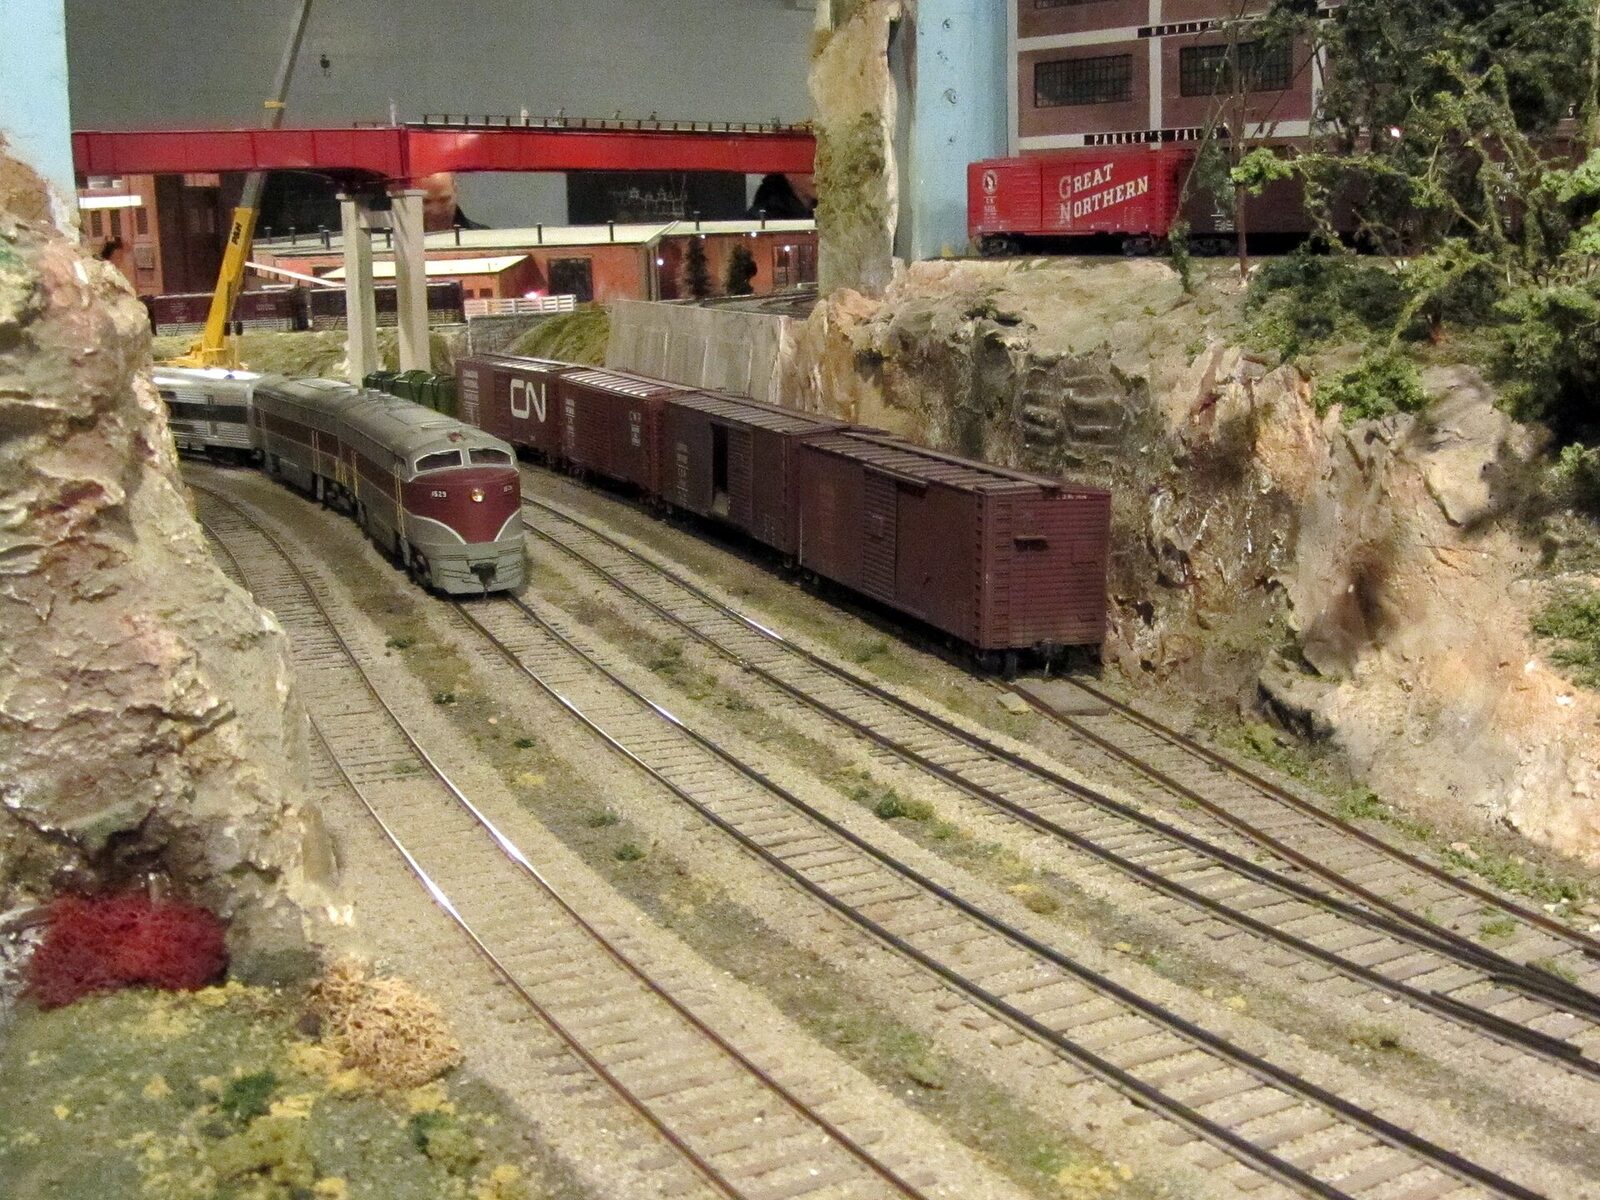
Mountainsides: Grades climbing mountainsides look dramatic. Combine with tunnel entries and rock faces.
Valley crossings: Grades descending into valleys enable trestle and bridge construction.
Switchbacks: Prototype railroads sometimes used switchbacks for steep mountain operations. Visually dramatic for layouts.
Cuts and fills: Grades through cuts (track below ground level) and over fills (track built up on earth) add scenic variety.
Tunnels: Grades leading into or out of tunnels combine scenery elements effectively.
Frequently Asked Questions
What's the steepest grade an O-gauge locomotive can handle?
Prototype railroads max around 4%; model railroads can push to 4-5% with strong locomotives and short consists. Beyond that, operational issues compound.
How much does grade construction cost?
Foam riser approach: $50-$150 for materials covering 10-15 feet of grade. Plywood traditional: $75-$200 for materials.
How long does grade construction take?
Planning and layout: 2-4 hours. Riser and sub-roadbed installation: 4-8 hours. Track installation and testing: 2-4 hours. Total: 1-2 weekends.
Can I add grades to an existing flat layout?
Yes, though requires track removal and sub-roadbed modification. Easier to plan grades from the start.
Will my LionChief locomotives handle grades?
Light LionChief locomotives handle 2% comfortably. 3%+ pushes LionChief motor limits. For serious graded layouts, LionChief Plus 2.0 or LEGACY is better.
Verdict
Grade construction is one of the most rewarding O-gauge layout projects. Modest materials cost, moderate time investment, and dramatic operational and visual improvement combined. Keep grades to 2-3% for broad motive power compatibility. Plan transitions carefully. Test before committing to scenery. For related guidance, see our foam sub-roadbed guide, our ballasting guide, our water scenes guide, our backdrop installation guide, and our around-the-walls basement layouts.
Newsletter
Weekly O-gauge tips & reviews
New reviews, layout ideas, and hobby news — straight to your inbox.