How to Weather Model Trains: Complete 2026 Beginner's Guide to Realistic O-Gauge Weathering
August 17, 2026
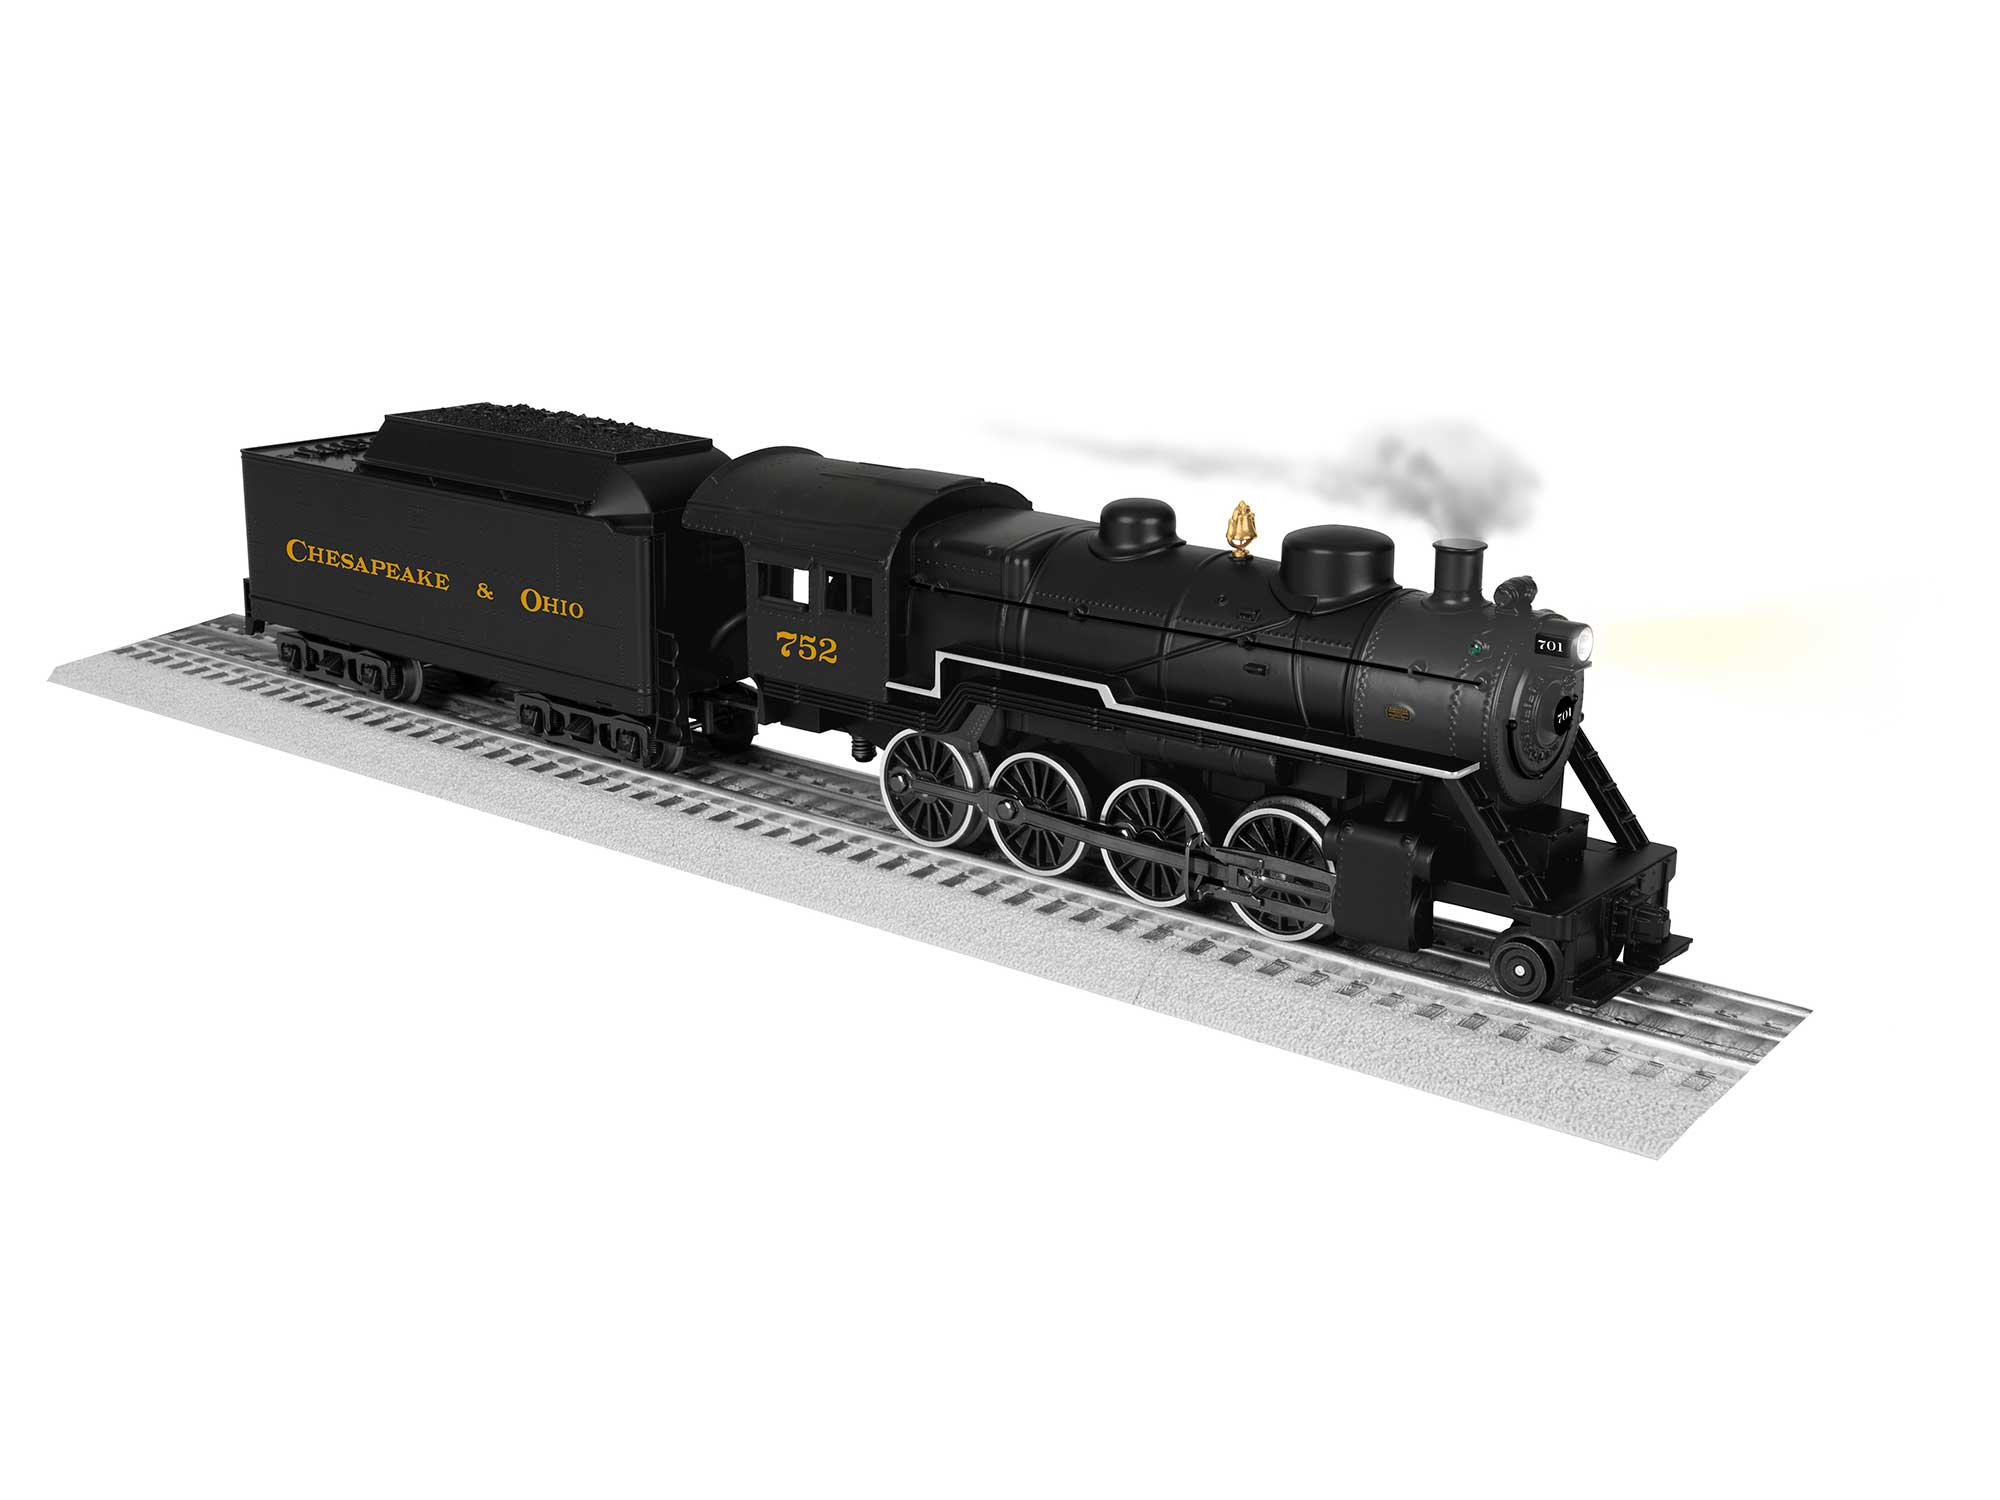
Weathering is the technique of adding realistic wear, dirt, rust, and use marks to model trains so they look like real working railroad equipment rather than factory-fresh toys. Applied properly, weathering transforms a Lionel or MTH locomotive from a shiny model into a piece that reads like it just came off a working railroad — dust on the trucks, exhaust staining on the roof, rust on the fuel tank, faded paint on the sides.
For O-gauge hobbyists new to weathering, the technique can feel intimidating. This complete beginner's guide walks through what weathering is, what supplies you need, the four fundamental techniques, and step-by-step application on your first locomotive or freight car. You will finish this guide ready to weather your first piece with confidence.
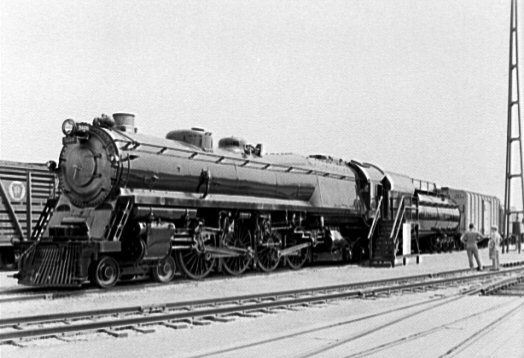
Why Weather Model Trains?
Weathering serves three purposes on an O-gauge layout:
Realism: Real trains are dirty. Even brand-new locomotives collect road dust within days of entering service. Older equipment shows decades of grime, rust, paint fade, and repair marks. Factory-finished models with pristine paint look like toys because they lack this expected wear.
Visual character: Weathering adds depth to models. Highlights emerge from the flat paint. Detail becomes more visible when accented with subtle staining. A weathered fleet has visual character that a fleet of mint pieces lacks.
Personalization: Weathering makes each model unique. A weathered piece is unmistakably yours; identical factory pieces from every collector all look the same.
What You Need to Start
Basic weathering supplies for beginners:
Weathering powders: Bragdon Enterprises, Monroe Models, and AK Interactive all produce excellent O-gauge scale weathering powders. Start with earth tones (light rust, dark rust, dark earth, coal black, ash gray). $8-$15 per bottle. A basic six-color set covers most needs.
Weathering washes: Vallejo Model Air Washes, Tamiya Weathering Master compacts, or thinned acrylic paint. Provides liquid weathering effects that flow into panel lines and detail crevices. $6-$15 per bottle.
Brushes: Cheap flat-tipped brushes ($3-$8) for powder application. Small round brushes ($5-$12) for wash application. Small stippling brushes ($4-$10) for dry-brushing.
Airbrush (optional but ideal): Basic airbrush kit ($75-$200) enables even weathering across large surfaces. Not essential for beginners; brush and powder techniques work well.
Dust mask: Weathering powders create dust when working. Wear a basic dust mask ($5-$15) during application.
Isopropyl alcohol: 91% or higher for thinning washes and cleanup.
Sacrificial test piece: Practice on a $25 boxcar before attempting your $600 LEGACY steam locomotive. Practice is essential.
The Four Fundamental Techniques
Modern weathering breaks into four primary techniques applied in sequence:
Technique 1: Base Coat and Dust Layer
The first weathering step establishes a base "dirty" layer using powder or thinned wash. Apply lightly over the entire model to knock down factory shine and add general dust.
How to apply:
1. Load a flat brush with light rust or dark earth powder.
2. Brush lightly over the model's sides, roof, and horizontal surfaces.
3. Apply more powder to horizontal surfaces (roofs, hood tops, tender decks) where dust would settle naturally.
4. Apply less powder to vertical surfaces where dust would wash off.
5. Blend edges with a clean soft brush.
Effect: The model loses its factory-plastic gleam and takes on a "used" quality.
Technique 2: Panel Line and Detail Wash
Washes flow into recessed detail (panel lines, rivet detail, louver vents, grill work) and accentuate the model's shape.
How to apply:
1. Prepare a thin wash: 3-4 parts isopropyl alcohol to 1 part flat black or dark umber acrylic paint.
2. Flow the wash into panel lines using a small round brush. Capillary action pulls it into the recesses.
3. Immediately wipe away excess wash from flat surfaces with a clean cotton swab.
4. Repeat as needed in specific areas (around fuel tanks, along hood joints, around cab windows).
Effect: Detail becomes visible. Shape reads more clearly. Model gains dimensionality.
Technique 3: Rust and Staining
Focused application of rust and staining powders on specific areas creates targeted weathering effects that read as real wear patterns.
Key locations for steam locomotives:
Boiler: Light staining below stack (soot), light rust around cylinder heads, occasional water staining on tender.
Running gear: Rust and grime on truck sideframes, dark staining on wheels and axles, fuel/oil staining around cylinder heads.
Tender: Coal dust on top of tender if coal-fired prototype, water staining on sides, general dust on horizontal surfaces.
Key locations for diesel locomotives:
Roof: Exhaust staining around stacks, general dust on horizontal surfaces, occasional rust around vents.
Fuel tank: Rust drips below fill points, oil staining on tank bottom, general dirt accumulation.
Trucks: Heavy rust and grime, brake dust, general road grime.
Sides: Streaking from rain and washing, general dust, occasional graffiti on modern-era prototypes.
Technique 4: Dry-Brushing and Highlighting
Dry-brushing adds light highlights to raised detail — the opposite of washes which darken recessed detail.
How to apply:
1. Load a stiff dry brush with a light color (light gray, silver, or a lightened version of the base color).
2. Wipe most of the paint off on a paper towel until the brush is almost dry.
3. Brush gently across raised detail (grab irons, hinges, rivets, handrails).
4. The remaining pigment catches on the raised edges, creating subtle highlights.
Effect: Raised detail becomes more visible. The model gains three-dimensional appearance.
Step-by-Step: Weathering Your First Locomotive
A practical workflow for your first weathered locomotive:
Step 1: Clean the locomotive with a soft cloth to remove any oils or fingerprints.
Step 2: Photograph the locomotive before starting. You will want a before/after comparison.
Step 3: Apply light dust layer with earth-tone powder to all horizontal surfaces (roof, hood top, running board).
Step 4: Apply thin dark wash into panel lines and detail crevices. Wipe away excess.
Step 5: Apply targeted rust and staining to specific locations (below stacks, on trucks, around fuel points).
Step 6: Dry-brush light highlights to raised detail.
Step 7: Step back and evaluate. Add more weathering where you want it. Leave lighter where you want it.
Step 8: Seal with matte spray if desired (optional; some hobbyists prefer unsealed powder weathering that can be modified later).
Total time for first locomotive: 45-90 minutes.
Common Beginner Mistakes
Too much weathering. The single most common beginner mistake. Real trains show subtle wear, not extreme grime unless documenting a specific abandoned or heavily weathered prototype. Start light, add more, do not start heavy.
Wrong colors. Rust is red-brown, not orange. Coal dust is deep black, not gray. Fuel staining is dark brown, not yellow. Match colors to real prototype photos before applying.
No prototype reference. Every weathering technique should reflect real weathering patterns. Search Google Images for the specific railroad and locomotive type before weathering. Note where dirt actually accumulates on real trains of that type.
Uneven application. Weathering should look organic, not mechanical. Vary intensity, blend edges, avoid straight lines except where actual straight-line weathering (rust runs from bolts, for example) would occur.
Practicing on premium pieces. Weathering your first LEGACY Big Boy is a mistake. Practice on cheap boxcars until your technique is confident.
Where to Learn More
The weathering community shares knowledge freely:
OGR Forums: The O Gauge Railroading forum weathering sections are excellent for technique discussion and photo examples.
YouTube: Weathering channels like Boomer Diorama, Modeling Nation, and specific O-gauge weathering tutorials from Modeltrainstuff and Bragdon Enterprises.
Books: Kalmbach Publishing produces multiple weathering guides applicable across scales. "Basic Painting and Weathering for Model Railroaders" is a common starting point.
Model railroad shows: Weathering demonstrations at York, Springfield, and larger regional shows offer live instruction from experienced hobbyists.
Frequently Asked Questions
Does weathering hurt the value of Lionel trains?
Yes, permanently applied weathering typically reduces resale value for premium pieces. Weathering makes sense for pieces you plan to keep and operate on your own layout. For pieces you might resell, consider unsealed powder weathering (which can be brushed off) or weather only lower-cost operating pieces while keeping premium collectibles pristine.
Can weathering be removed?
Powder weathering can be brushed off with a clean soft brush. Wash weathering can be removed with isopropyl alcohol and gentle cleaning. Sealed weathering (matte spray applied over the weathering) is essentially permanent. If you might change your mind, don't seal.
What is dry-brushing versus washing?
Washing floods thin paint into recessed detail to darken it. Dry-brushing lightly touches raised detail with almost-dry paint to highlight it. They are opposite techniques — washes darken recesses, dry-brushing lightens raised areas. Use both for maximum weathering depth.
How long does weathering take?
First locomotive: 45-90 minutes. As experience grows, quality weathering can take 20-40 minutes per locomotive. Freight cars are faster, 15-30 minutes each.
Do I need an airbrush?
No. Powder and brush techniques work well for beginners and produce excellent results. Airbrushes enable smoother large-area weathering effects and specific techniques (fading, streaking) that are harder with powders alone. Add an airbrush once you're comfortable with fundamentals.
Verdict
Weathering transforms model trains from factory-fresh toys into pieces that look like real working railroad equipment. The fundamentals — dust layers, washes, targeted rust and staining, dry-brushing highlights — are accessible to any hobbyist willing to practice. Start with light effects on cheap freight cars, build technique confidence, then apply what you've learned to premium pieces on your own operating layout. Weathering is one of the highest-return techniques in O-gauge modeling: modest supplies and technique investment yield dramatic visual improvement in your layout. For related realism techniques, see our freight car weighting guide, our passenger car interior lighting guide, and our freight yard design guide for full-layout realism improvements.
Newsletter
Weekly O-gauge tips & reviews
New reviews, layout ideas, and hobby news — straight to your inbox.