How to Build an O-Gauge Tunnel: Complete 2026 Scenery Construction Guide
November 3, 2026
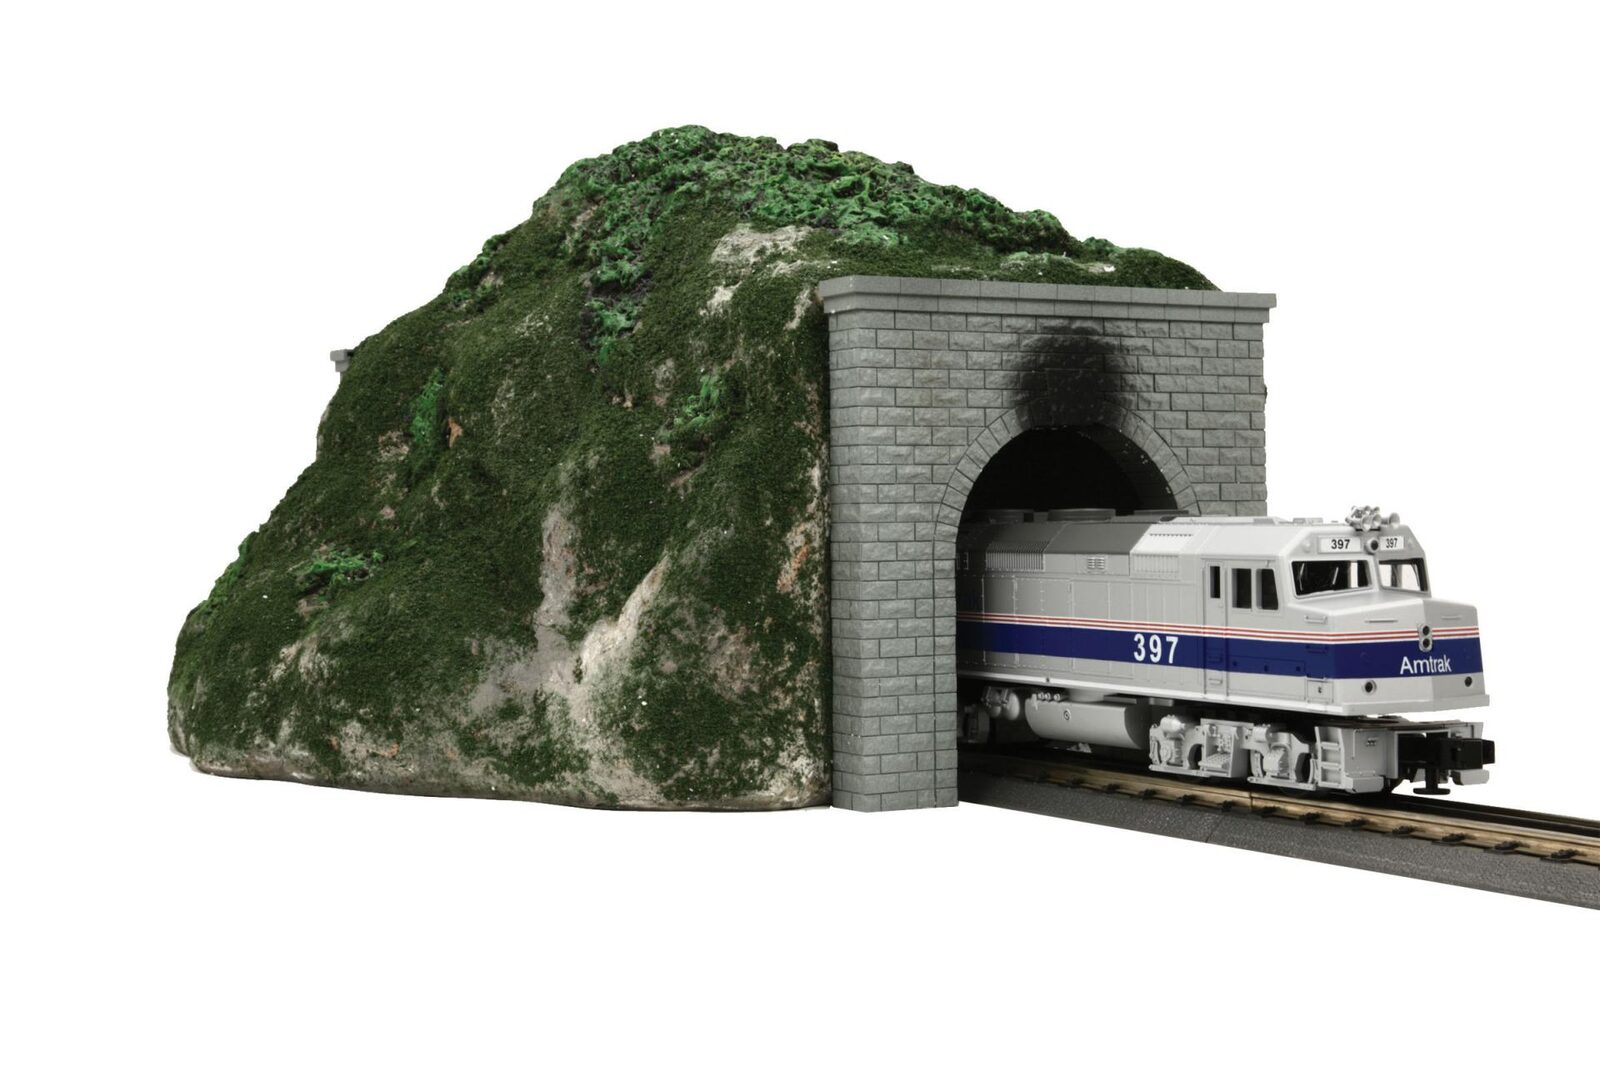
A well-built tunnel is one of the most dramatic scenery features on an O-gauge layout. Trains emerge from darkness into light, disappear through hillsides, add visual depth and operational interest in a few square feet of layout real estate. The construction is straightforward but has specific requirements: track access for maintenance, correct portal proportions, lighting considerations, and specific scenery techniques for the hillside above. This complete 2026 guide walks through O-gauge tunnel construction: materials, portal selection, step-by-step build, lighting, maintenance access, and the specific mistakes that force rebuilds.
Why Tunnels Matter
Three reasons tunnels earn their layout real estate:
Visual drama. Trains disappearing into and emerging from tunnels create signature operating moments. Prototype railroad photographers chase tunnel exits for a reason.
Scenery enablement. Tunnels anchor hillside and mountain scenery. The tunnel portal gives you a reason to build the hill above.
Visual separation. A tunnel can separate two distinct scenic zones on a layout. The train enters one scene, emerges into another. Doubles the apparent layout size.
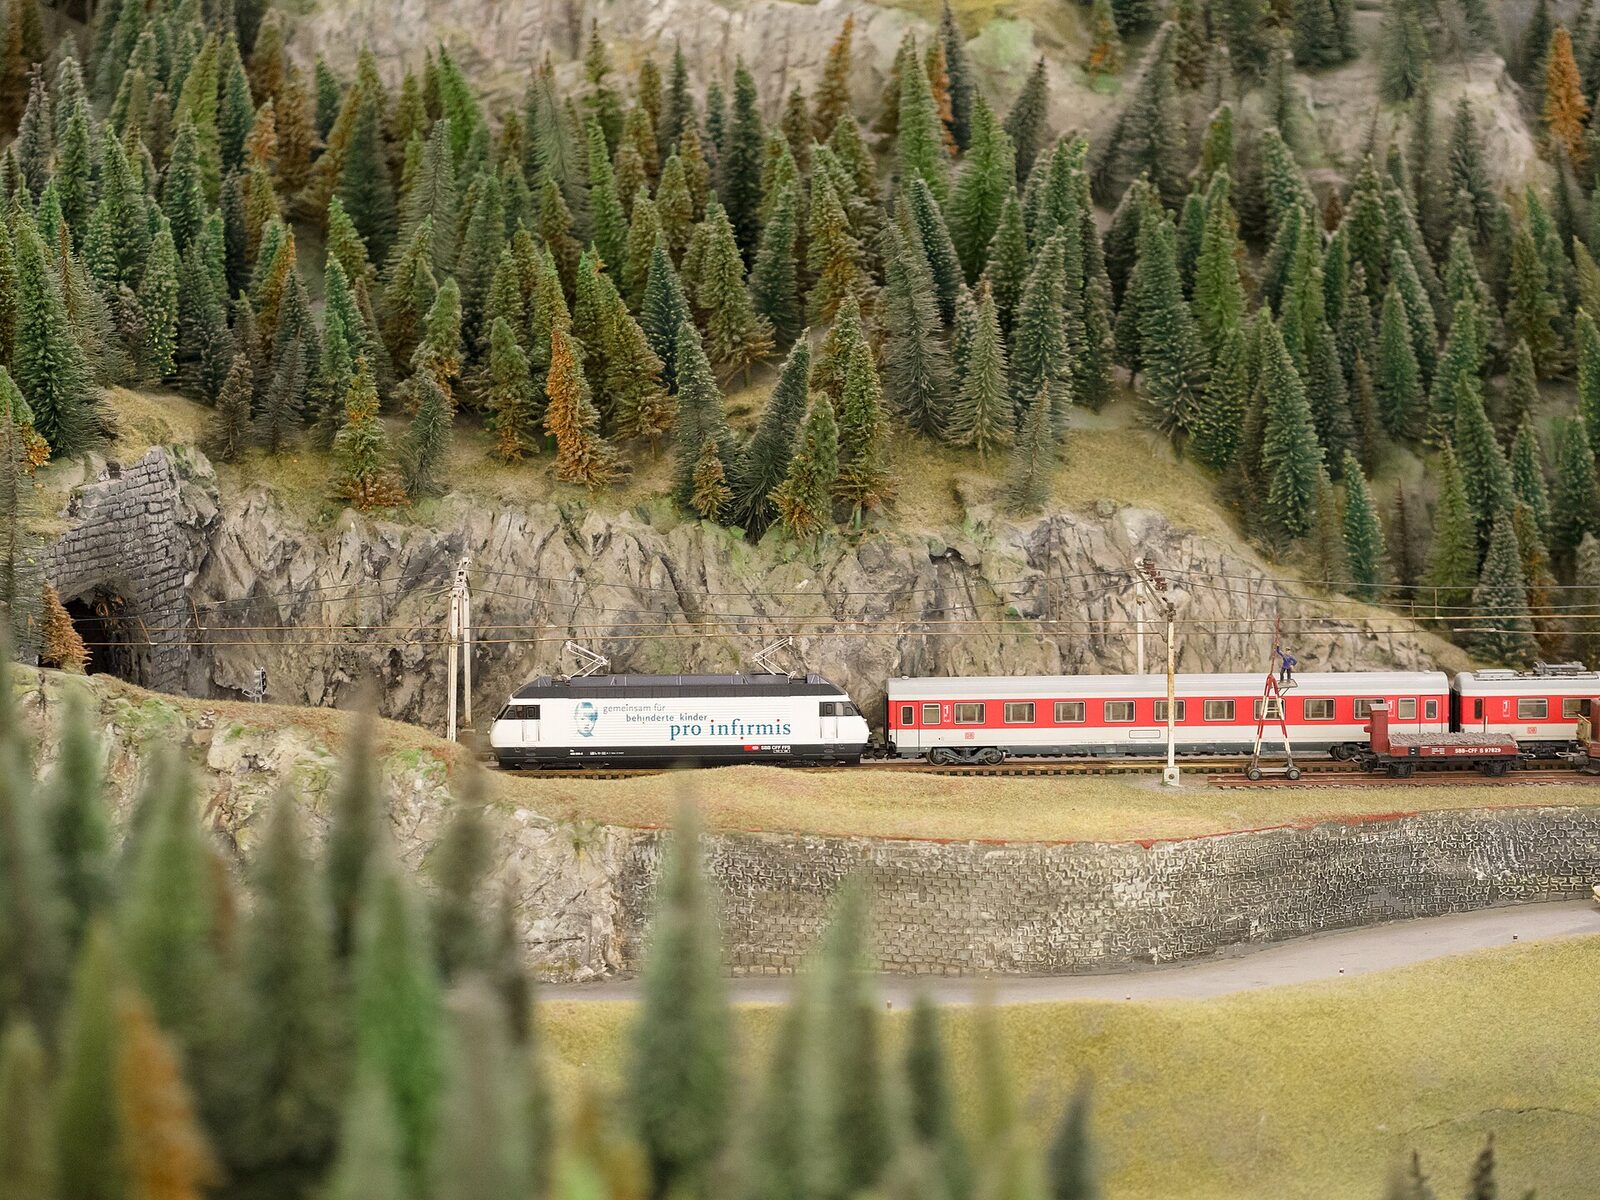
Tunnel Construction Approaches
Through-Hill Tunnel
Classic tunnel passing through a hillside with portals at both ends. Track hidden inside the hill. Most common tunnel type.
Pros: Dramatic visual effect, substantial scenery anchor
Cons: Hidden track requires maintenance access
Cliff-Face Tunnel
Shorter tunnel through a rock cliff face. Portal visible, minimal hidden length.
Pros: Easier maintenance, strong visual rock face
Cons: Less visual drama than through-hill
Mountain Pass Tunnel
Longer tunnel through substantial mountain scenery. Can span multiple feet of hidden track.
Pros: Maximum visual drama
Cons: Significant hidden track requires substantial maintenance access planning
Decorative Tunnel
Short tunnel portal piece that trains barely enter: essentially just a portal with minimal hidden track.
Pros: Simplest construction, minimal hidden track
Cons: Less dramatic effect
Materials
Pre-made tunnel portals: Woodland Scenics, Chooch, and other suppliers make O-gauge tunnel portals in various rock types and styles. $8-$25 per portal.
Hillside foam: XPS foam (pink or blue) carved to hillside shape. 2-3 inch thickness typical. $25-$45 per 4x8 sheet.
Plaster cloth: Shaped over foam substructure to form hillside surface. $20-$40 for sufficient coverage.
Rock castings: Pre-made rock castings or Hydrocal-poured castings. $5-$15 per piece.
Ground cover: Woodland Scenics turf, static grass, lichen. $5-$15 per container.
Trees: 10-30 trees for hillside depending on size. $2-$10 per tree.
Tunnel liner (optional): Black painted foam or cardboard lining the tunnel interior to improve visual.
LED lighting (optional): Small LED strips for interior tunnel lighting.
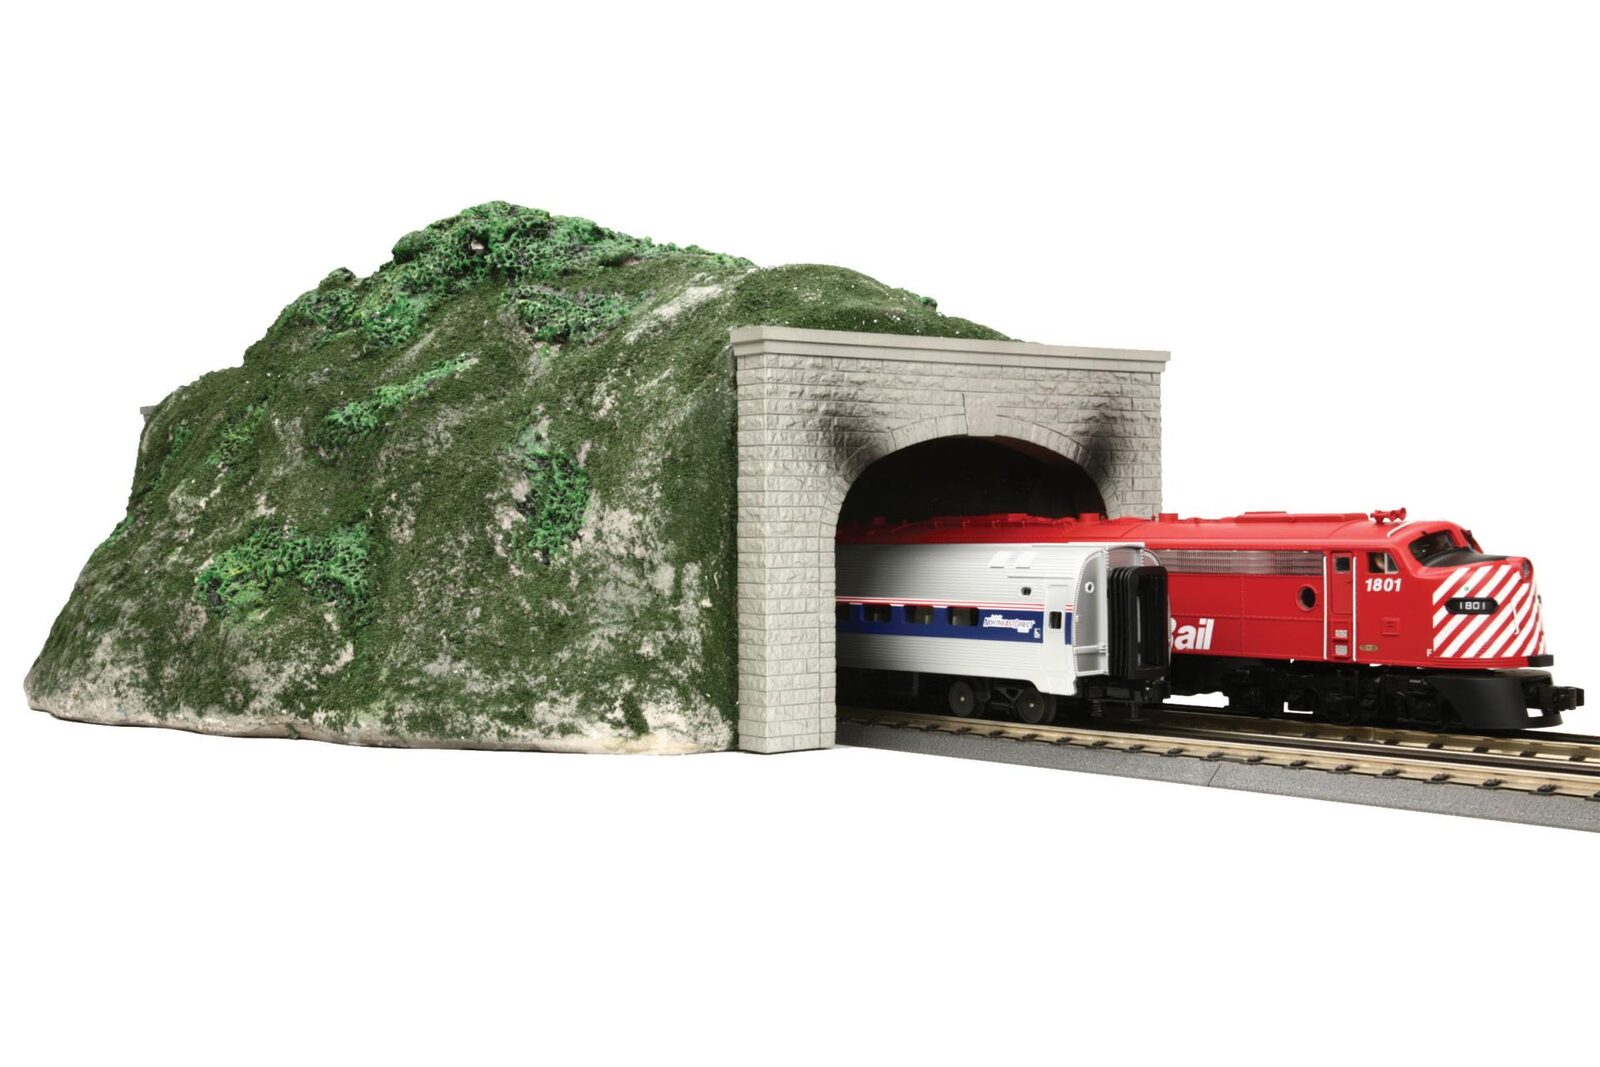
Tunnel Portal Selection
Single-track vs double-track: Match portal to number of tracks passing through. Prototype railroads use single-track and double-track portals.
Rock type: Portals come in various rock types, granite, sandstone, concrete, timbered wood. Match to prototype era and geographical setting.
Period styling: 1800s portals (timbered wood frames) vs 1950s portals (concrete reinforced) vs modern (concrete tunnel liners). Match to layout era.
Portal size: O-gauge portals accommodate O-gauge locomotives. Verify specific height clearance for your tallest equipment (Vision Line Big Boy needs maximum clearance).
Prototype inspiration: Research specific prototype railroad tunnels for authentic portal style selection.
Step-by-Step Tunnel Construction
Step 1: Plan Track Through Tunnel Area
Install track completely before building tunnel. Verify operation of track section. Easier to fix track problems before scenery covers it.
Step 2: Plan Maintenance Access
CRITICAL: Plan how to access hidden track for cleaning and repair. Options:
- Removable hillside section (foam carved as liftout)
- Access hatch cut into hillside
- Rear access from behind the hill
- Hinged hillside section
Choose approach before building. Track that becomes inaccessible after construction causes decades of maintenance problems.
Step 3: Install Portals
Position tunnel portals at tunnel ends. Secure with foam-safe adhesive or construction adhesive.
Verify portal height clearance accommodates tallest expected locomotive. Vision Line articulated steam needs maximum clearance: 5-6 inches above railhead for safety.
Step 4: Build Hillside Substructure
Build foam blocks or carved foam substructure above the tunnel. Shape to create hillside form.
Leave planned maintenance access as liftout section or hatch.
Apply foam-safe adhesive to secure foam blocks to layout base.
Step 5: Shape Hillside Surface
Apply plaster cloth over foam substructure to form hillside surface. Plaster cloth adds strength and provides good base for scenery materials.
Alternatively, carve foam directly for rock face appearance. Hot wire cutter helps.
Allow plaster to fully cure before adding color.
Step 6: Add Rock Features
Rock castings glued to hillside surface where appropriate. Paint castings with earth tones. Multiple layers for depth.
Specific attention to area around tunnel portal: rock cuts typically most dramatic near tunnel entrances.
Step 7: Apply Ground Cover
Apply ground cover (turf, static grass) across hillside areas not covered by rock. Match grass color to layout environment and era.
Lichen or similar material for brush and small shrubs.
Step 8: Add Trees
10-30 trees per hillside depending on scale. Mix tree types for realistic forest appearance. Position larger trees near tunnel area for scale emphasis.
Step 9: Add Portal Detail
Weathering around tunnel portal: soot and smoke staining from locomotive exhaust. Vegetation growing in cracks. Water stains on portal.
These details significantly improve tunnel realism.
Step 10: Interior Lighting (Optional)
Small LED strips inside tunnel for subtle interior illumination. Allows viewers to see trains inside the tunnel. Optional but adds dramatic effect.
Maintenance Access Options
Critical consideration for tunnel construction:
Liftout hillside: Foam hillside section carved to lift completely off tunnel area for maintenance access. Most flexible, easier for substantial maintenance.
Access hatch: Cutout in hillside concealed with removable scenery piece. Smaller access but less disruption.
Hinged section: Hillside section hinged to swing open. Complex to build, convenient for frequent access.
Rear access: If tunnel runs through hill against layout wall, access from behind. Simplest if layout geometry supports it.
Fiber optic monitoring: Small camera or fiber optic for viewing hidden track. Doesn't solve maintenance but helps diagnose problems.
Operating Considerations
Train length: Short tunnels fine with any train. Long tunnels (3+ feet of hidden track) risk entire train being hidden simultaneously.
Smoke units: Smoke accumulates inside tunnels. Not a problem but visible if interior lit.
Sound projection: RailSounds audio can echo differently in tunnels. Interesting operational effect.
Lighting transitions: Train headlights entering/exiting tunnel create dramatic lighting effects.
Potential derailments inside tunnel: Verify track integrity before covering. Derailments inside tunnels are difficult to recover.
Common Tunnel Construction Mistakes
No maintenance access. The #1 mistake. Hidden track that becomes unreachable guarantees future problems.
Portal too short. Vision Line Big Boy or tall equipment hits portal top. Verify clearance before committing.
Portal too wide/narrow. Wrong portal width looks off vs track geometry.
Hillside too small. Tiny hillside above tunnel reads as toy-like. Scale the hill to the tunnel significance.
Wrong portal era. Modern concrete portal on 1800s mining layout. Match period styling.
Insufficient weathering. New-looking tunnel portals read as fake. Smoke and water staining essential.
Not testing track first. Installing tunnel over untested track creates hidden problems that only emerge during operation.
Dark tunnel interior with no visibility. Some interior lighting adds dramatic effect vs pure darkness.
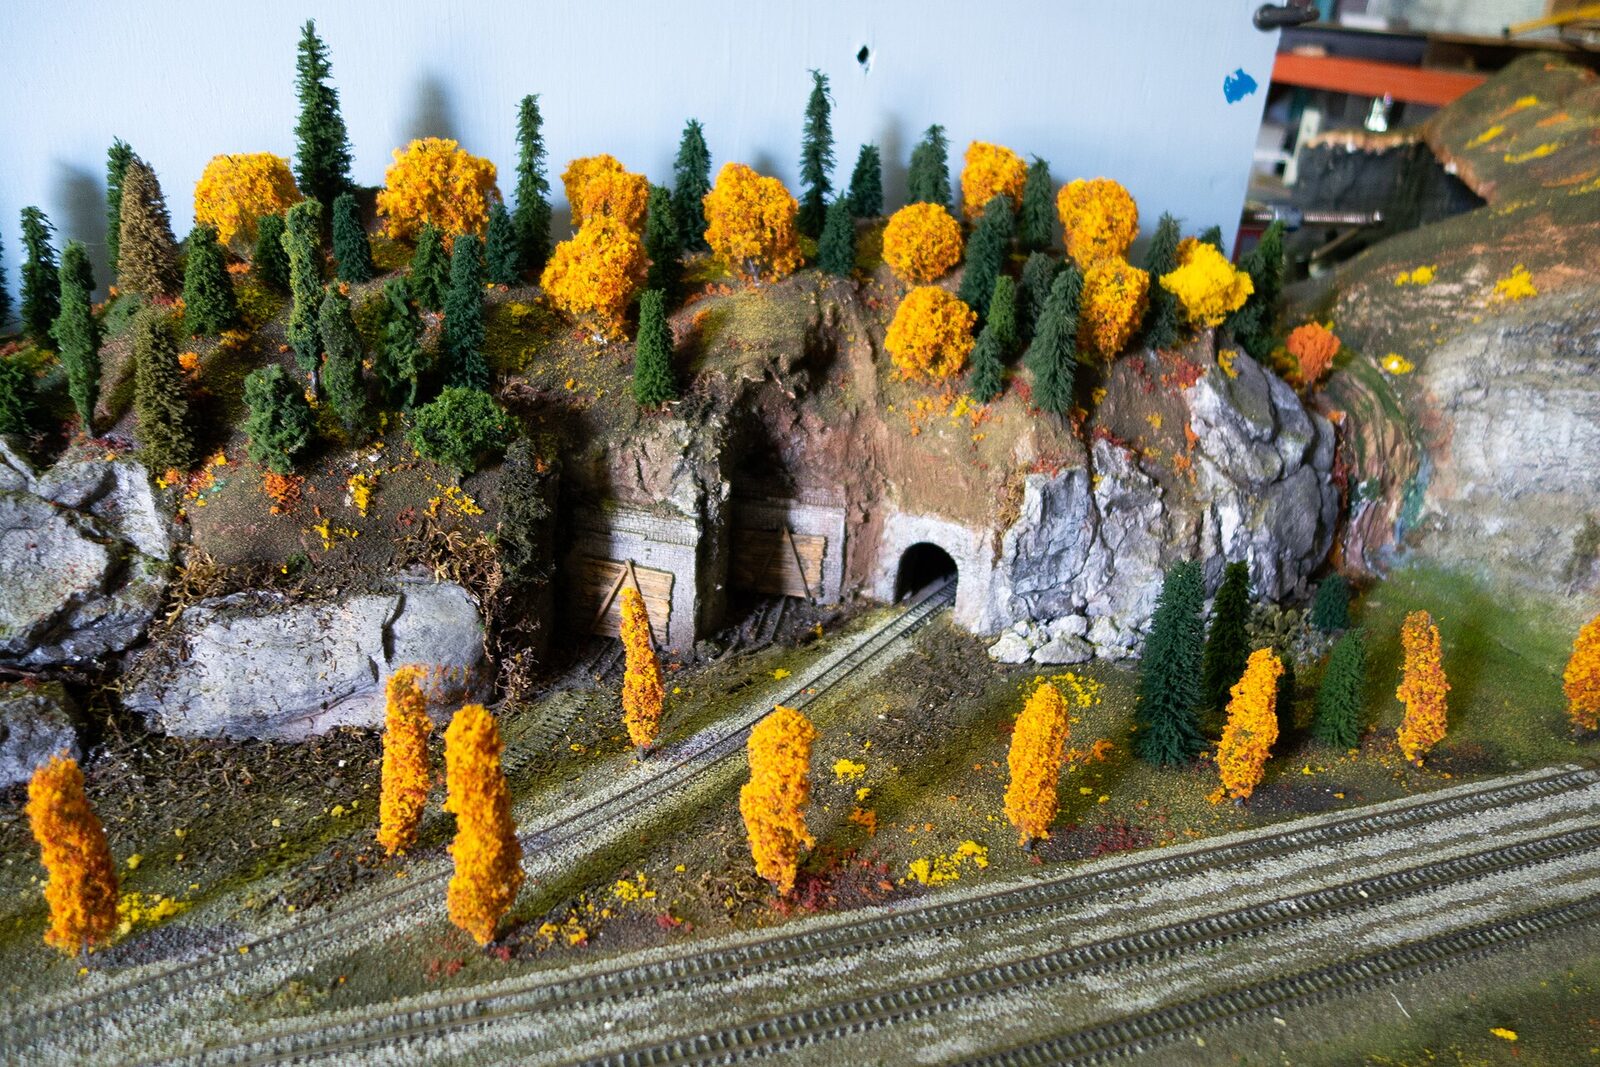
Scenery Around Tunnels
Mountainside integration: Tunnel is typically midway up substantial mountain or hill. Scale accordingly.
Rock cuts leading to portal: Prototype tunnels often approached through dramatic rock cuts. Model these for realism.
Vegetation reclaiming unused areas: Older tunnels have vegetation growing in unused rock cuts and above portal.
Trestles or bridges nearby: Tunnels combined with trestles or bridges create signature mountain scenes.
Water features below: Mountain tunnels often have streams or rivers below. Combine with water scene construction.
Specific Prototype Inspiration
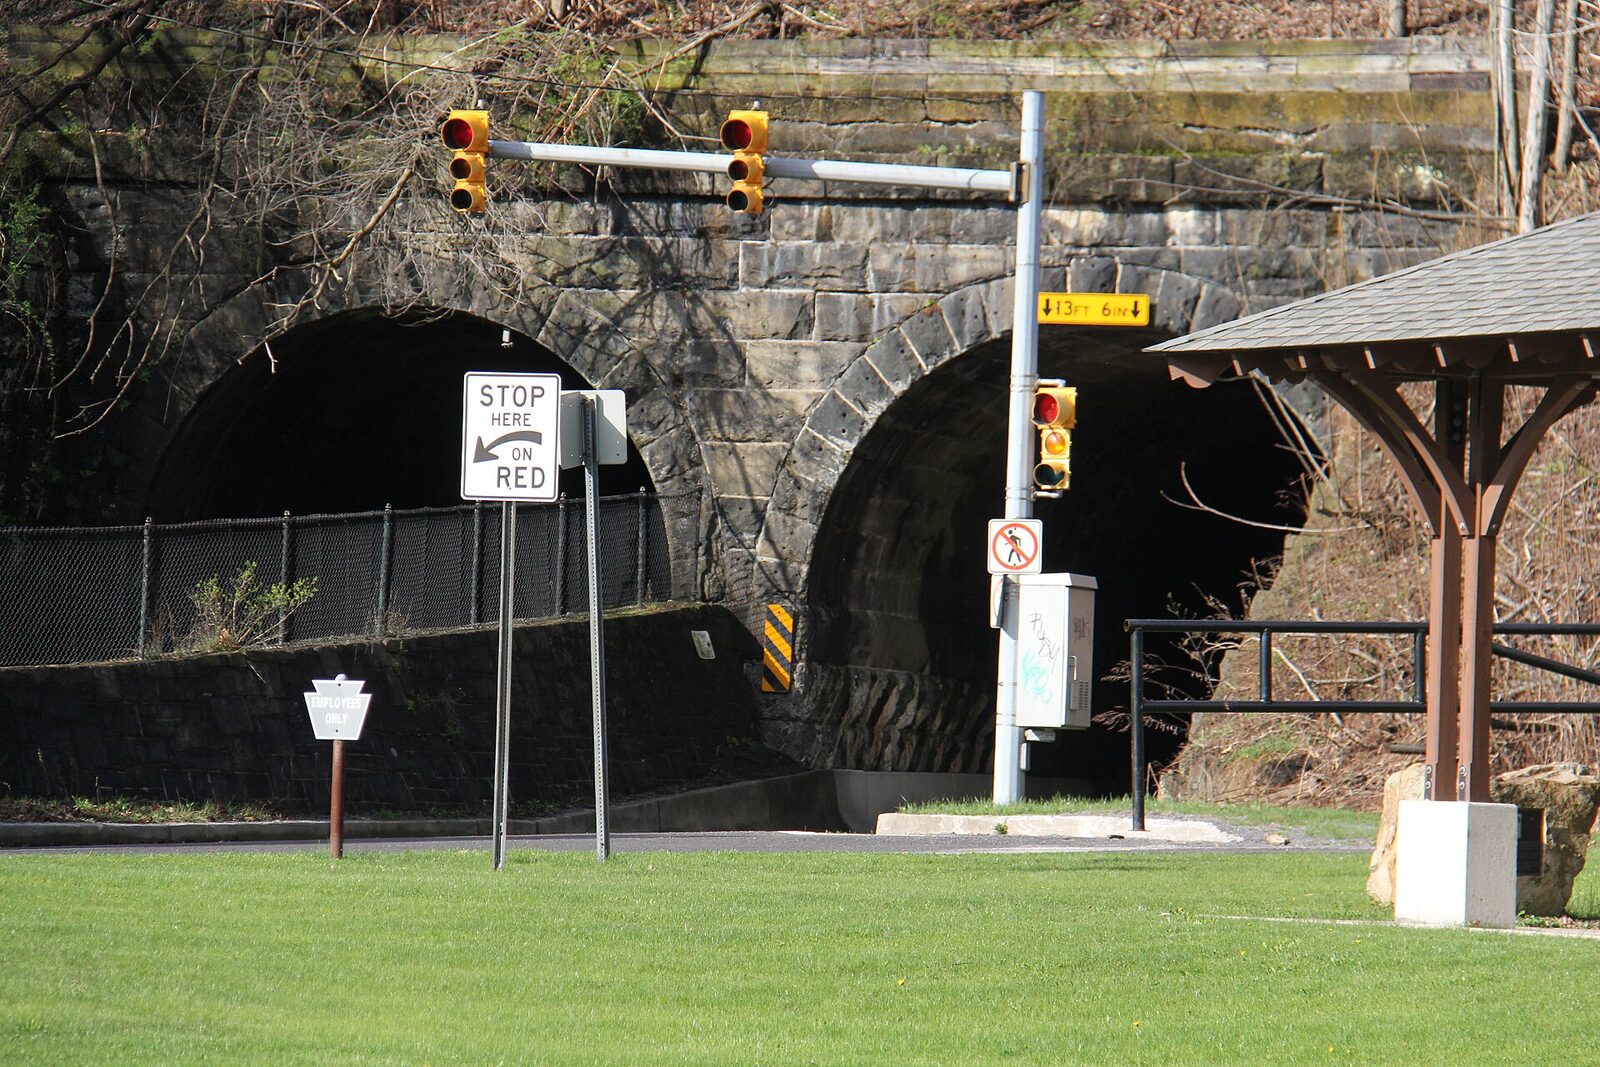
Donner Pass tunnels: Famous Sierra Nevada rail tunnels. Specific concrete portal styling.
Appalachian coal railroad tunnels: Classic timbered wood portals with weathered character.
Modern concrete tunnels: Clean concrete liners typical of post-1950 construction.
Historic timbered tunnels: 1800s-era wood frame portals for narrow-gauge or vintage layouts.
Research online: Prototype railroad photography provides excellent reference for authentic tunnel styling.
Frequently Asked Questions
How much does tunnel construction cost?
Basic tunnel with simple portal and small hillside: $75-$150. Elaborate mountain tunnel with substantial hillside and rock cuts: $200-$400.
How long does tunnel construction take?
Simple tunnel: 4-8 hours across 2-3 sessions. Elaborate mountain tunnel: 10-20 hours across multiple weekends.
What portal clearance do I need for Vision Line Big Boy?
5-6 inches above railhead minimum. Vision Line articulated steam is tallest Lionel equipment.
Can I add a tunnel to an existing layout?
Yes. Requires scenery work above existing track plus portal installation at tunnel entrances.
Should tunnel interior be dark or lit?
Preference. Dark creates mystery. Subtle interior lighting lets viewers see trains inside. Both work.
Verdict
A well-constructed tunnel is one of the highest-impact scenery investments for an O-gauge layout. Modest materials cost ($75-$400 depending on scale), moderate time investment, and dramatic visual and operational benefit combined. Critical requirement: plan maintenance access before building. For related scenery guidance, see our mountains and tunnels guide, our foam sub-roadbed guide, our ballasting guide, our backdrop installation guide, and our grade construction guide.
Newsletter
Weekly O-gauge tips & reviews
New reviews, layout ideas, and hobby news — straight to your inbox.