How to Install Realistic Backdrops on Your O-Gauge Layout: Complete 2026 Scenery Guide
October 2, 2026
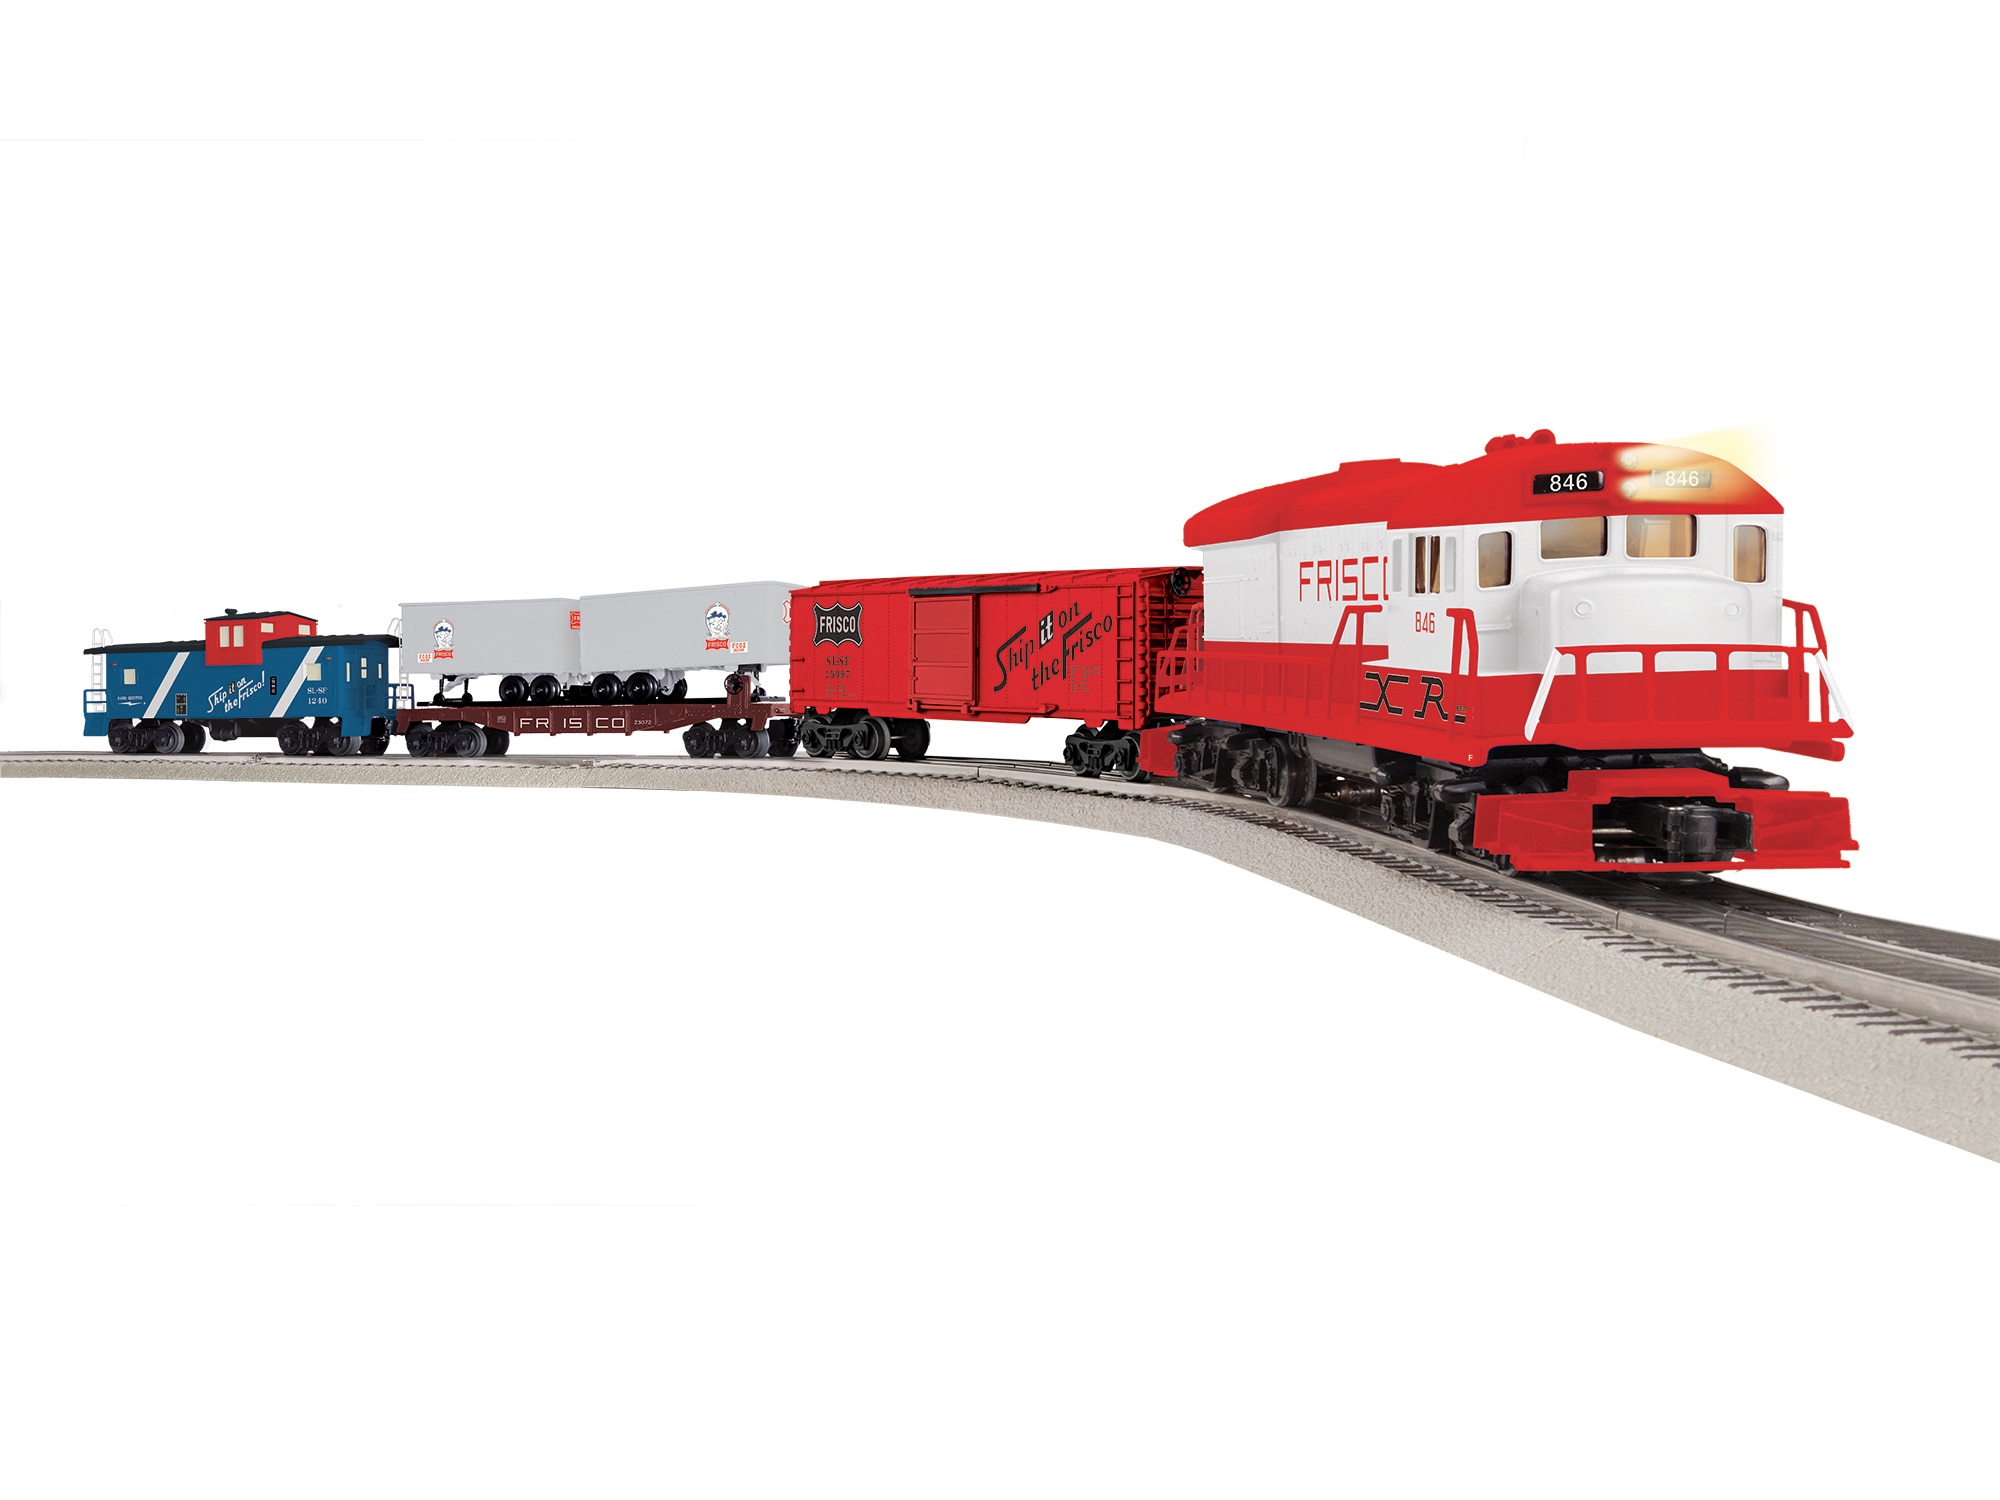
A good backdrop transforms an O-gauge layout from a train on a table into a train in a landscape. The right backdrop extends apparent depth, hides construction imperfections, and provides visual continuity across your scenery. The wrong backdrop looks fake and distracts from the trains. This complete 2026 guide walks through designing, selecting, and installing realistic backdrops on O-gauge layouts — from choosing the right material and image to mounting, blending with foreground scenery, and avoiding the mistakes that make backdrops look amateur.
Why Backdrops Matter
Backdrops do three critical things for a layout:
Extend apparent depth. A painted or printed backdrop makes the layout feel larger. A 24-inch-deep layout with a good backdrop appears to extend into distance.
Hide construction imperfections. Backdrops cover unsightly wall details, lighting fixtures, and construction messiness that distract from trains.
Provide visual continuity. Backdrops connect foreground scenery visually with the broader landscape — hills become part of distant terrain, buildings sit in a townscape rather than floating in isolation.
Backdrop Types
Painted Backdrops
Classic hand-painted backdrop on canvas, hardboard, or wall surface. Infinite customization but requires painting skill.
Pros: Fully customizable, lasts decades, blends seamlessly with foreground scenery.
Cons: Requires significant artistic skill, time-consuming, difficult to redo if unhappy with result.
Best for: Operators with painting experience, premium long-term layout installations.
Printed Backdrops
Commercially printed photographic or illustrated backdrops available in rolls or panels. Modern printing quality is excellent.
Pros: Professional appearance immediately, specific prototype representations available, easy installation.
Cons: Fixed scene — doesn't customize to layout, visible seams if poorly installed.
Best for: Builders wanting instant professional appearance, prototype-focused modelers.
Hybrid Approach
Printed backdrop as base with hand-painted or airbrushed detail added over the printed image to blend with foreground scenery.
Pros: Professional appearance of printed with customization of painted.
Cons: Requires some painting skill, more work than pure printed.
Best for: Builders who want extra customization without starting from blank.
Backdrop Scene Selection
Choose scenes that match your layout era, geography, and theme:
Urban/industrial: City skylines, factory districts, warehouse backgrounds. Perfect for shelf layouts and freight-focused scenes.
Rural/agricultural: Farmland, fields, distant barns. Fits New England, Midwest, or Great Plains prototypes.
Mountain: Rocky peaks, pine forests, wilderness. Essential for Western prototypes, Appalachian coal railroads.
Water/coastal: Rivers, harbors, lakes. Dockside and port layouts benefit significantly.
Desert: Southwestern mesas, sage, sparse vegetation. Fits ATSF, UP western divisions, Southern Pacific.
Era-matched: Match the backdrop era to your trains. 1950s backdrop for postwar Lionel, modern backdrop for current LEGACY/LionChief.
Backdrop Materials
Pre-primed Masonite/MDF panels: 1/4" thick, pre-cut to backdrop size. Smooth surface, holds paint or adhesive well. $20-$50 per panel.
Vinyl canvas: Flexible, lightweight, hangs easily. Printed options available in O-scale-friendly sizes. $40-$120 per panel.
Printed backdrop rolls: Commercial rolls (Walthers, Scenic Express, Backdrop Warehouse) in 24"-36" heights. $40-$150 per 10-foot panel.
Painted wall surface: If the layout is permanent, painting directly on the wall surface works. Requires excellent surface preparation.
Transparent film: Printed on clear vinyl, attaches to window-adjacent layouts. Specialty application.
Backdrop Height
Standard backdrop heights for O-gauge:
Shelf layouts (14-18" deep): 20-24" tall backdrop. Enough height to extend scenery, not so tall it looms over the trains.
4x8 and 5x8 tables: 24-30" tall backdrop. Standard proportion for medium layouts.
Large layouts (8x12+): 30-40" tall backdrop. Dramatic depth and scenic impact.
Floor-to-ceiling applications: Full-wall backdrops create immersive layout rooms. Significant installation but visually stunning.
Installation: Step-by-Step
Step 1: Prepare the Mounting Surface
If backdrop mounts to a wall, prepare the wall:
- Patch any holes, smooth any texture
- Prime with white latex primer (makes paint match easier if touching up)
- Allow full curing before mounting backdrop
- If mounting to layout benchwork, verify sturdy backdrop support (typically 2x2 vertical supports with 1x4 horizontal backing)
Step 2: Install the Backdrop
For hardboard/MDF panels: Mount with construction adhesive or screws from behind. Overlap seams by 1/4" and smooth with wood filler before painting.
For vinyl canvas: Hang with grommets at top edge from a horizontal support rail. Allow slight drape or stretch tight depending on preference.
For printed rolls: Apply with wallpaper paste or spray adhesive. Overlap seams minimally and smooth. Trim to layout contour.
For painted wall: Standard interior painting technique with large flat brushes. Begin with sky color, add distant features, foreground details last.
Step 3: Blend with Foreground Scenery
The most important step. Backdrop and foreground must transition smoothly:
Hill continuations: Hills in the backdrop should visually connect with hills in the foreground. Use airbrushed shading on backdrop or scenery material against the backdrop to create smooth transitions.
Tree lines: Where backdrop trees meet foreground trees, use similar colors and proportions. Avoid obvious scale mismatch.
Horizon line: Keep horizon lines consistent across the entire backdrop. Variable horizon destroys the illusion of depth.
Sky treatment: If backdrop has sky and your foreground is open, extend the sky color above the backdrop to the ceiling or lighting valance.
Weather and lighting: Match backdrop weather to foreground lighting. Overcast backdrop pairs poorly with brightly-lit layout foreground.
Step 4: Final Detailing
Backdrop touch-ups: Hand-paint small details that make the backdrop match your specific layout — a water tower, distant barn, specific road.
Lighting adjustment: Install dedicated backdrop lighting if needed. Backdrop washes with uniform lighting look more realistic.
Dust protection: Install dust shield or valance over backdrop. Keeps dust from accumulating on the backdrop surface.
Common Backdrop Mistakes
Wrong scale. Buildings in the backdrop at the wrong apparent size relative to foreground buildings. Objects should recede with distance.
Harsh backdrop/foreground transitions. Hills that stop abruptly at the backdrop line. Fence of trees that forms obvious boundary.
Wrong weather or lighting. Sunlit backdrop paired with cloudy foreground, or vice versa. Nighttime backdrop in daytime scene.
Era mismatch. 1950s backdrop with modern trains, or current modern buildings behind postwar equipment.
Too much backdrop detail. Backdrop with excessive foreground detail competes with actual foreground. Keep backdrop subtler than foreground.
Visible seams. Panel joints or roll seams showing. Careful installation and seam smoothing prevents this.
Reflective surfaces. Glossy backdrop material reflecting layout lighting. Always use matte or satin finish.
Backdrop for Specific Layout Types
Urban shelf layouts: City skyline, industrial district, warehouse backs. Printed urban backdrops ($40-$80) work excellently.
4x8 oval layouts: Rural backdrop with distant hills. Hand-painted or basic printed landscape. Keep subtle.
L-shape corner layouts: Mountain backdrop in corner, transitioning to town or farmland on wings. More complex installation but visually dramatic.
Around-the-room layouts: Full-wall backdrop installations. Significant investment but creates immersive layout rooms.
Christmas tree layouts: Winter mountain backdrop or snowy village. Short-term installations with removable backdrop panels work well.
Where to Buy Backdrops
Scenic Express: Industry-leading selection of printed backdrops. Known for prototype accuracy and quality.
Backdrop Warehouse: Wide variety of printed backdrops at various price points. Good for budget installations.
Walthers: Pre-printed backdrops in multiple themes. Available through most hobby shops.
Local hobby shops: Often carry Walthers and Scenic Express backdrops. Allow in-person comparison before purchase.
Custom printing: Services like Spoonflower or custom print shops offer photo-based backdrops from your own images.
Frequently Asked Questions
How much does a backdrop installation cost?
Simple 6-foot printed backdrop: $40-$80. Full-wall 20-foot professional installation: $300-$600. Hand-painted backdrop: $100-$300 in materials plus significant time.
Can I paint over a printed backdrop?
Yes. Many hybrid installations print a base scene and add hand-painted detail. Use acrylic paints matched to backdrop printing.
How long does a backdrop installation take?
Printed roll on prepared surface: 2-4 hours. Hand-painted on fresh wall: 10-30 hours over multiple sessions. Hybrid: 8-15 hours.
Should backdrop match specific prototype railroad geography?
If prototype accuracy matters to you, yes. Appalachian coal railroad backdrop would feature Appalachian mountains, not Rocky Mountains. Match geography to prototype railroad.
Can I use a backdrop for a Christmas tree layout?
Yes, and it's one of the best investments for a holiday layout. Removable backdrop panels work excellently for seasonal installations.
Verdict
A well-installed backdrop transforms an O-gauge layout from a train on a table into a train in a landscape. Modest materials cost ($40-$150 per 10-foot section), moderate installation time (2-8 hours typical), and dramatic visual impact combined. Start with a printed backdrop matched to your prototype era and geography. Add hand-painted detail over time to customize. For related scenery guidance, see our water scenes guide, our mountain and tunnel scenery, our weathering guide, our shelf-switching layouts, and our 4x6 track plans.
Newsletter
Weekly O-gauge tips & reviews
New reviews, layout ideas, and hobby news — straight to your inbox.