How to Ballast O-Gauge Track for Realistic Results: Complete 2026 Scenery Guide
October 5, 2026
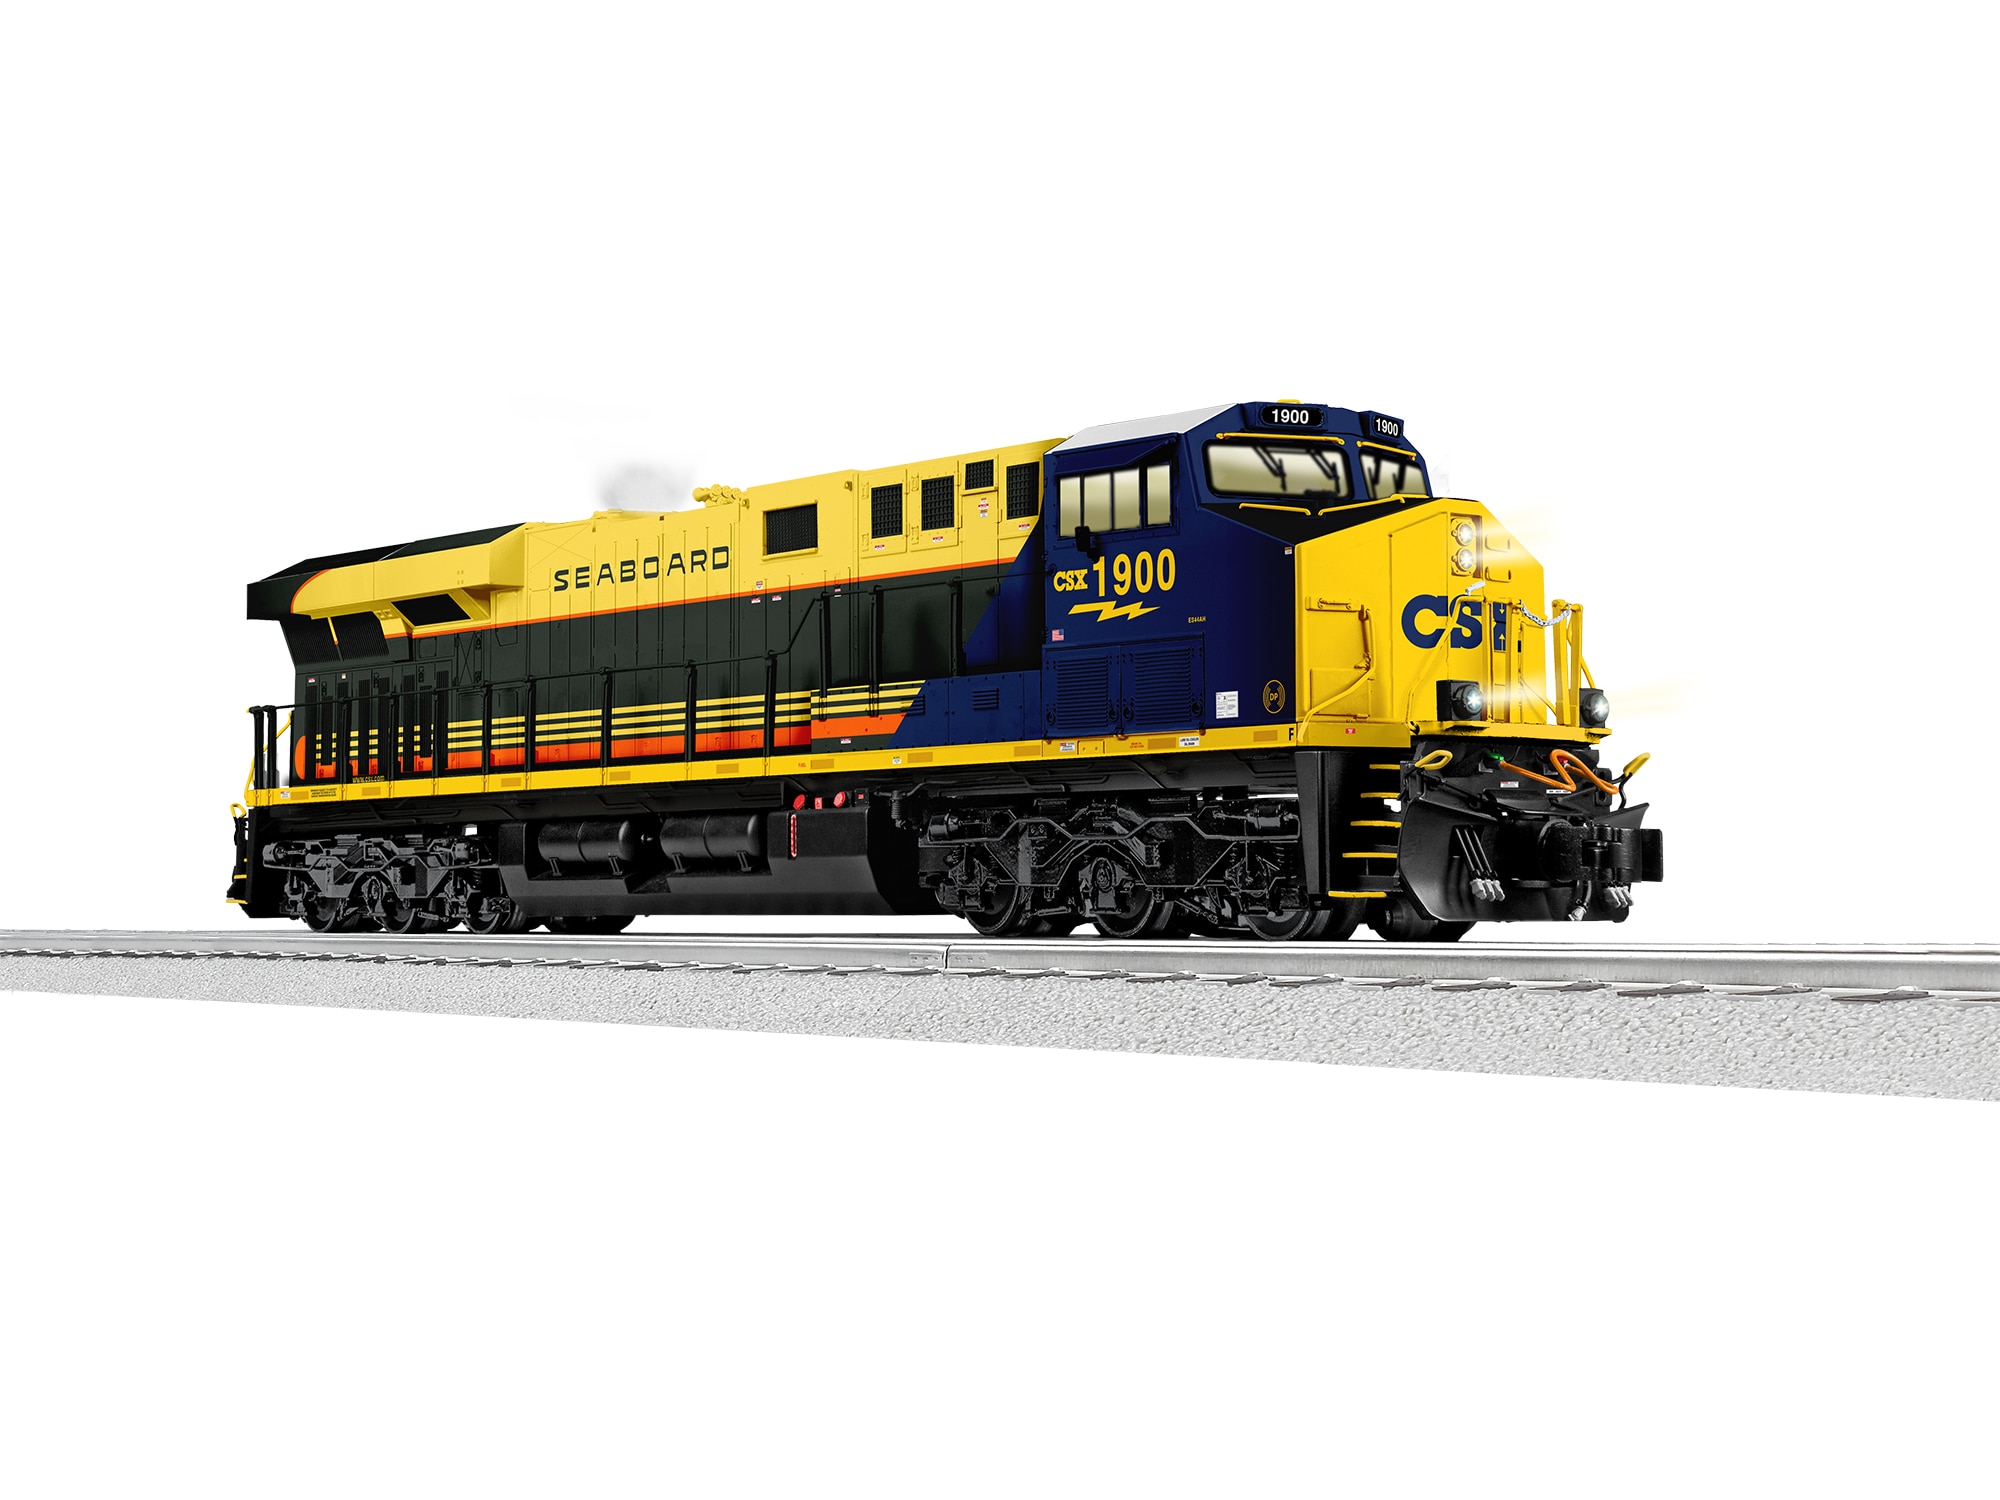
Ballasted track transforms an O-gauge layout from a toy on a table into a model railroad. The right ballast at the right scale with the right technique turns bright metal rails into prototype-accurate right-of-way. This complete 2026 guide walks through ballasting O-gauge track: what materials work, color selection, application technique, drying and finishing, and the mistakes that make ballast look fake.
Why Ballast Matters
Ballasted track delivers three critical scenery improvements:
Prototype realism. Real railroad track rides on crushed stone ballast with carefully-maintained profile. Bare FasTrack or O-27 track plates look nothing like real railroad. Ballast makes track read as right-of-way.
Noise reduction. Ballast absorbs some of the mechanical noise from running trains. Not dramatically — but noticeably on a quiet layout.
Visual integration. Ballast provides visual transition from track to adjacent ground cover. Unballasted track floats visually; ballasted track integrates with surrounding scenery.
Ballast Materials
Woodland Scenics Ballast
The industry standard. Fine-ground stone in realistic colors with proper O-gauge scale proportions.
Pros: Industry-standard quality, available in multiple colors and sizes, consistent proportions.
Cons: Not the cheapest option, requires separate glue application.
Cost: $8-$15 for a 32oz bag — enough for 15-20 feet of ballasting.
Highball Products Ballast
Premium ballast known for accurate color and consistent sizing. Favored by serious prototype modelers.
Pros: Highest-quality option, excellent color accuracy, proper scale.
Cons: Most expensive option, limited availability outside specialty hobby shops.
Cost: $12-$20 for similar-size bag to Woodland Scenics.
Scenic Express Ballast
Mid-priced alternative with good quality. Available in bulk sizes for large layouts.
Pros: Good quality at reasonable price, bulk availability.
Cons: Slightly less color consistency than premium brands.
Cost: $6-$12 for bag.
Economy Options
Crushed stone from landscape or craft stores at very low prices.
Pros: Cheapest option, large volume availability.
Cons: Variable color, inconsistent sizing, often requires manual sifting for proper proportions.
Cost: $2-$5 for large bag.
Ballast Color Selection
Color choice matters significantly. Match ballast to prototype railroad:
Medium gray: Mainline standard for most Class 1 American railroads. Pennsylvania, Union Pacific, Santa Fe, BNSF — all use gray ballast as primary mainline material.
Light gray/white: Dolomite ballast common in Pacific Northwest and parts of Canada. Also used in some industrial settings.
Red/brown: Appalachian coal railroads traditionally used reddish-brown ballast. Perfect for N&W, L&N, C&O layouts.
Dark gray/black: Industrial sidings, yards, and locations with heavy locomotive traffic. Grease, oil, and burnt residue darken ballast over time.
Mixed: Real prototypes often show ballast variation along the right-of-way. Mixing 2-3 colors creates visual depth.
Weathered: Older ballast weathers to dust and brown tones. New ballast is brighter. Match to layout era.
Preparing the Track for Ballasting
Step 1: Verify track installation. Confirm all turnouts work properly, all connections are secure, and layout wiring is complete before ballasting. Ballast is permanent-ish — removing it to fix track problems is painful.
Step 2: Clean the track. Remove any debris, loose fasteners, or construction mess. Vacuum thoroughly.
Step 3: Mask turnouts and sensitive areas. Avoid ballast around turnout points — glued ballast in turnout mechanism causes operation problems. Use painter's tape to mask critical areas.
Step 4: Verify grade matching. If ballast slopes drop sharply at track edges, the ballast won't look convincing. Transition shoulders should slope gradually from track level to ground.
Ballast Application Technique
Step 1: Pour and Distribute
Pour ballast between the rails and along both outside shoulders. Use enough to cover ties and build up the shoulder profile. Err on the side of too much — excess will come off easier than too little requiring more application.
Step 2: Shape the Ballast
Using a soft brush, work ballast into realistic prototype shape:
- Fill between the rails up to the top of the ties
- Build up outer shoulders at a gentle slope (approximately 30-45 degrees from horizontal)
- Create smooth transitions from shoulder down to ground level
- Remove excess ballast from the rail tops and from flangeways
- Clean up any ballast that fell outside the ballast area
Step 3: Pre-Wet the Ballast
Before applying glue, mist the ballast with a spray bottle. Use plain water with a few drops of dish soap added (this breaks the surface tension so water penetrates the ballast rather than beading up).
Spray lightly, enough to dampen the surface. Don't flood — that will wash ballast out of place.
Step 4: Apply Glue
Mix 50/50 white glue (Elmer's school glue works well) and water. Add a few drops of dish soap to the mix for improved penetration.
Apply with a dropper or syringe. Drop glue onto the ballast slowly — let it soak in rather than flowing on top. Work along the track in sections, applying glue to the pre-wetted ballast.
The ballast will initially look wet and loose. Resist the urge to touch it or move it.
Step 5: Let It Dry
Allow 24-48 hours for complete drying. The ballast will set into a solid-feeling but still slightly flexible mass. Early intervention will damage the finished ballast.
Step 6: Clean Up and Final Shaping
After drying, vacuum any loose ballast with a shop vac. Hand-brush around rails to clear any ballast that settled on the running surface or in flangeways.
Check for areas where additional ballast would improve appearance. Spot-fill as needed with the same process (pour, shape, pre-wet, glue, dry).
Finishing Techniques
Weathering: After ballasting, apply dilute acrylic washes to simulate age, dust, and track grime. Thinned burnt sienna, dirty gray, and black washes create prototype-realistic aging.
Oil stains: On industrial sidings or heavy-traffic areas, dab small oil stains with thinned black or dark brown wash. Simulates grease and locomotive leakage.
Vegetation integration: Grass, weeds, and small vegetation growing between rails on sidings and lightly-used track. Hand-apply small clumps of static grass or ground cover.
Rust streaks: On the rails themselves (not the ballast), dab thin rust-brown wash on web and underside of rail for aged appearance.
Common Ballast Mistakes
Wrong color choice. Bright white ballast on a 1950s Appalachian coal layout. Red ballast on a modern Western mainline. Match color to prototype railroad.
Too much ballast. Mountains of ballast burying the ties completely. Real ballast peaks slightly below the top of the ties.
Too little ballast. Visible track plate between ties. Ballast should fill between ties up to about tie-top level.
Harsh shoulder transition. Vertical ballast walls at the edges. Real ballast shoulders slope gently.
Ballast on the rails. Running surface should be clean. Ballast on rail tops causes operation problems.
Ballast in flangeways. Ballast between the flange guides on turnouts causes derailments.
Flooded ballast. Too much water during application washes ballast out of position.
Impatient inspection. Touching ballast before it fully dries ruins the finish.
Monochrome ballast. Single uniform color across entire layout. Real railroads show ballast variation.
Ballasting Specific Track Types
FasTrack
FasTrack has an integrated ballast plate molded into the base. Many operators choose to leave FasTrack unballasted since the molded appearance is already decent. For maximum realism, apply loose ballast over and around the FasTrack base to add texture and color variation.
O-27 Traditional
O-27 track has smaller tie profiles that benefit significantly from ballasting. Apply ballast to cover the metal ties and build realistic ballast profile.
Atlas O 3-rail
Atlas O 3-rail is designed for ballasting with excellent prototype proportions. Standard ballast application technique works perfectly.
2-rail scale O
2-rail scale O-gauge demands careful ballasting with scale-accurate materials. Highball Products ballast or similar scale-appropriate options recommended for best appearance.
Ballast for Layout Zones
Mainline: Medium gray ballast, well-maintained profile. Clean appearance with occasional weathering.
Yards: Darker ballast from grease and oil. Variable profile showing settlement and track movement. Vegetation along edges.
Industrial sidings: Mixed colors, significant weathering, ballast partially covered by dirt and grass. Industrial waste indicators.
Branch lines: Older-looking ballast with vegetation between rails. Less-maintained profile.
Freshly-laid track: Bright new-looking ballast, sharp profile, no weathering. For construction scenes or new railroad.
Frequently Asked Questions
How much ballast do I need for my layout?
Approximately 32oz bag covers 15-20 feet of track with reasonable shoulder profile. 4x8 layout typical: 2-3 bags.
Can I ballast FasTrack?
Yes. FasTrack has integrated appearance but adding loose ballast over the base dramatically improves realism.
How long does ballasting take?
Small layout (4x6): 4-6 hours of work plus 24-48 hour drying. Medium layout (8x12): 8-12 hours of work. Large layouts: multiple weekends.
Can I remove ballast if I need to redo it?
With difficulty. Loose ballast vacuums easily; glued ballast requires scraping and often damages track. Plan carefully before gluing.
Should I ballast before or after installing scenery?
Ballast first, then integrate ground cover against ballast shoulders. Easier than trying to protect existing scenery from ballast dust and glue.
Verdict
Ballasted track is one of the highest-return scenic improvements for O-gauge layouts. Modest materials cost ($15-$50 for most layouts), moderate time investment (4-12 hours plus drying), and dramatic realism improvement. Start with a short test section before committing to the full layout. Match ballast color to prototype railroad era and geography. For related scenery guidance, see our water scenes guide, our backdrop installation guide, our weathering guide, our FasTrack installation guide, and our 4x6 track plans.
Newsletter
Weekly O-gauge tips & reviews
New reviews, layout ideas, and hobby news — straight to your inbox.