How to Build Foam Sub-Roadbed for O-Gauge Layouts: Complete 2026 Benchwork Guide
October 14, 2026
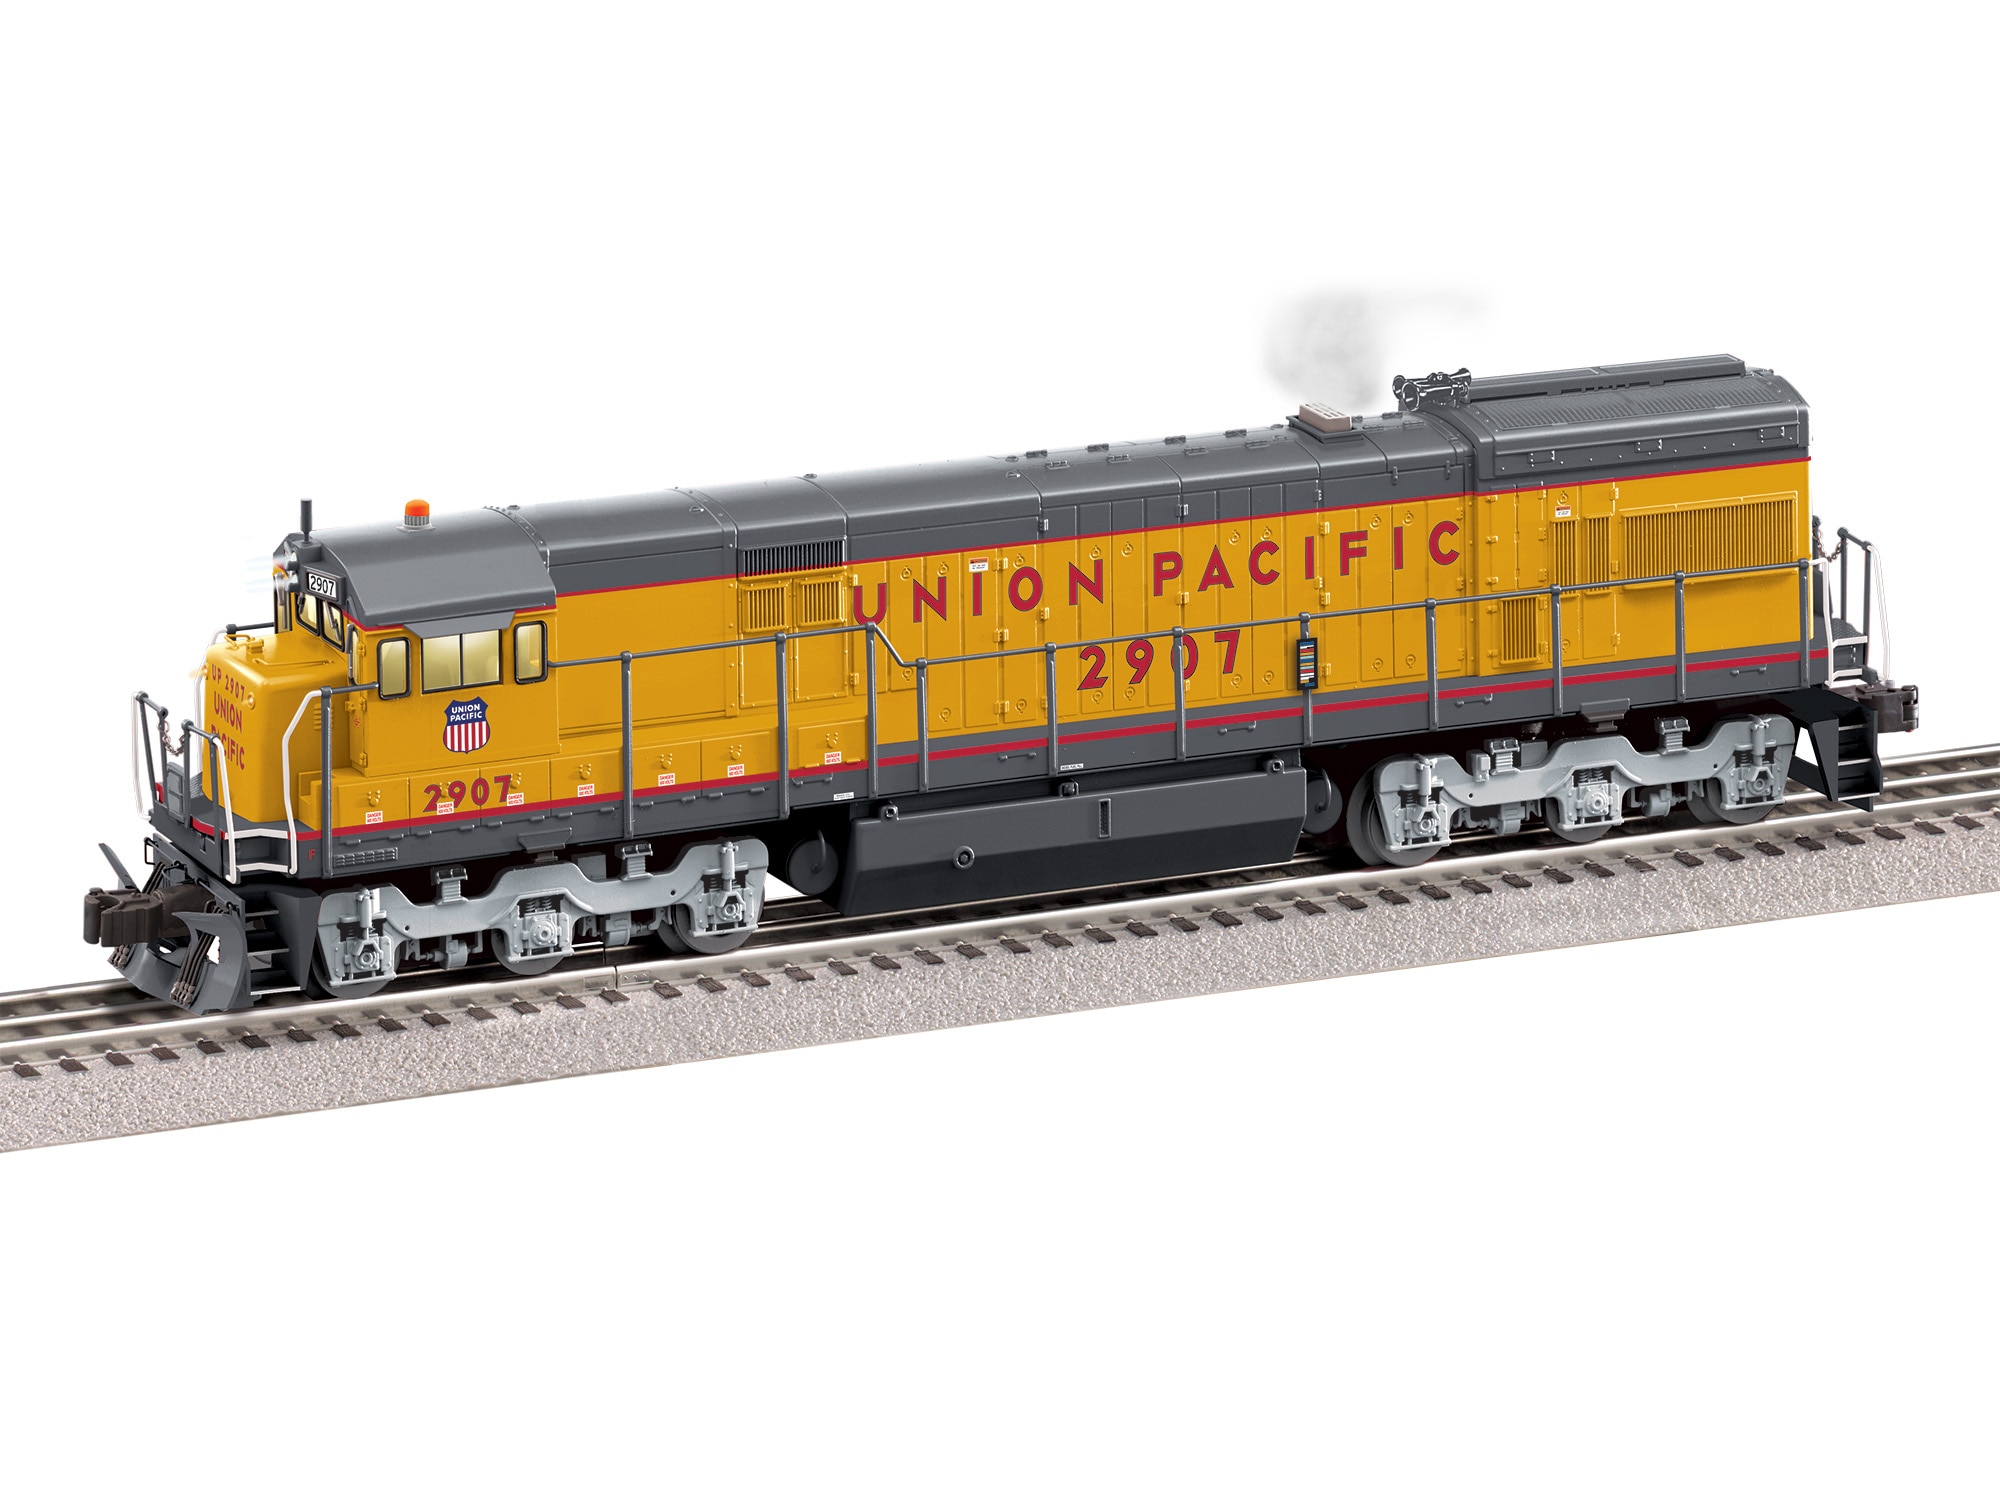
Foam sub-roadbed has transformed O-gauge layout construction over the past decade. Where plywood and Homasote once dominated, extruded polystyrene foam now offers lighter weight, easier shaping, better scenery relief, and simpler construction for most new layouts. This complete 2026 guide covers foam sub-roadbed for O-gauge layouts: materials, construction techniques, pros and cons, when foam beats traditional alternatives, and the practical considerations that make foam the right choice for most 2026 builders.
Why Foam Beats Plywood
Extruded polystyrene foam (pink Owens Corning Foamular or blue Dow Styrofoam) has become the dominant sub-roadbed material for new O-gauge construction. Core advantages over traditional plywood:
Weight: Foam is dramatically lighter than plywood. A 4x8 sheet of 2" foam weighs 4-6 pounds; 1/2" plywood weighs 25-30 pounds. Shelf benchwork and portable layouts especially benefit.
Carving potential: Foam carves easily with hot wire, hand saws, or utility knives. Scenery relief — valleys, hills, depressions — happens in minutes. Plywood requires completely new terrain construction for relief.
Grade construction: Foam sheets stack and shape for grade construction. Build up terrain for mountains and dig down for valleys using just foam layers.
Water scene integration: Easy to carve lake and river beds into foam. Plywood requires separate waterproofed troughs.
Noise reduction: Foam provides significant acoustic insulation. Trains run quieter over foam vs plywood.
No warping: Foam doesn't warp with humidity. Plywood expands and contracts with seasonal humidity changes.
Easy installation: Glue sheets to benchwork, hold with weights, done. Plywood requires measuring, cutting precise, and screwing.
Lower cost per square foot: 2" foam sheets run $25-$45 for 4x8. Equivalent plywood: $45-$75.
Foam Materials: What Actually Works
Extruded Polystyrene Foam (XPS)
The gold standard for sub-roadbed. Dense closed-cell foam that doesn't crumble or absorb moisture.
Owens Corning Foamular (pink): Industry standard. 1", 2", and 3" thicknesses available. $25-$45 for 4x8 sheet.
Dow Styrofoam Blue: Equivalent to Foamular, blue color. Same characteristics and pricing.
Johns Manville and other brands: Equivalent XPS products at similar price points.
Expanded Polystyrene (EPS) — Avoid
EPS is the white "beaded" foam used in cheap packaging. Looks similar to XPS but has critical disadvantages:
Problems: Crumbles easily, absorbs moisture, doesn't carve cleanly, poor long-term stability.
Recommendation: Avoid for sub-roadbed. Pay the premium for XPS.
Specialty Products
Woodland Scenics Risers: Pre-shaped foam risers for grade construction. $12-$25 per piece depending on size.
Woodland Scenics Inclines: Pre-shaped foam incline sections at specific grade percentages. $18-$35 per set.
Woodland Scenics Grades: Pre-shaped grade pieces for common applications. Convenient for standardized layouts.
Benchwork Design for Foam
Foam sub-roadbed requires appropriate benchwork support. Core principles:
Benchwork spacing: Support foam at 16-24 inch intervals. Wider spacing allows sagging under weight of structures and operators leaning on edges.
Edge support: Benchwork edges should fully support foam edges. Unsupported edges will chip or break.
Center support: For 4x8 foam sheets, add diagonal or center bracing. Prevents center sag over time.
Weight distribution: Heavy structures (large buildings, scenery, water features) should be placed over benchwork supports, not between joists.
Adequate layer thickness: 1" foam works for simple applications. 2" foam provides more carving depth and better acoustic insulation. 3" foam allows substantial carved terrain features.
Installing Foam Sub-Roadbed
Step 1: Prepare Benchwork
Standard L-girder or box-frame benchwork. Clean and flat top surface. Add any additional cross-bracing per foam spans.
Step 2: Measure and Cut Foam
Use utility knife, hot wire cutter, or hand saw. Measure precise with 1/8" clearance for expansion. Cut smooth edges for seamless joining.
Step 3: Dry-Fit Foam Sheets
Lay foam on benchwork without glue. Verify fit, edge alignment, and seam placement. Make adjustments as needed before committing to glue.
Step 4: Glue Foam to Benchwork
Apply construction adhesive (specifically foam-compatible — Loctite PL-300, Liquid Nails Foam Projects) to top of benchwork framing. Set foam on top with slight pressure. Weight down with books, bricks, or clamps overnight.
Avoid aggressive solvent-based adhesives — they dissolve foam.
Step 5: Fill Seams
If foam sheets have visible seams, fill with lightweight joint compound or foam-safe caulk. Smooth with putty knife. Allow drying before continuing.
Step 6: Mark Track Centerlines
Use pencil or chalk to mark your track plan onto the foam. Standard layout practice — follow your pre-planned design.
Step 7: Carve Scenery Relief
Before installing track, carve any planned terrain relief:
- Valley bottoms carved down into the foam
- Rolling hills carved from foam blocks glued on top
- Transition zones from flat terrain to raised terrain
- Water scene areas excavated for later resin pour
Smooth all carved surfaces with sanding block or rasp.
Step 8: Install Track
Standard track installation on foam. For FasTrack, standard clip-together assembly works. For traditional O-27 or Atlas O 3-rail, use track nails or screws (foam accepts them without pre-drilling).
Important: Track mounting hardware should penetrate foam into underlying benchwork for solid attachment. Just penetrating foam provides weak hold.
Grade Construction with Foam
Foam makes grade construction significantly easier than traditional methods:
Simple grades: Stack 1" or 2" foam strips at progressively higher elevation. Standard risers from Woodland Scenics work well.
Custom grades: Cut foam blocks to specific heights at specific locations. Form the grade profile by stacking appropriate heights at track centerlines.
Transition grades: Smooth transitions from flat to grade with carved foam blocks. No complex woodwork needed.
Maximum grade: Keep grades under 4% for reliable O-gauge operation. 2% is prototype standard. Steeper grades require more motive power.
Scenery Advantages
Foam sub-roadbed enables sophisticated scenery techniques:
Carved relief: Rock faces, cliff edges, cave entrances all carved directly into foam.
Water bodies: Carved riverbeds and lake beds for authentic water scene depth.
Tunnel portals: Carved tunnel entrances with realistic rock surrounds.
Ground cover integration: Foam accepts ground cover and ballast easily with standard glue application.
Lighting integration: LED strip lighting can be routed through foam channels for subtle under-structure illumination.
Common Mistakes
Using EPS instead of XPS. White beaded foam crumbles, absorbs moisture, and fails over time. Use closed-cell XPS only.
Inadequate benchwork support. Spans wider than 24 inches cause sagging and compression over time. Add intermediate supports.
Wrong adhesive. Solvent-based glues (contact cement, some construction adhesives) dissolve foam. Use foam-safe adhesives only.
Rushing seam work. Visible seams between foam sheets look amateur. Fill and smooth before adding scenery.
Over-ambitious carved terrain. Carved terrain features sometimes read as too dramatic for scale. Keep features proportioned to O-gauge equipment.
Ignoring track mounting. Track screwed only into foam will loosen over time. Penetrate foam into underlying benchwork.
Compression damage. Operators leaning on unprotected foam edges will create permanent dents. Protect edges with trim or edge banding.
When Foam Isn't Right
Some applications favor traditional alternatives:
Portable show layouts: Foam can chip or compress in transit. Plywood or hardboard with foam top for scenery can be more durable for travel.
Very large layouts: Massive foam sub-roadbed can become unwieldy. Mix of foam and plywood may be more practical.
Specific vintage prototype: Traditional Homasote on plywood gives the "classic" model railroading sub-roadbed sound. Some operators prefer that character.
Water-exposed scenery: Where water features involve substantial water (fountains, misters, operating water scenes), foam may absorb water in subtle ways. Plywood with proper sealing is safer.
Frequently Asked Questions
What foam thickness should I use?
2" is the sweet spot for most O-gauge layouts. Allows carved terrain, provides good acoustic insulation, reasonable price. 1" works for flat shelf layouts; 3" for layouts with substantial terrain relief.
How much does foam sub-roadbed cost?
4x8 sheet of 2" XPS: $25-$45. Typical 4x8 layout: single sheet. Typical 8x12 layout: 3 sheets ($75-$135). Larger layouts proportionally more.
Can I use foam over existing plywood sub-roadbed?
Yes. Many operators add foam on top of plywood for scenery capability and acoustic benefit. Standard installation with foam-safe adhesive.
Does foam work with FasTrack?
Yes. FasTrack's clip-together design works perfectly over foam. Track screws into foam and underlying benchwork for solid attachment.
How do I repair damaged foam?
Minor dents: fill with lightweight joint compound or foam patch material. Major damage: cut out damaged section, glue in new foam patch, smooth and refinish.
Verdict
Foam sub-roadbed has become the standard for O-gauge layout construction in 2026 for excellent reasons: lighter weight, easier shaping, better scenery potential, lower cost, and no warping. Use closed-cell XPS (Owens Corning Foamular or Dow Styrofoam) only — not EPS. Combine with appropriate benchwork support. Save plywood for special applications like portable show layouts and water-adjacent sections. For related benchwork and scenery guidance, see our backdrop installation guide, our ballasting guide, our water scenes guide, our around-the-walls basement layouts, and our shelf-switching layouts.
Newsletter
Weekly O-gauge tips & reviews
New reviews, layout ideas, and hobby news — straight to your inbox.