How to Weather a Lionel Locomotive Like the Prototype: Complete 2026 Guide
July 7, 2026
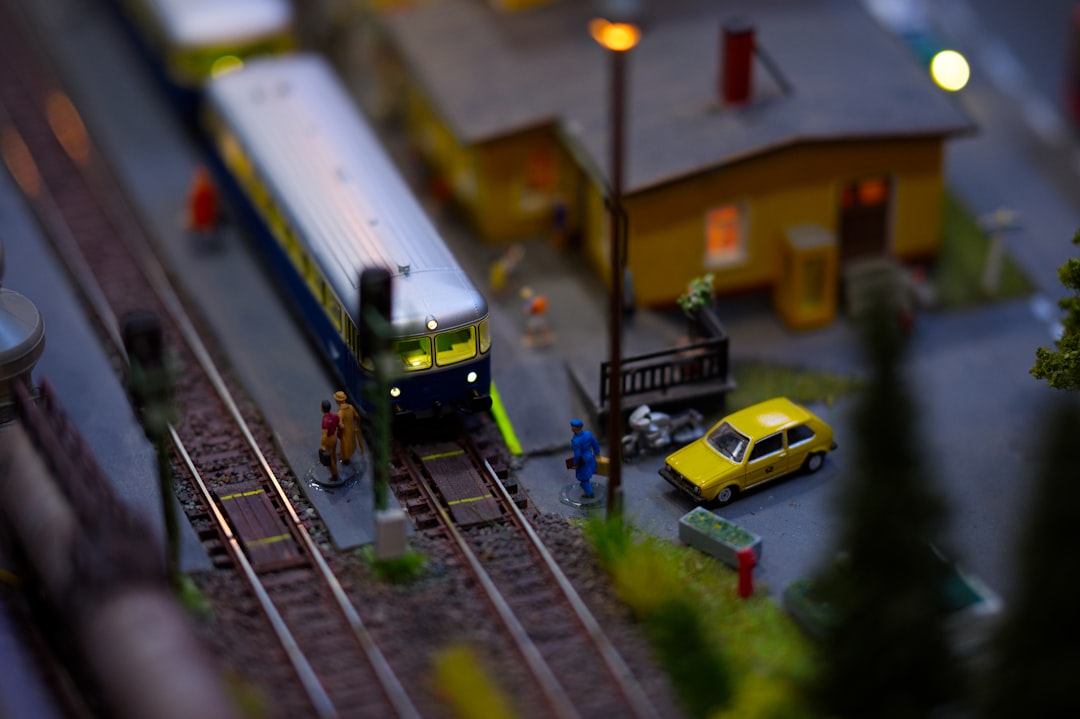
Weathering a Lionel locomotive transforms it from a factory-fresh model into something that looks like it's actually been working on a railroad. Coal dust, rust, road grime, exhaust staining, and honest wear — applied thoughtfully — turn generic Lionel equipment into believable prototypical models. This vibetrains.com guide walks through weathering techniques for Lionel steam, diesel, and electric locomotives, covering materials, sequence, and the specific choices that separate careful weathering from ruined paint.

Before we start: weathering reduces collector value. If you own a rare or premium locomotive with strong original-finish value, don't weather it. Weathering is for locomotives you plan to keep and run rather than resell as collector pieces. With that caveat understood, here's the complete approach.
Why Weathering Matters
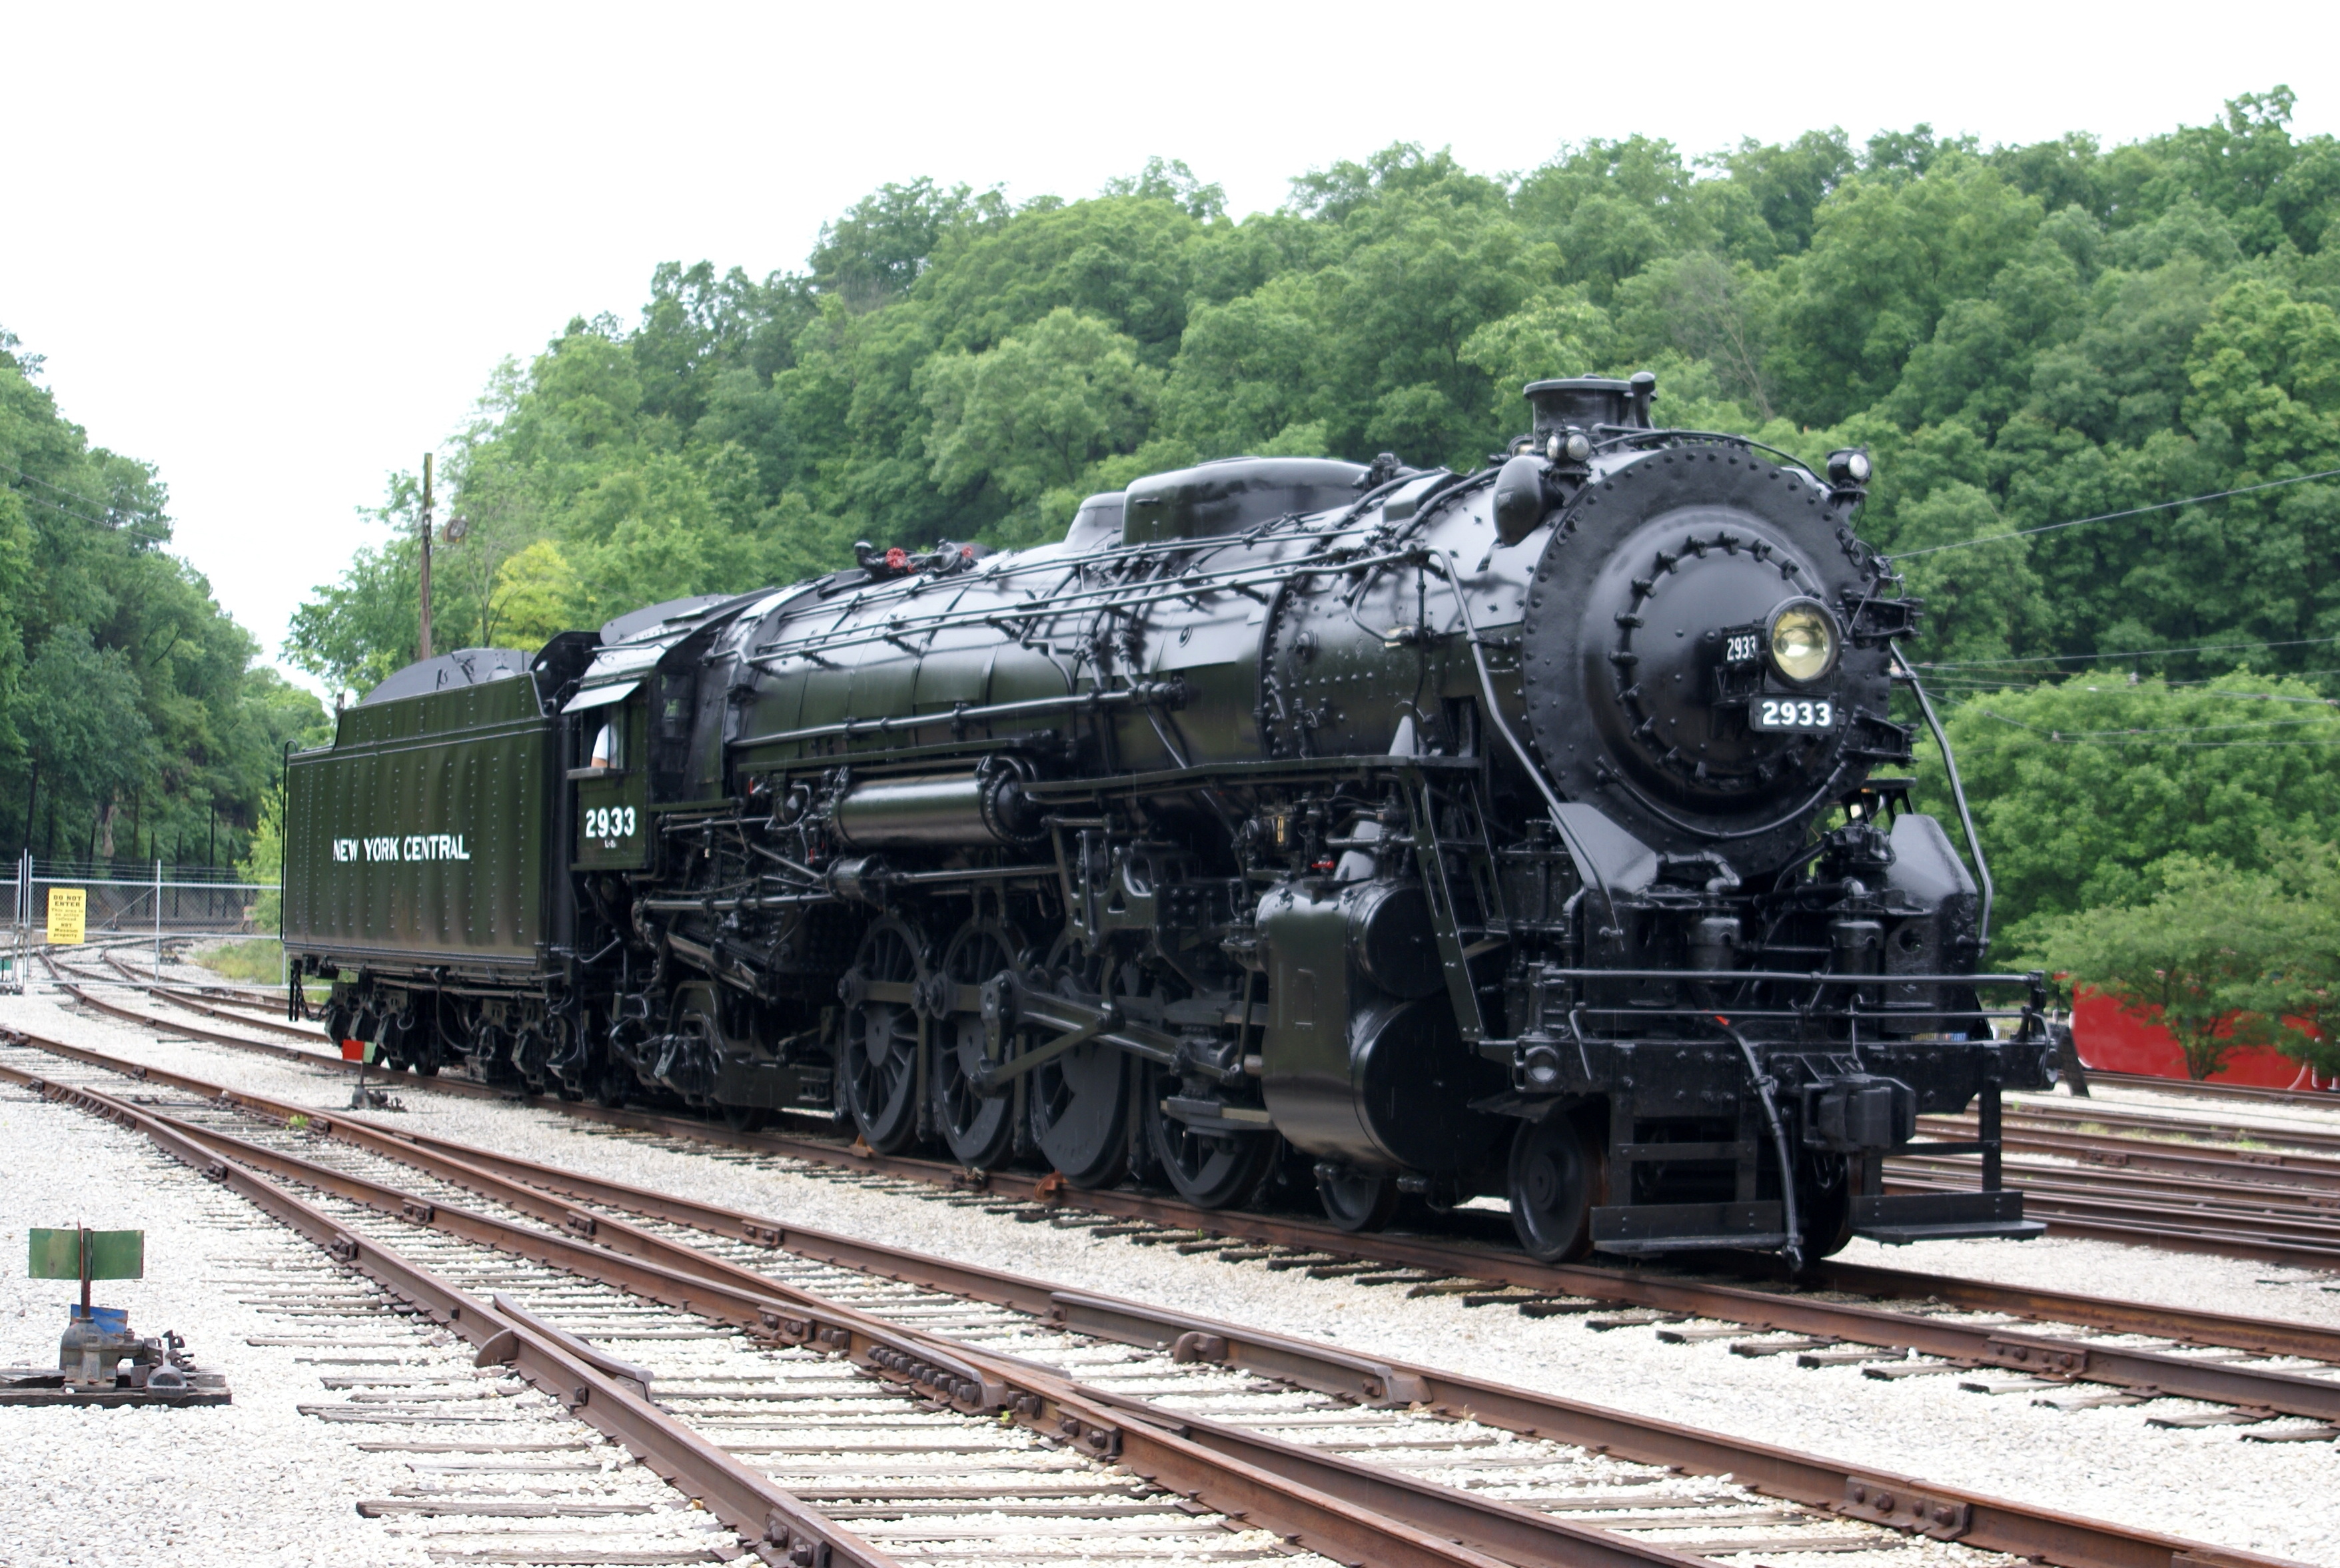
Factory-fresh Lionel locomotives look like factory-fresh Lionel locomotives — bright paint, crisp lettering, uniform color across all surfaces. Real working locomotives never look like this. They accumulate coal dust on the running gear, rust on the frame edges, grime along the boiler seams, exhaust staining above the stack, and general road dirt everywhere. This weathering pattern is what makes real locomotives look real.
A well-weathered Lionel locomotive photographs dramatically better than an unweathered one. It reads as an actual working piece of equipment rather than a toy. And in operating sessions, a fleet of weathered locomotives creates a completely different feel than a fleet of glossy factory finishes.
What You Need Before You Start
Materials for basic Lionel locomotive weathering:
Flat matte medium (Testors or Woodland Scenics) to seal existing paint and prep the surface. Buy a small bottle.
Weathering powders in earth tones (rust, black, dark brown, dust) — Woodland Scenics, Bragdon, or AK Interactive brands. Small containers cover many locomotives.
Flat acrylic paints in matching earth tones for washes and detail work. Cheap craft acrylics work fine.
Isopropyl alcohol for thinning washes and cleanup.
Soft brushes — a small round brush for detail, a larger flat brush for broad application. Buy inexpensive brushes designed for weathering (not fine art quality).
Clean cotton swabs for controlled removal and touch-up.
Flat clear finish (Dullcote by Testors is the standard) to seal completed weathering.
Total investment: $40-$60. Enough for weathering 10+ locomotives.
The Universal Weathering Sequence
Every locomotive weathering job follows the same basic sequence:
1. Prep the surface with a light coat of flat matte medium to give weathering something to grip and to knock down factory gloss.
2. Apply base washes — thinned acrylic paint that flows into panel lines, seams, and detail crevices to enhance mechanical detail.
3. Apply weathering powders for broader dust, dirt, and grime effects.
4. Add specific detail — rust spots, exhaust staining, wheel spatter — with brush application.
5. Seal with flat clear finish to protect the weathering and knock down any shine.
Each step builds on the previous. Skipping steps produces uneven or unrealistic results.
Weathering a Steam Locomotive
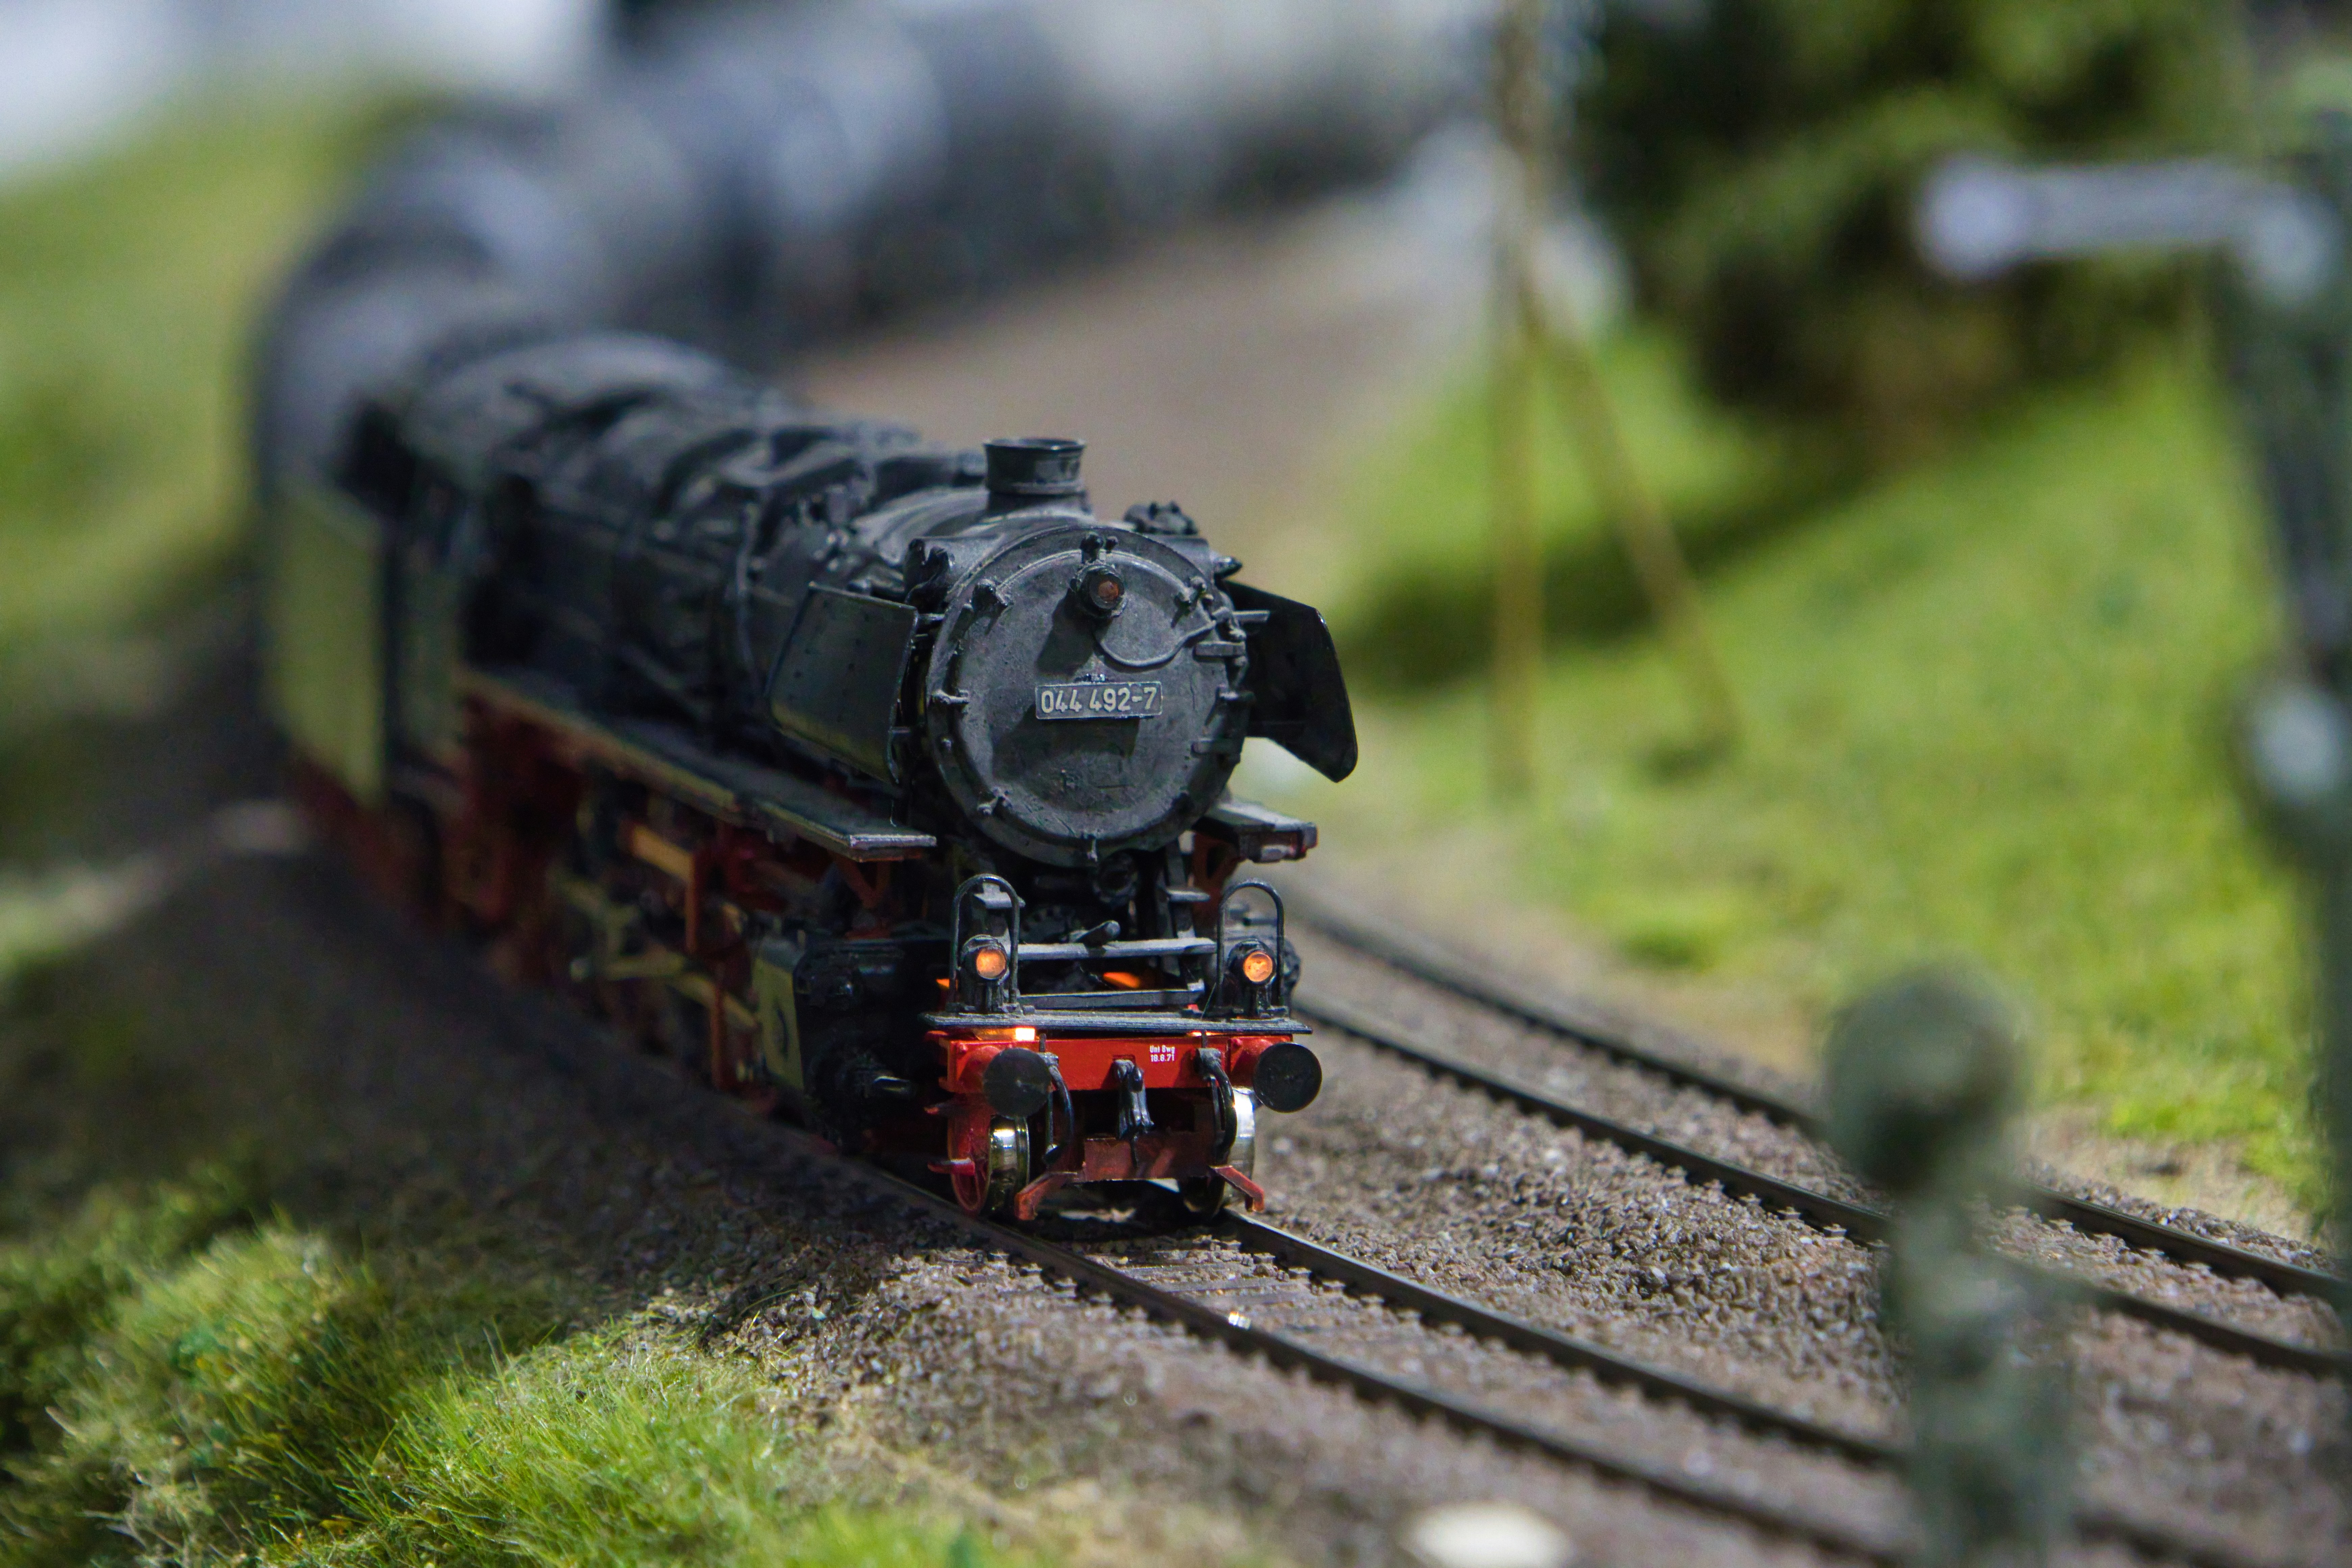
Steam locomotives are the most complex to weather because they have the most mechanical detail and the widest range of surface conditions.
The boiler top and sides collect exhaust staining from the stack. Apply a black-brown wash to the top surface behind the stack, feathering forward and backward. Don't overdo it — a subtle grey-black tint reads better than obvious black staining.
The running gear (drivers, drive rods, side rods) collects grease, oil, and coal dust. Apply darker weathering powders to the wheels, drive rods, and the underside of the boiler above the running gear.
The smokebox at the front of the locomotive is often a different color than the rest of the boiler on real prototypes — it's typically hotter and paint reacts differently. A light grey wash on the smokebox front creates the "graphited" appearance seen on real steam.
The tender collects coal dust everywhere. Apply a broad dark wash to the top surfaces and the sides above the trucks.
The trucks and underbody collect road grime. A thin brown wash on truck side frames and the underbody suggests the accumulated dirt of active service.
Weathering a Diesel Locomotive

Diesel locomotives are simpler to weather but require different color choices than steam.
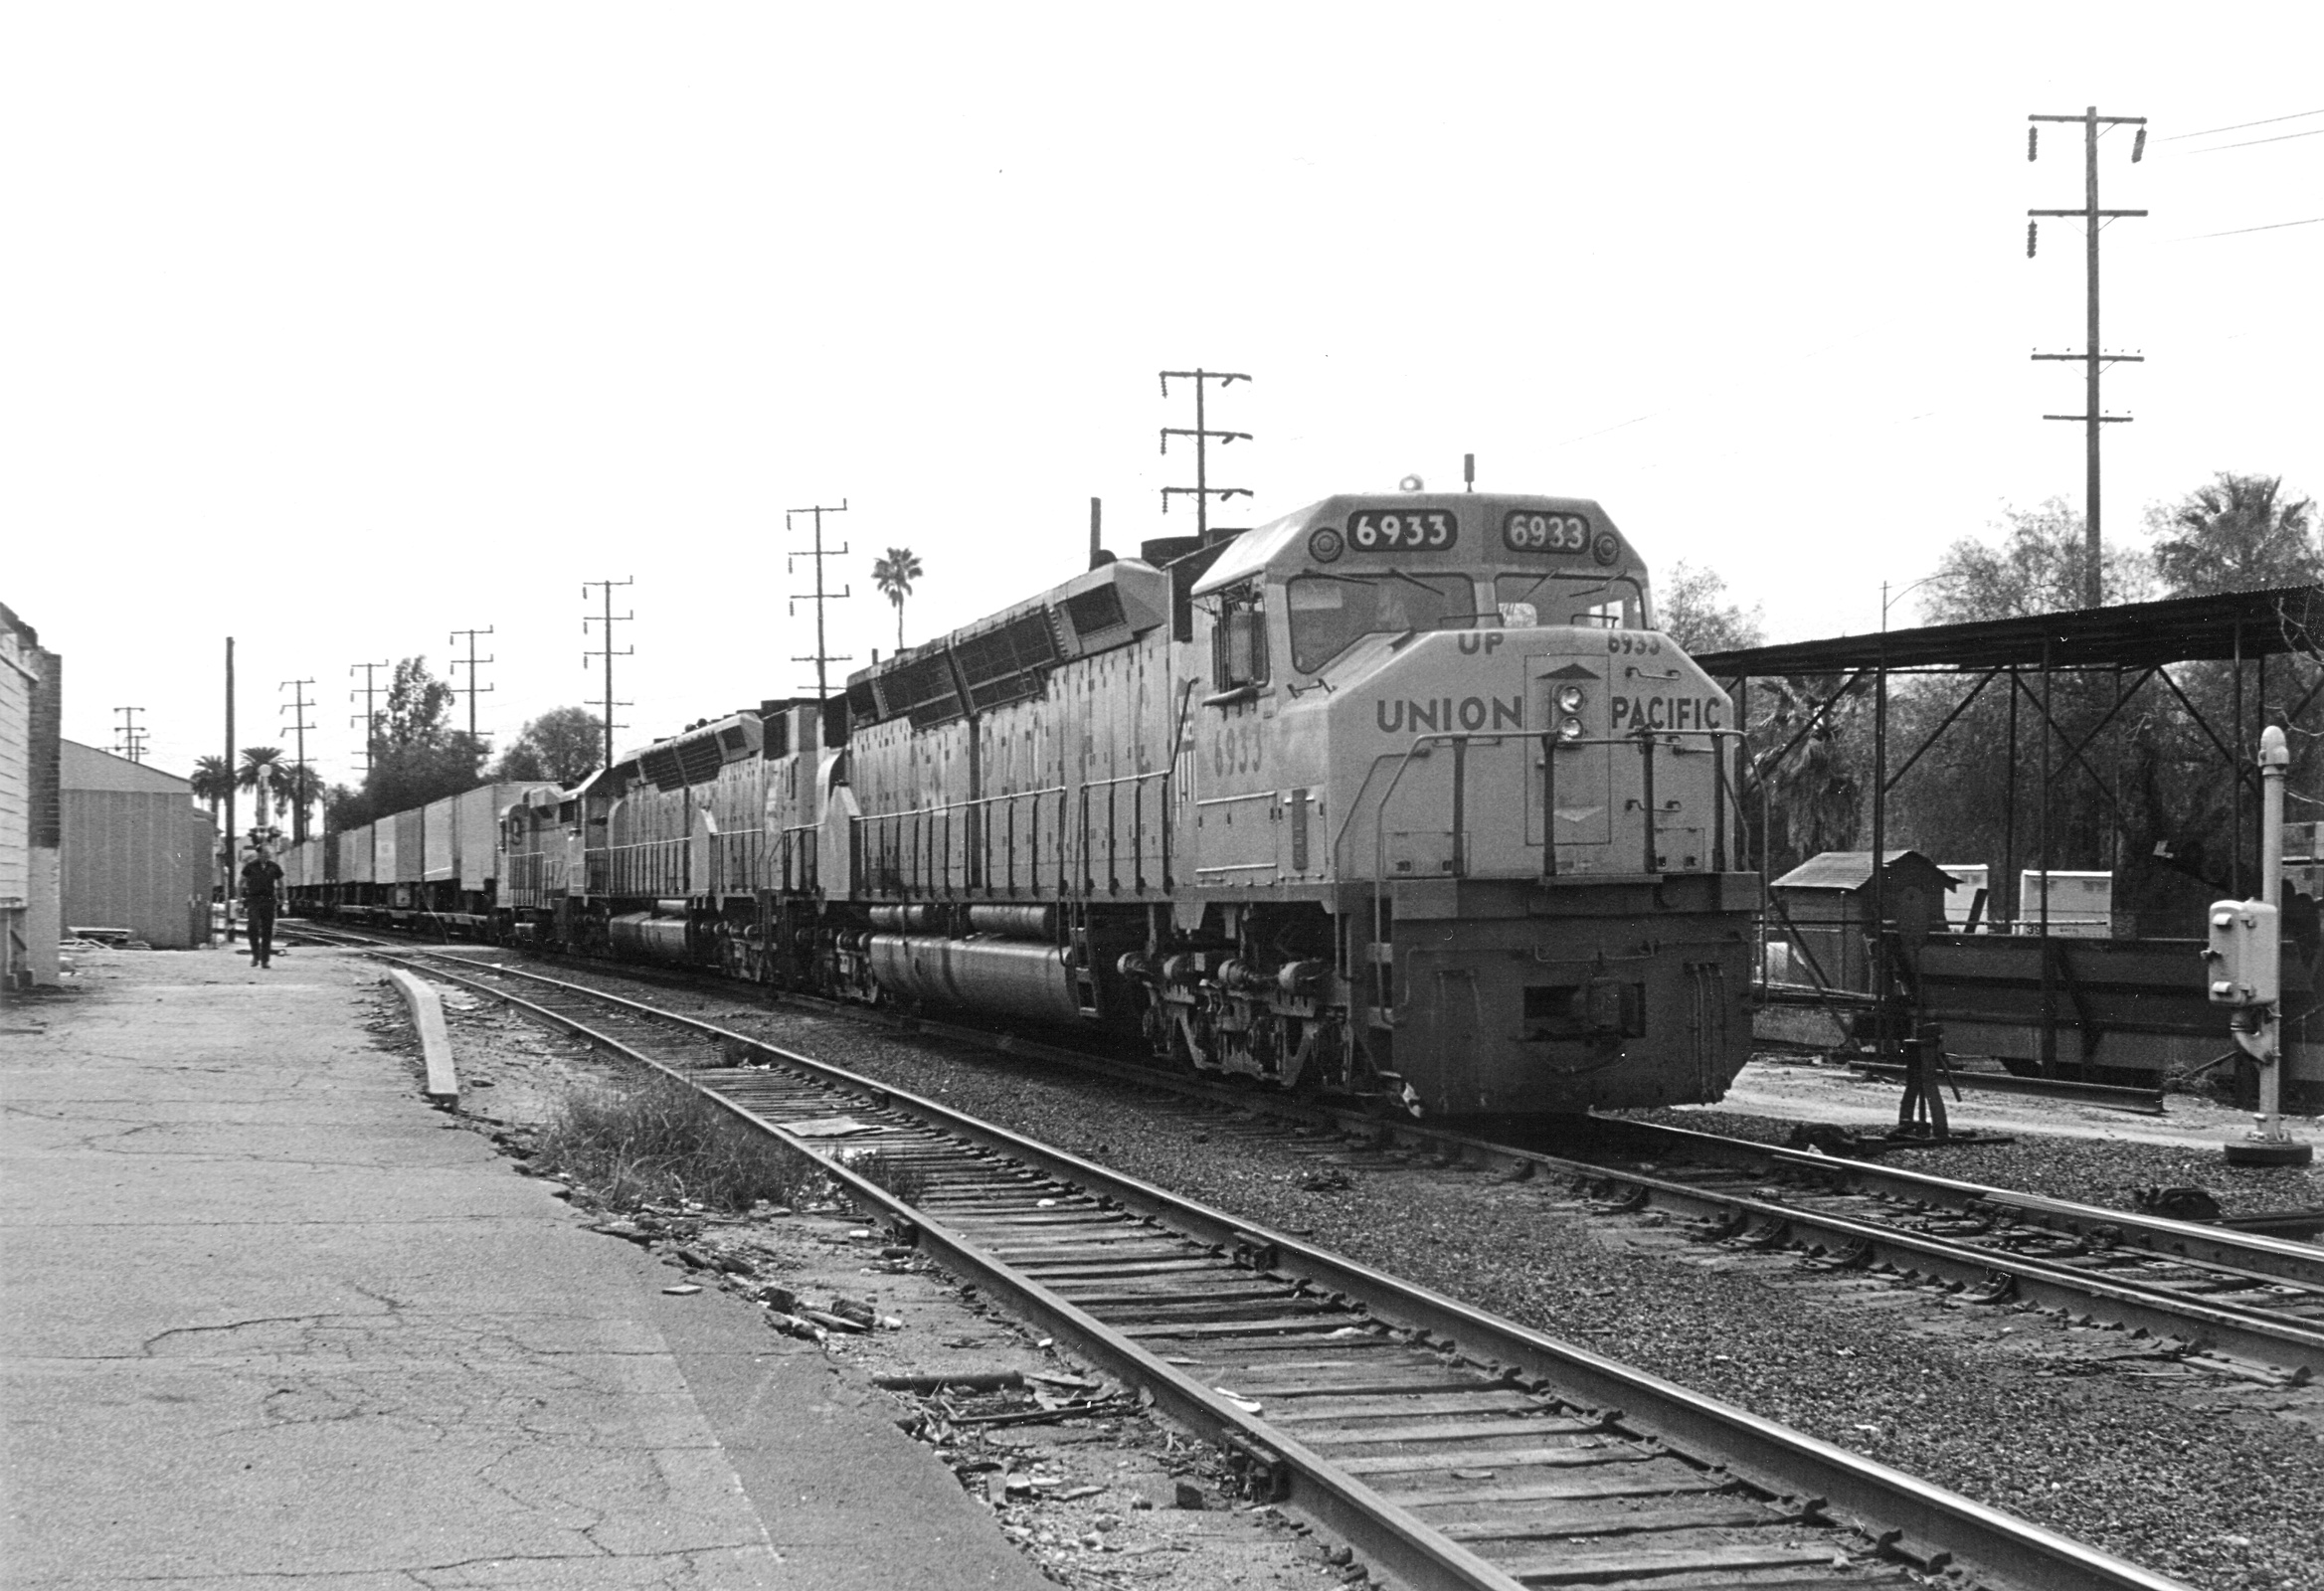
The hood or carbody gets exhaust staining from the stack. Apply black-brown wash to the roof behind the stack, feathering forward as if the locomotive has been moving through its own exhaust.
The fuel tank (underneath the locomotive) accumulates road dirt. Dark brown weathering along the tank sides and bottom.
The trucks collect road dust and grease. Apply dust-colored weathering powder to the truck side frames and grease-tone dark stain in the gear area.
The nose and lower body sides collect general road dirt from splashing. A light brown wash on the lower half of the body, applied thinly enough to look like accumulated dirt rather than obvious mud.
The louvers and grilles can be enhanced with dark washes that flow into the detailed openings. This makes cooling vents look mechanically real.
Weathering a Freight Car
While this guide focuses on locomotives, weathering freight cars uses the same basic techniques. Real freight cars accumulate more visible dirt than locomotives because they spend more time in service without maintenance. Boxcars, hoppers, gondolas, and flat cars all benefit from weathering treatments similar to the diesel locomotive approach — general road grime plus commodity-specific staining (grain dust on covered hoppers, coal dust on open hoppers, rust on gondolas).
For freight car pairings with weathered locomotives, see our best Lionel freight cars 2026 guide.
The Wash Technique in Detail
Washes are the core of realistic weathering. A wash is a highly thinned paint that flows into recesses (panel lines, seams, mechanical details) and settles there, creating shadow and depth without obscuring the underlying paint.
Mix your wash: 1 part flat acrylic paint to 8-12 parts water plus a drop of dish soap (to break surface tension so the wash flows properly). Apply with a soft brush, letting the wash flow into recesses. Wipe excess off flat surfaces with a damp cotton swab immediately, leaving the wash in the crevices.
Multiple thin washes layered give better results than one heavy wash. Start subtle and build depth gradually. Overdone weathering is much harder to fix than underdone.
Weathering Powders in Detail
Weathering powders are pigmented dust that applies dry with a soft brush and adheres via friction and static. They create broad, subtle effects that washes can't match.
Apply powders in sweeping strokes over target areas. Concentrate application in areas where dust and dirt naturally accumulate — running gear, truck areas, lower body sides, tender tops, boiler seams. Blow off excess and use cotton swabs to control final placement.
Powders adhere loosely until sealed. This is a feature — you can remove or adjust powder placement easily. Once you're happy with the look, seal with Dullcote or similar flat clear finish, which locks the powders in place permanently.
Detail Weathering: Rust and Chipping
Real locomotives develop rust in specific locations: at frame edges, on truck sides, around fuel and water fillers, on running gear over time. Adding targeted rust spots to a weathered locomotive dramatically enhances realism.
Rust technique: use an orange-brown acrylic (Vallejo Model Color 70.943 Grey Beige works well, or mix craft acrylic burnt sienna with a touch of raw umber). Apply small rust spots at specific points — bolt heads, frame corners, riveted seams. Follow with a darker brown accent within the rust spots to add depth.
Don't rust everything. Concentrate on 3-5 realistic locations. Widespread rust looks fake; targeted rust looks authentic.
Sealing the Finished Weathering
Once you're happy with the applied weathering, seal it with a flat clear finish. Testors Dullcote is the standard for model weathering — apply in light sweeping passes 8-12 inches from the model. Multiple thin coats work better than one heavy coat.
The sealed finish protects the weathering from handling, running, and time. Unsealed weathering (especially powder) rubs off with even gentle handling. Sealing locks everything in place permanently.
What NOT to Do
Four common weathering mistakes to avoid:
Weathering too aggressively. New weatherers typically overdo it. Real locomotives, even neglected ones, don't look completely rusted. Start subtle and add if needed.
Weathering uniformly. Real weathering is uneven — heavier in some areas, lighter in others. Uniform weathering looks like a filter applied to the whole locomotive rather than accumulated dirt.
Using the wrong colors. Real dirt is complex — mostly brown with black, grey, and rust accents. Pure black looks fake. Pure orange rust looks fake. Blend and layer.
Skipping the seal. Unsealed weathering degrades with handling. Always seal completed work with flat clear finish.
Reversibility Considerations
Once you weather a Lionel locomotive and seal it, the weathering is essentially permanent. It can be partially removed with careful cleaning, but the original factory finish is unlikely to be recoverable. This is why we said at the start: don't weather rare or valuable collector pieces.
For pieces where collector value matters, consider "removable" weathering approaches like dry-powder-only application without sealing. Dry powder can be wiped off if you change your mind. Sealed weathering cannot.

Practice Locomotives
Weathering is a skill that improves dramatically with practice. Buy a cheap used LionChief locomotive or damaged freight car as a practice piece before working on locomotives you care about. The first few weathering attempts will teach you what works and what doesn't. By the third or fourth locomotive, you'll have techniques that produce genuinely good results.
For a broader treatment of scenery-related realism techniques, see our rolling stock weathering guide and our scenery guide.
Frequently Asked Questions
Does weathering damage Lionel locomotives? Weathering doesn't damage the mechanical function but it does change the appearance permanently. Sealed weathering reduces collector value significantly. For pieces you plan to keep and run, weathering enhances the look. For pieces with collector value, don't weather.
Can I remove weathering from a Lionel locomotive? Partially, with careful cleaning using isopropyl alcohol and soft cloths. However, the original factory finish is unlikely to be fully recoverable. Weathering should be considered permanent for practical purposes.
What's the best weathering paint for Lionel trains? Cheap craft acrylics (Apple Barrel, Delta Ceramcoat) work perfectly for washes. Vallejo Model Color and Reaper Master Series are higher-quality options for detail work. Weathering powders from Woodland Scenics or Bragdon add dust and dirt effects.
How long does it take to weather a locomotive? A basic weathering job takes 1-2 hours per locomotive. More sophisticated weathering with multiple wash layers and detail work can take 4-8 hours per locomotive.
Should I weather all my Lionel locomotives? Depends on your goals. Weather locomotives you plan to run on your layout for the visual improvement. Don't weather locomotives with collector value or that you plan to resell.
Final Word
Weathering a Lionel locomotive is one of the most transformative visual upgrades in O-gauge modeling. Twenty minutes of practice, forty dollars in materials, and one afternoon per locomotive delivers results that transform how the equipment looks on the layout. Start with a cheap practice piece, learn the techniques, and gradually work through your fleet. Weathered locomotives running on a scenicked layout is the destination worth aiming for. For broader layout context, see our ultimate vibe train room setup guide.
Newsletter
Weekly O-gauge tips & reviews
New reviews, layout ideas, and hobby news — straight to your inbox.