How to Weather Your O-Gauge Rolling Stock for Realistic Results
April 23, 2026

I've been running an O-gauge layout out of my basement for years, and this question comes up every time someone new visits. Here's what I'd actually tell them.
Learning how to weather your O-gauge rolling stock is one of the most rewarding skills you can develop as a model train enthusiast. Weathering transforms brand-new, out-of-the-box locomotives and cars into pieces that look like they've actually worked on the rails for years, complete with rust, grime, fading, and authentic wear patterns. Whether you're building a display layout or running an operational railroad, realistic weathering elevates your models from plastic toys to museum-quality miniatures that tell a story of hard work and decades of service.
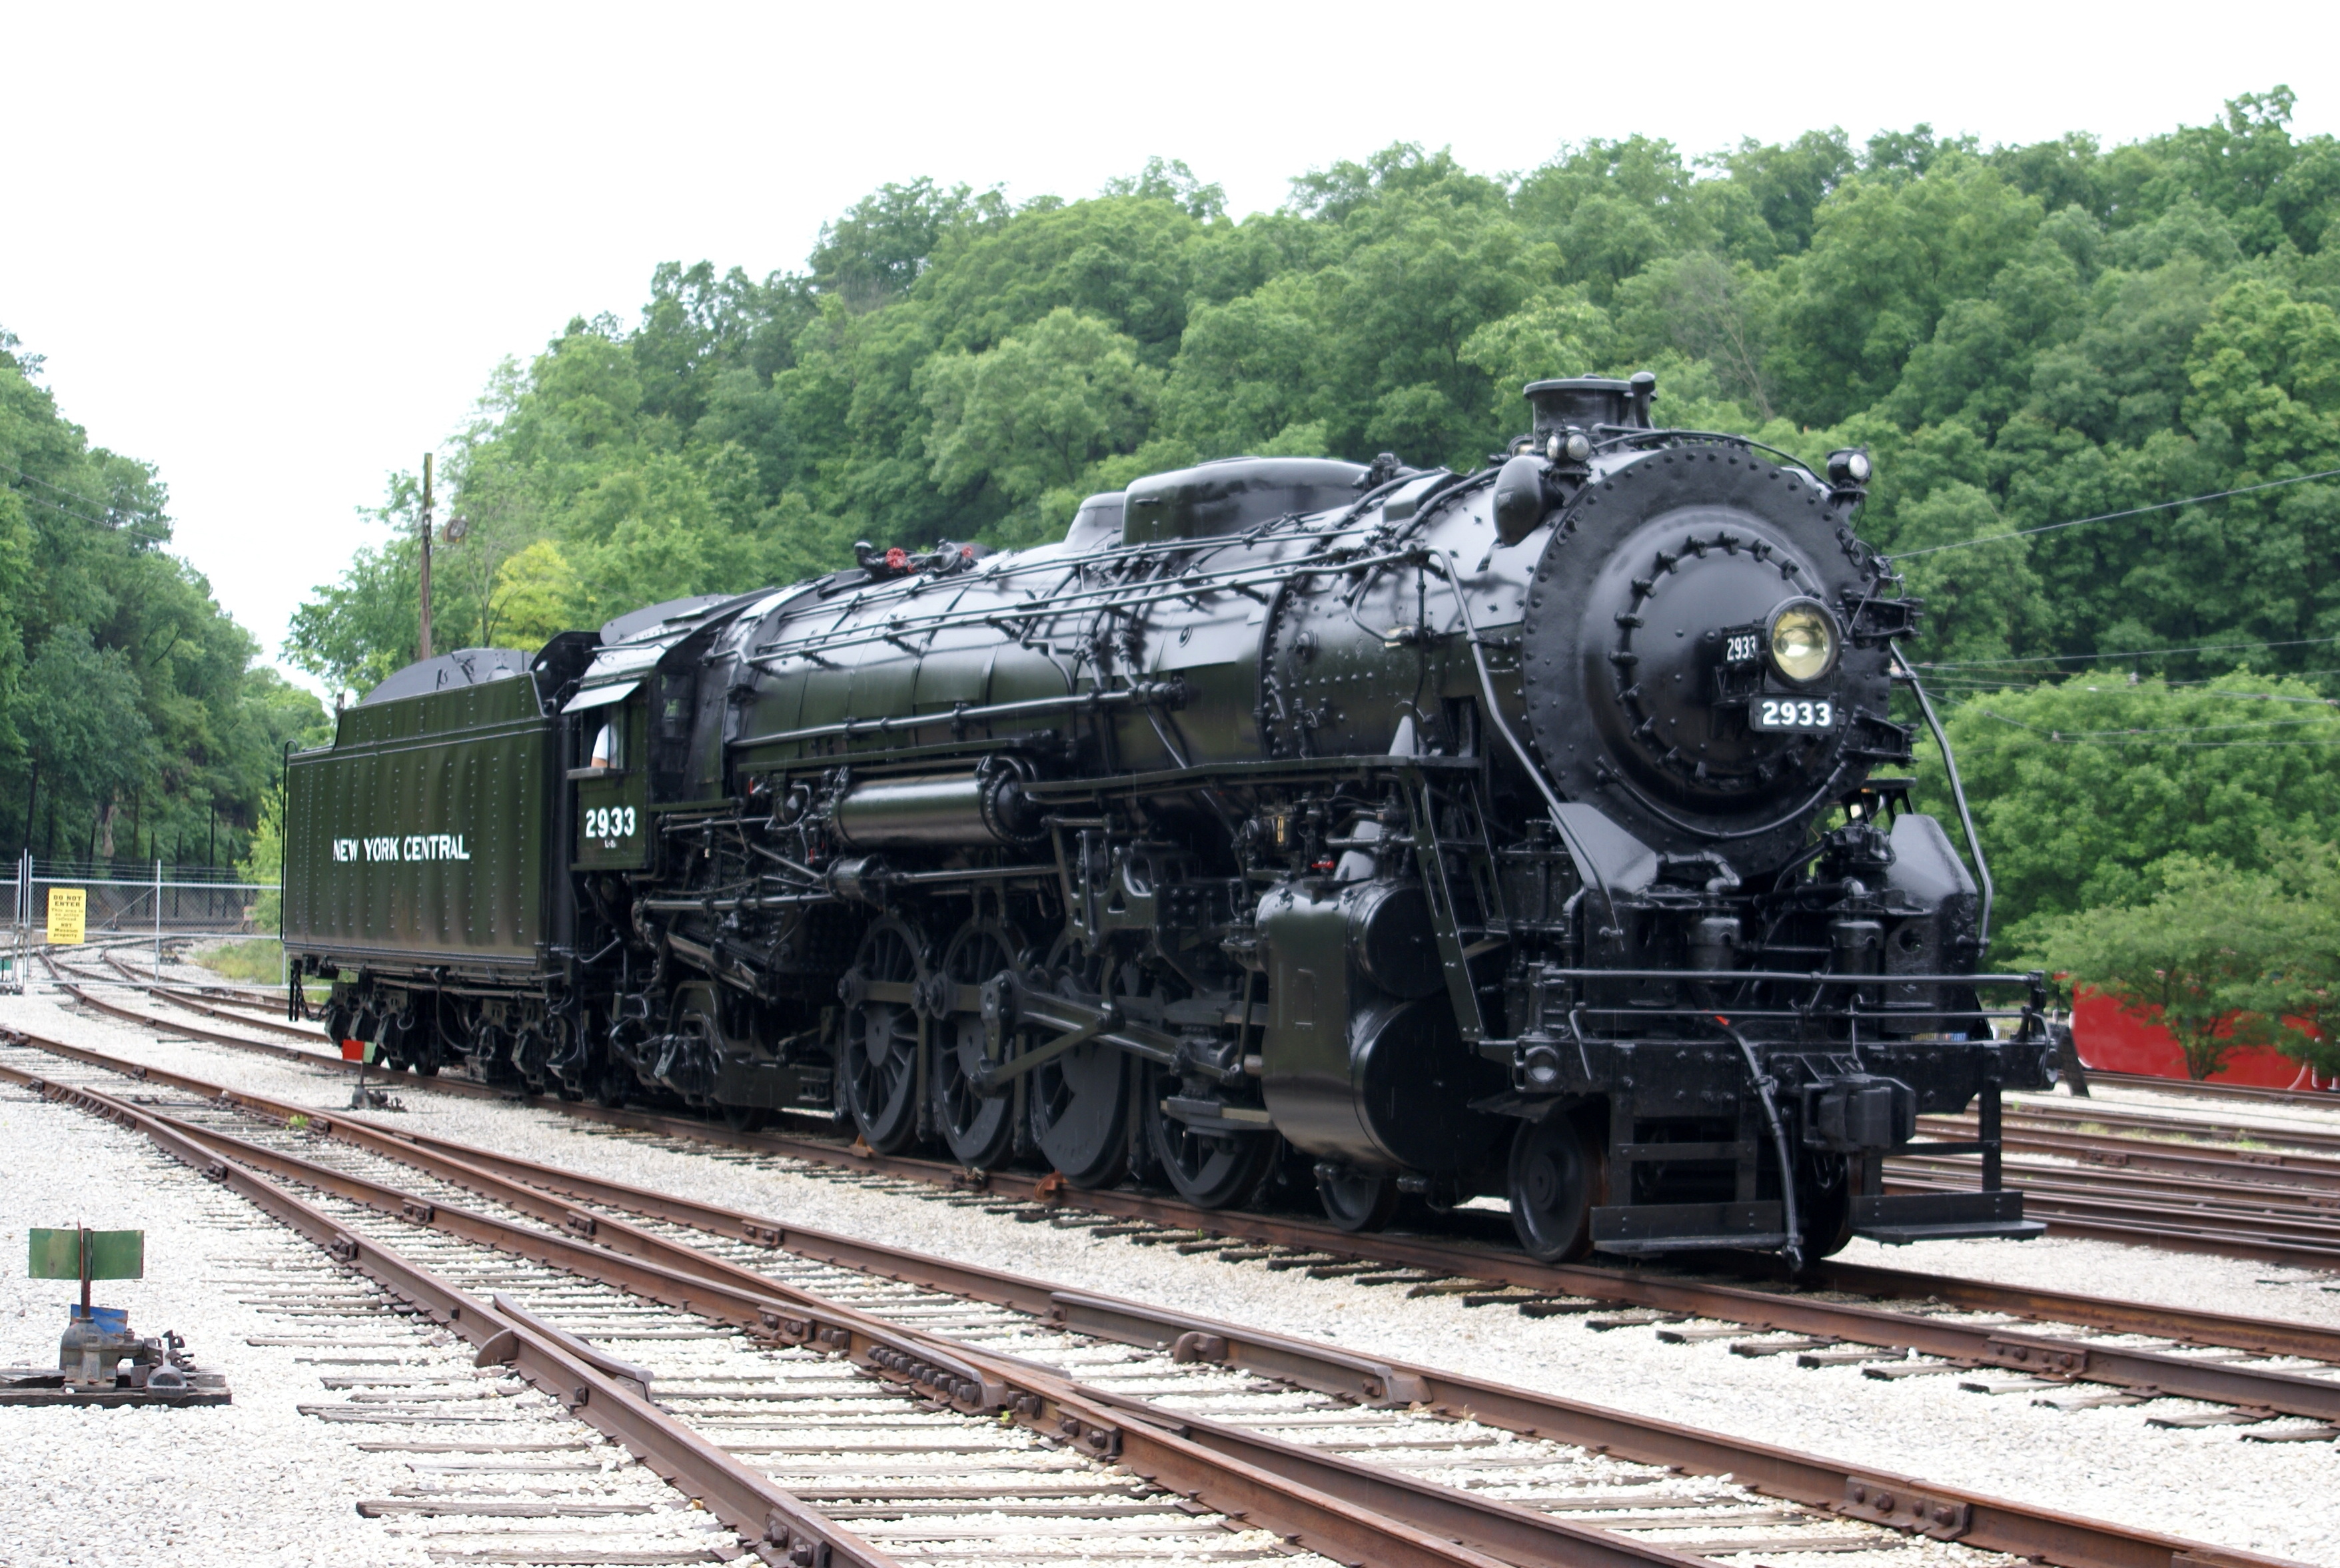
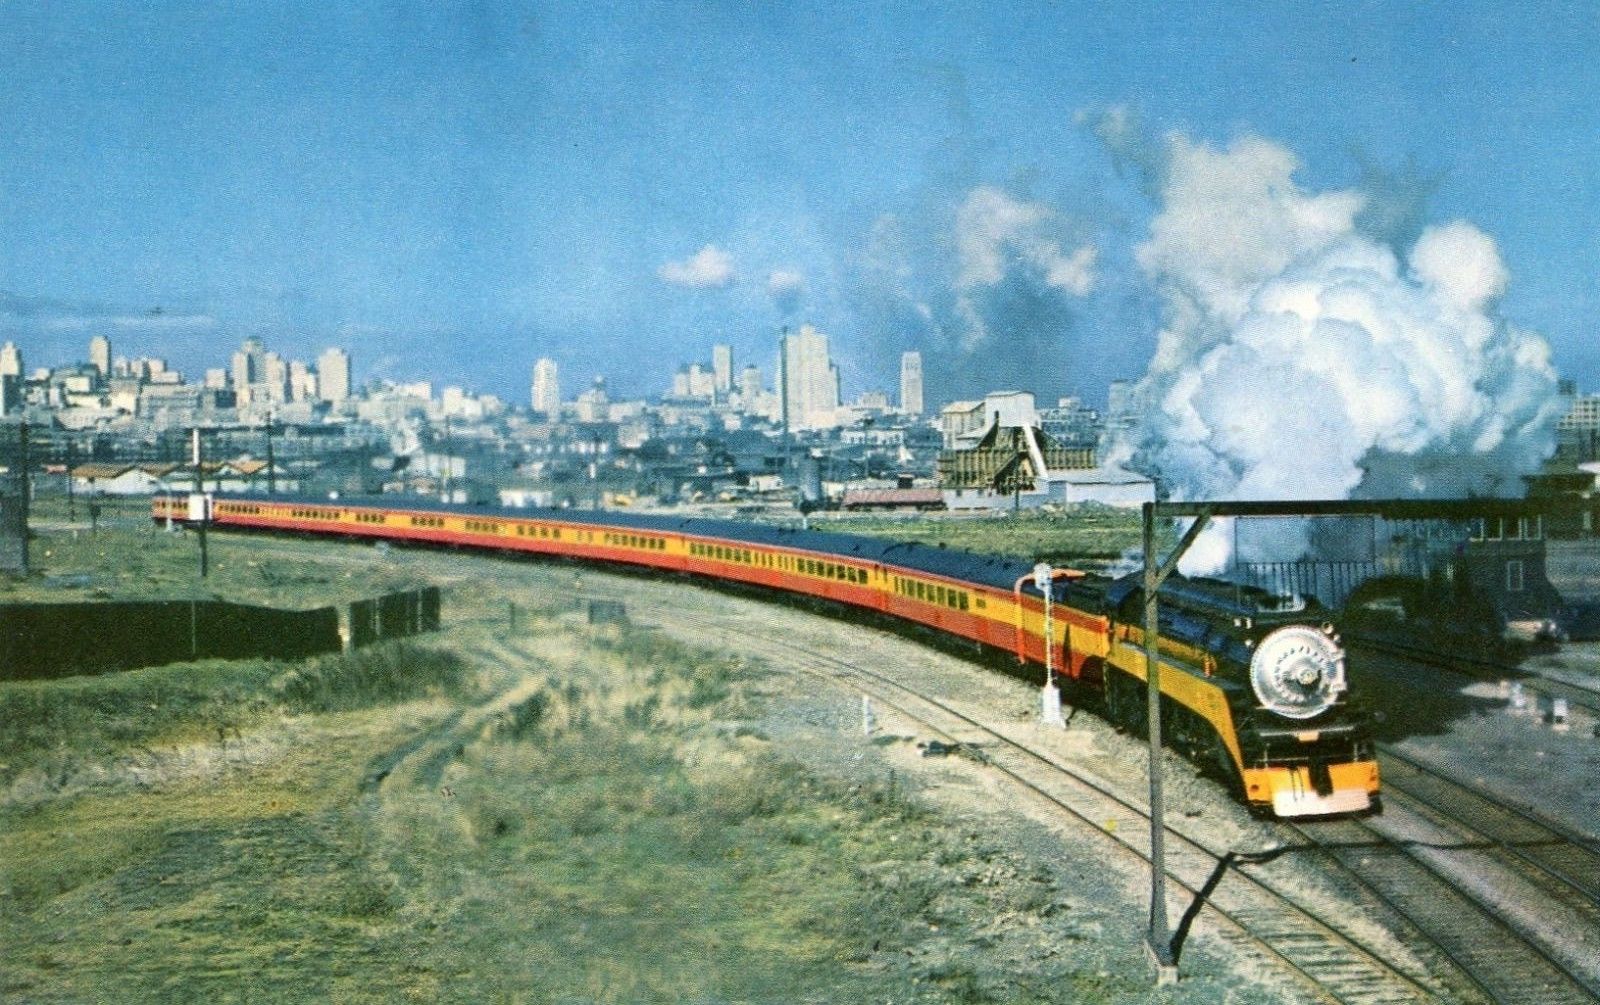
Before you begin weathering, it's essential to understand the fundamentals of how real trains age. Locomotives and freight cars exposed to the elements develop rust on metal surfaces, especially around joints and underframes where moisture accumulates. Paint fades unevenly depending on sun exposure and weather patterns. Carbon and soot accumulate around smokestacks and exhaust ports, while dirt and grime build up along lower sides where ballast spray and road dust settle. By observing real trains or studying quality prototype photographs, you'll understand where to apply weathering for maximum authenticity. This observation phase is crucial because it informs every weathering decision you'll make on your models.
The most accessible weathering technique for beginners is dry brushing, which requires minimal supplies and delivers impressive results. Start with a slightly damp brush loaded with a small amount of paint in colors like rust-red, dark brown, or grimy black. Lightly drag the brush across raised details, rivet lines, and crevices where dirt naturally collects. The key is using very little paint and a nearly dry brush so pigment catches only on the high points of your model. For rolling stock, focus on dry brushing around underframes, below door handles, along roof lines where rain runoff occurs, and around coupler pockets. You can find quality weathering paint sets on Amazon that include pre-mixed weathering colors designed specifically for different prototype eras and regions, which takes much of the guesswork out of color selection.
Weathering powders offer another excellent approach, particularly for creating soot and dust effects that look incredibly realistic. These fine pigments adhere to paint without requiring fixatives, though you can seal them later with matte spray to prevent smudging. Apply powders with a soft brush in concentrated areas where you want heavy accumulation, then use a dry brush to blend and distribute the powder more subtly across broader surfaces. Dark gray and black powders work beautifully around smokestacks and roof areas, while rust-colored and brown powders simulate dirt and oxidation on the underframe and lower sides. Layer multiple colors for depth and variation, allowing darker tones to accumulate in crevices while lighter dusts settle on flat surfaces.
Washes represent a third fundamental technique where you thin paint significantly with water or a commercial wash medium, then apply the mixture to flow into recesses and details. This gravity-fed approach naturally settles pigment exactly where rain and grime would accumulate on a real train. Mix dark brown or black paint into a very thin consistency and apply it generously along rivet lines, inside grab irons, around couplers, and throughout underframe details. Allow the wash to dry naturally rather than wiping it away, as those deposits create authentic shadowing that enhances three-dimensional detail. Multiple thin washes often work better than one heavy application, giving you control over how much weathering accumulates.
For advanced modelers, combining multiple techniques creates the most convincing results. Start with an overall wash to establish shadows and depth across your entire model. Once dry, apply selective dry brushing to highlight specific wear areas and rust spots. Finish with careful powder application to add texture and soften harsh lines from other techniques. Consider the model's operational history when deciding weathering intensity—a recently repainted passenger car needs only light weathering, while a vintage freight car that's been in service for decades warrants dramatic rust and heavy grime. If you're uncertain about your approach, vibetrains.com has extensive reviews of weathering products and techniques from experienced modelers that can guide your decision-making.
Ultimately, realistic weathering requires patience and restraint. It's easier to add more weathering than to remove what you've already applied, so start conservatively and build up gradually. Step back frequently to assess your progress, comparing your model to prototype photographs. Remember that weathering should look natural and follow logical patterns based on how weathering actually occurs in nature. Once you master these fundamental techniques, you'll find weathering becomes an enjoyable and meditative part of your modeling process, transforming every locomotive and car in your fleet into a authentic representation of railroad history.
Newsletter
Weekly O-gauge tips & reviews
New reviews, layout ideas, and hobby news — straight to your inbox.