How to Wire a Lionel FasTrack Layout
February 19, 2026
Wrote this up after I got the same question for the fifth time at a train show. Saving us all the hour-long conversation — here's the real answer.
Getting your Lionel FasTrack layout up and running is one of the most rewarding aspects of this hobby, and the good news is that wiring it properly doesn't have to be intimidating. Whether you're a seasoned operator or just getting started with O-gauge, understanding the fundamentals of track wiring will ensure your trains run smoothly and safely for years to come.
The first thing to understand is that Lionel FasTrack uses a unique system that simplifies wiring compared to traditional rail systems. The track itself has two rails that carry power, and the middle third rail handles the return circuit. Before you start laying track, decide on your layout design and identify where you'll place your transformer. Most hobbyists prefer to position the transformer at a central location that's easily accessible, as you'll be adjusting it frequently during operation.
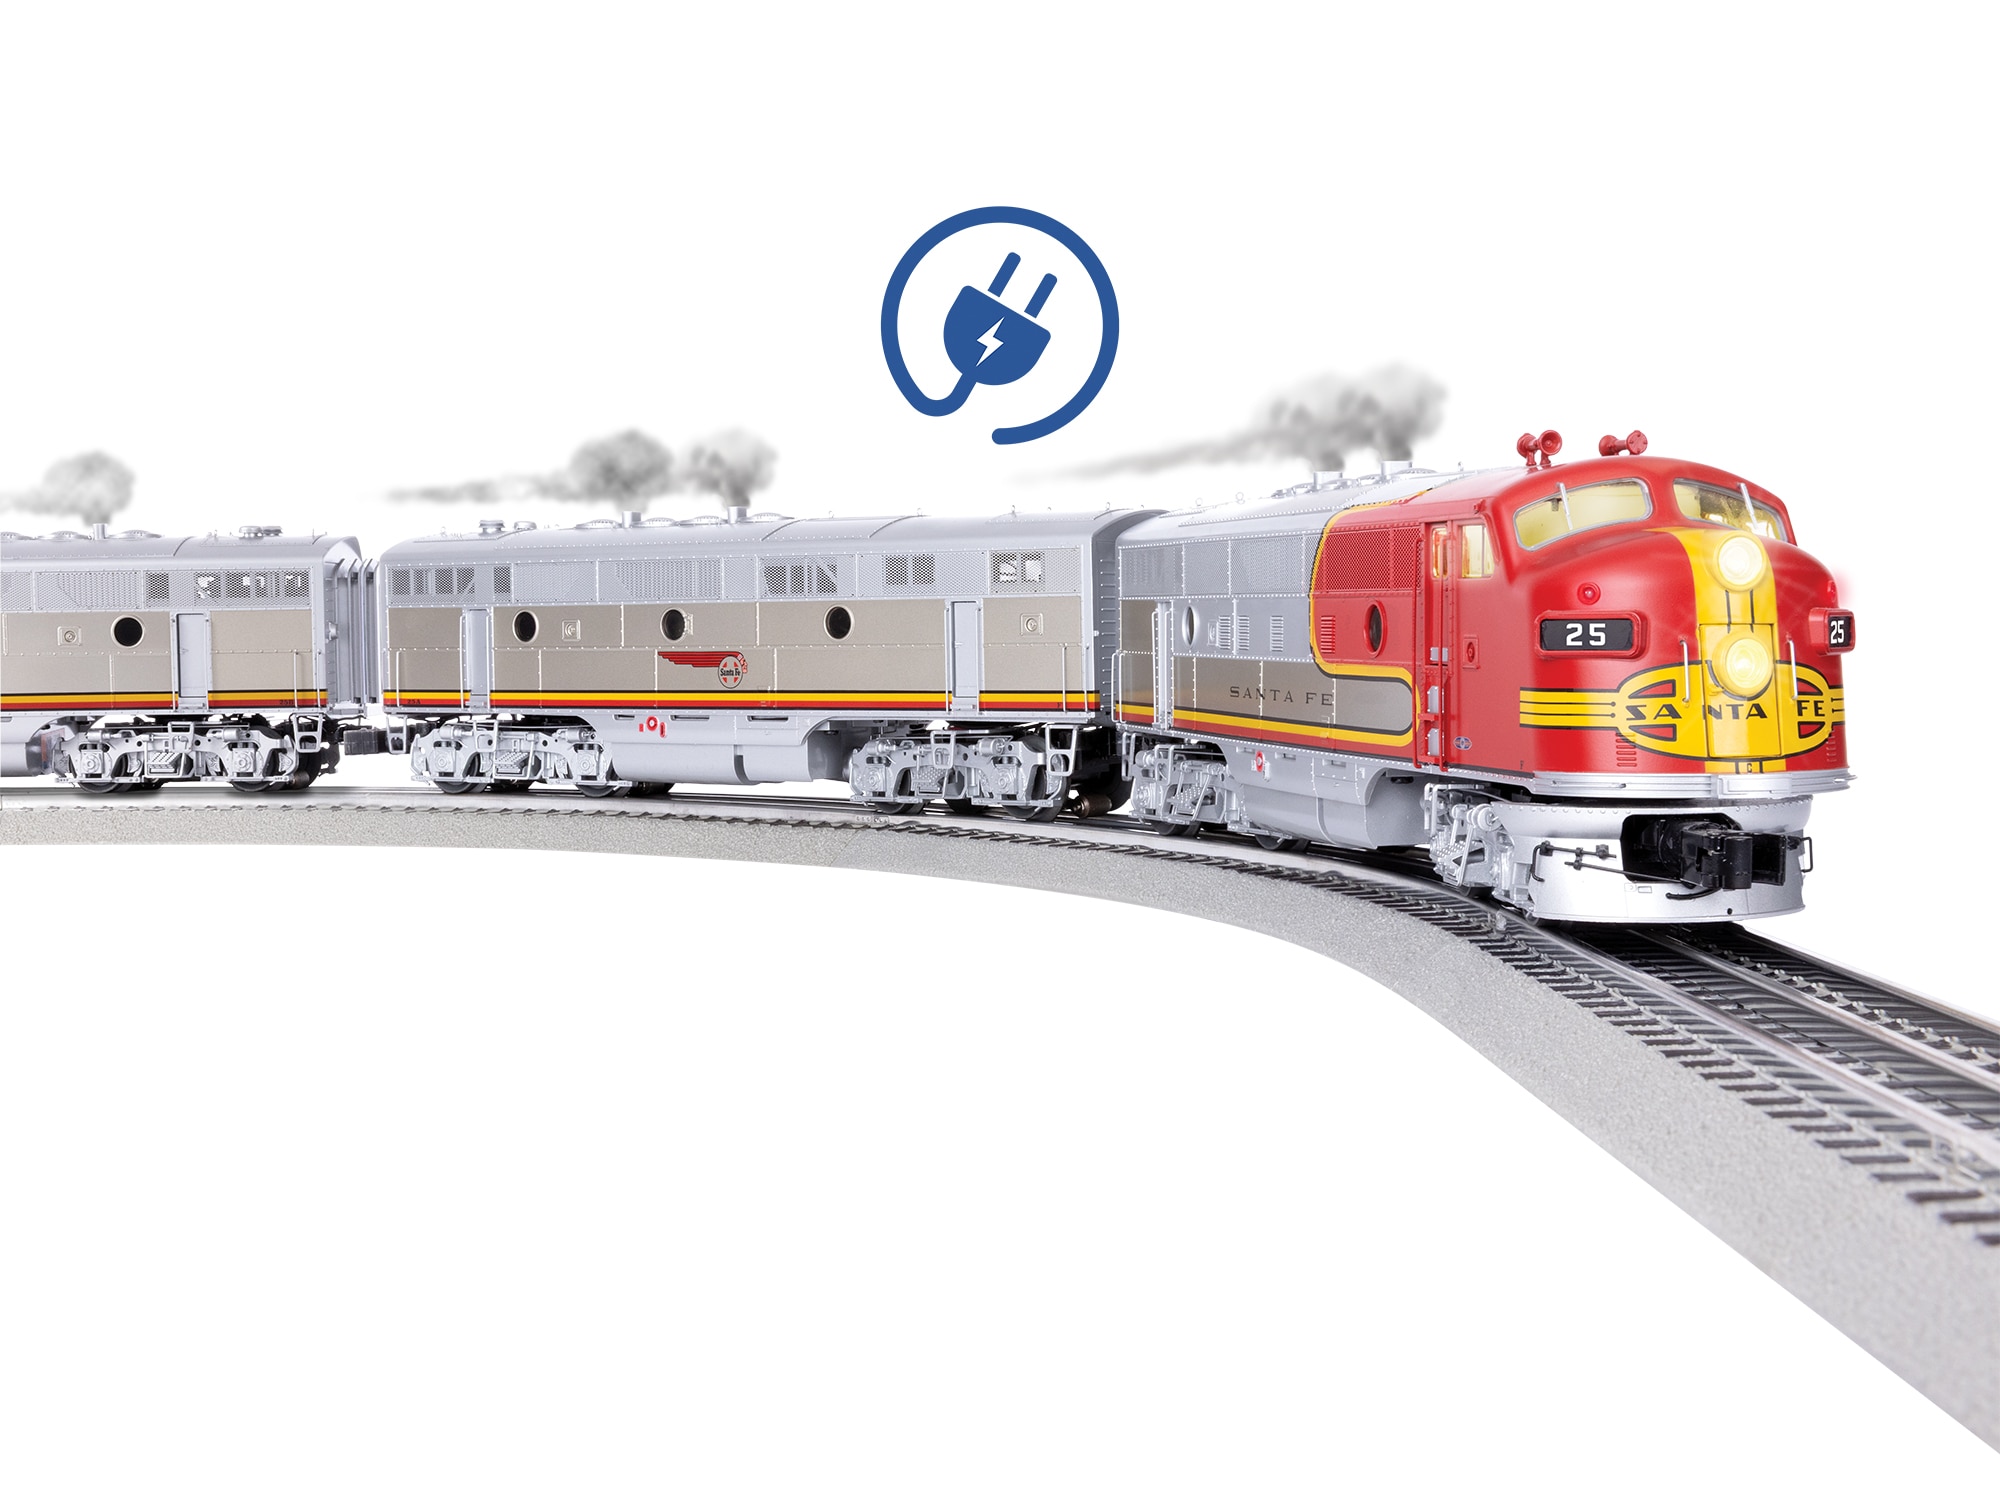
Begin by connecting your transformer to a standard household outlet using a properly grounded three-prong cord. A quality Lionel transformer like the ZW model is essential for powering larger layouts with multiple trains. Once the transformer is secure, you'll connect the two main power leads from the transformer to your track. The red wire goes to one rail, and the black wire goes to the other. Don't worry about the third rail for now; Lionel FasTrack handles that automatically through its built-in connectors.
When you're laying out your Lionel FasTrack pieces, you'll notice that each section has plastic tabs on the rails. These tabs are designed to guide the track together and help maintain proper electrical contact. As you snap sections together, the electrical connection happens automatically, which is one of the biggest advantages of FasTrack over traditional layouts. Make sure each connection is snug and properly seated.
For switches and turnouts, you'll need to run separate wires from the transformer to control them. Lionel switches typically require their own power lead, which you'll connect to the switch motor using the appropriate gauge wire. Label these wires clearly so you remember which switch controls which section of track.
Test your wiring frequently as you build. Before placing your transformer leads on the track for the first time, use a multimeter to check for any shorts or improper connections. Once you've connected the leads, place a stationary locomotive on the track and slowly increase the transformer's voltage to see if the engine responds smoothly.
One critical safety consideration: always unplug your transformer when you're not operating your layout, and keep all wiring away from water sources. Properly insulated wires and connectors prevent dangerous situations and extend the life of your equipment.
With these principles in mind, you're ready to wire a FasTrack layout that will provide reliable performance and countless hours of enjoyment. The key is taking your time, staying organized with your wiring, and testing as you go. Happy railroading!
Newsletter
Weekly O-gauge tips & reviews
New reviews, layout ideas, and hobby news — straight to your inbox.