How to Wire a DCS Layout for Beginners
April 9, 2026

If you're reading this you're probably one Reddit thread or YouTube rabbit hole deep. Here's the version I wish I'd had — practical, specific, no fluff.
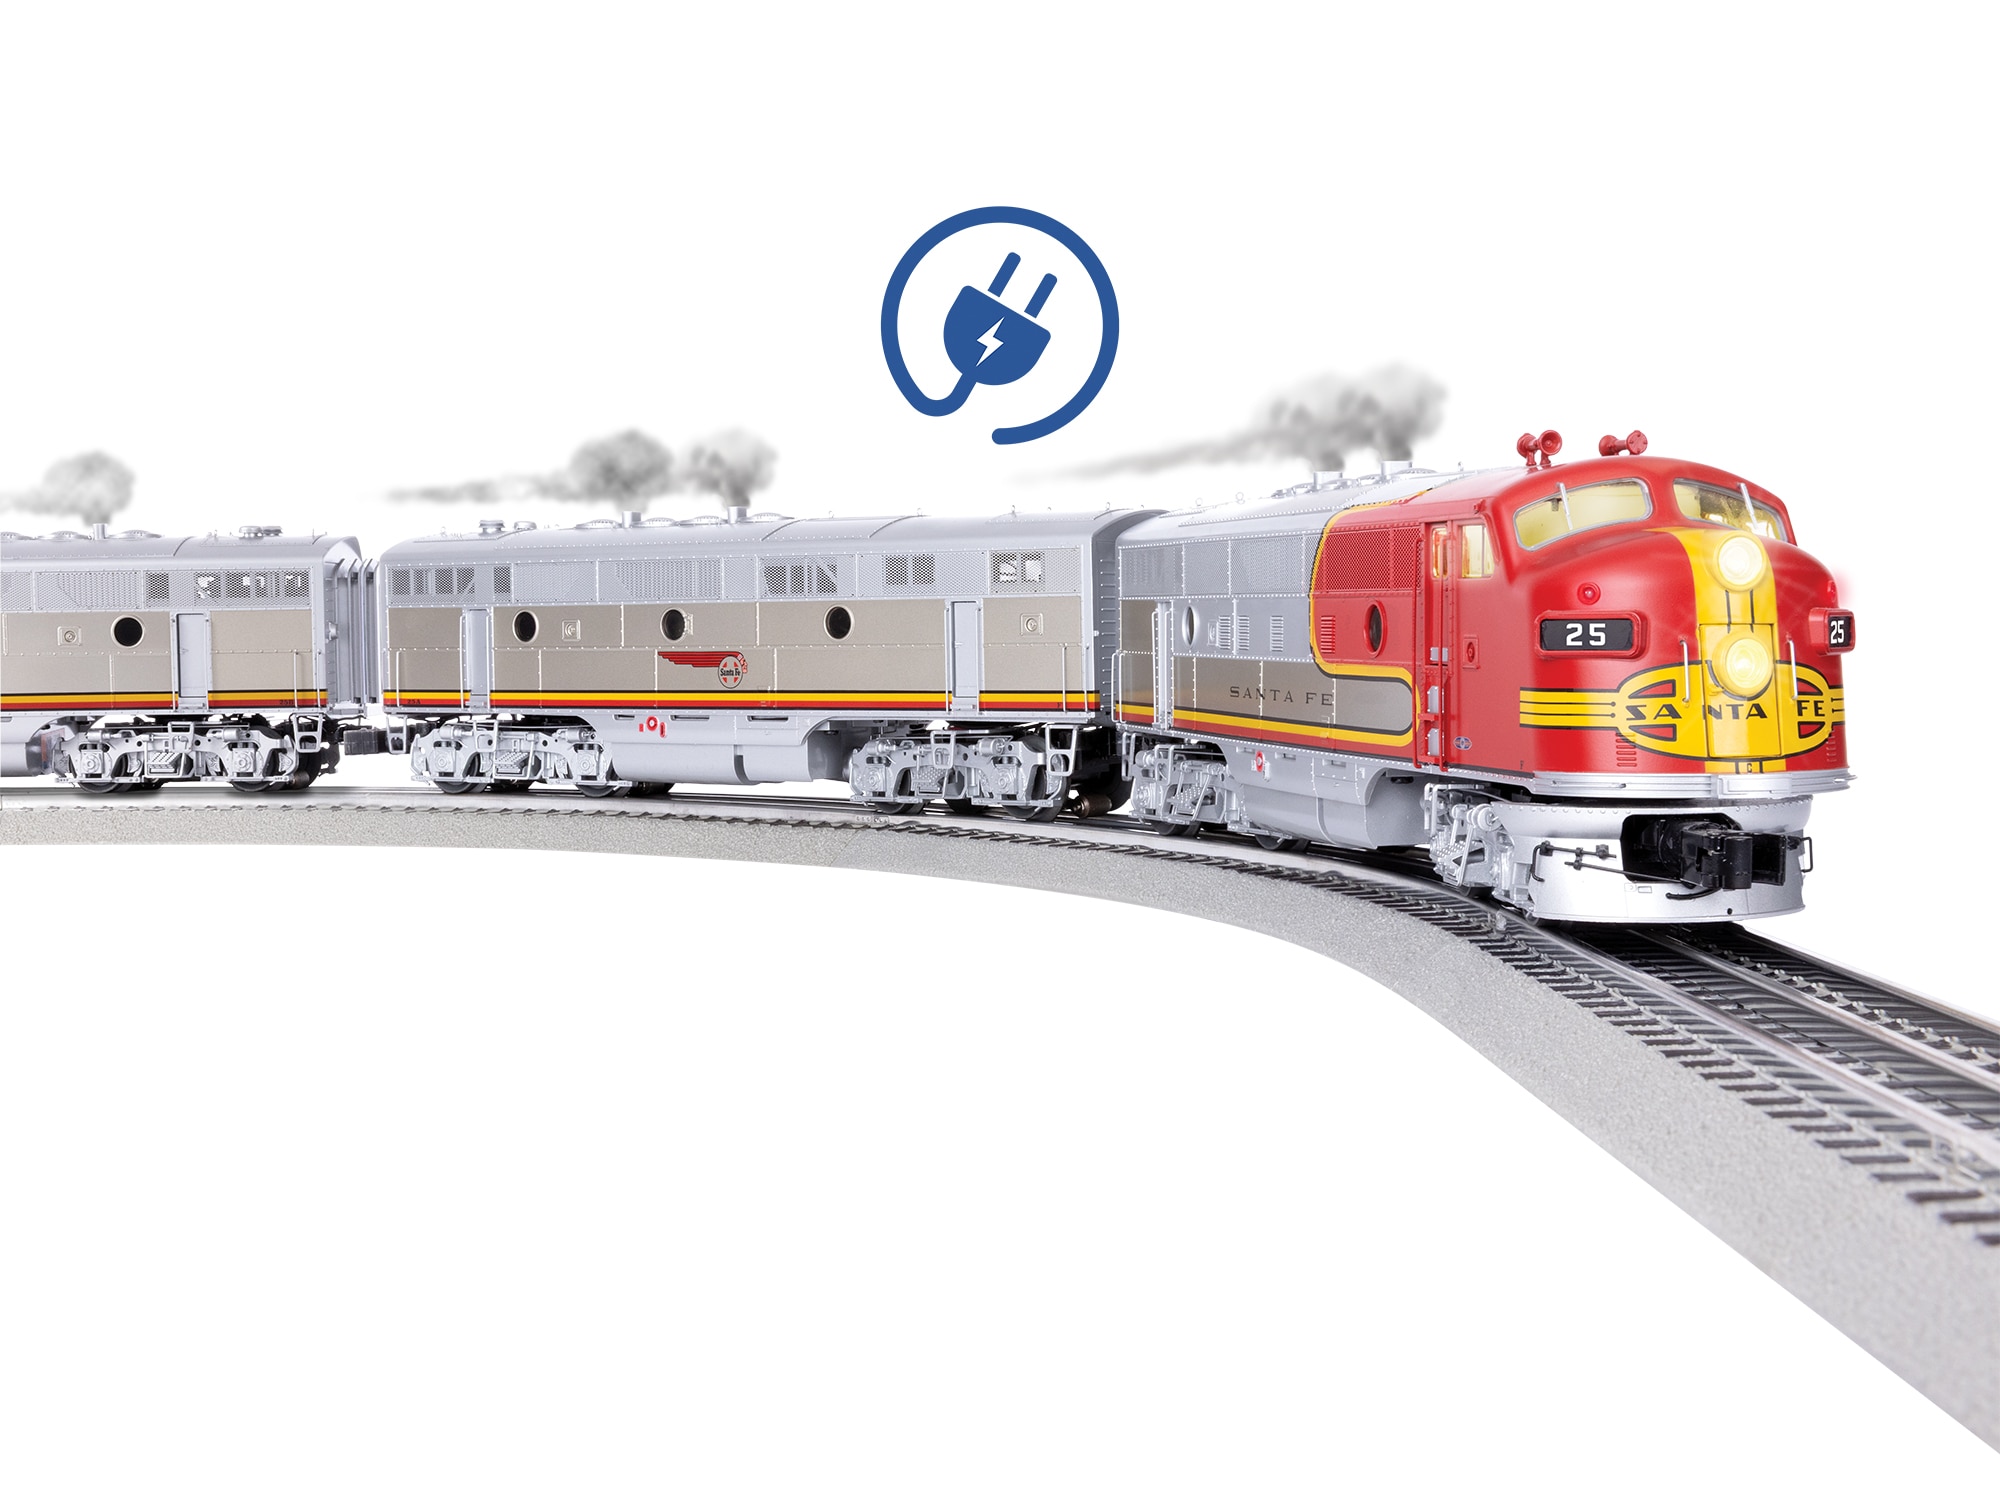
Getting started with Digital Command System (DCS) can seem intimidating at first, but with a clear understanding of the basics, you'll be running multiple trains independently in no time. Whether you're upgrading from a conventional layout or building fresh, this guide will walk you through the essential wiring steps.
First, let's talk about what you'll need. At minimum, you'll want a DCS power supply (typically 180 watts for beginners), a TIU (Train Interface Unit), and a remote control. The power supply connects to your wall outlet and converts AC power into what your layout needs. The TIU is the brain of your system—it manages all the digital communication between your remote and your locomotives. Don't skimp on the quality of your power supply; it's the foundation of reliable operation.
Start by connecting your power supply to the TIU. Most modern setups use standard connectors, but always check your manual to confirm polarity. From the TIU, you'll run two main wires to your track. These aren't your traditional two-rail setup—DCS uses a more sophisticated system that allows command signals to travel through the rails. Connect one terminal from the TIU to the outer rail and the other to the center rail. These connections should be soldered or use quality terminal connections; loose connections are the leading cause of DCS problems.
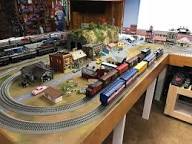
Once your main lines are connected, you can begin expanding your layout. DCS scales beautifully—you can start with a simple oval and add sidings, yards, and multiple main lines as you grow comfortable with the system. When adding new track sections, maintain consistent rail connections and avoid gaps that might interrupt the signal.
Here's a pro tip that beginners often overlook: install a good power distribution system from the start. Rather than running all your power from a single connection point, use multiple drop wires positioned strategically around your layout. This prevents voltage drops on longer tracks and provides more stable operation across your entire railroad. Space these drops every eight to ten feet for optimal performance.
Safety is paramount. Always include a circuit breaker between your power supply and your layout. This protects your equipment if a derailment causes a short circuit. Modern DCS power supplies include built-in protection, but an additional breaker adds an extra layer of security.
Before you run your first train, take time to test your connections with a multimeter. Check that you have proper voltage at various points around your layout, and verify that all connections are secure. This upfront work saves troubleshooting headaches later.
One final piece of advice: start simple. Get comfortable with one train before expanding to multiple locomotives. Learn how your remote works, practice switching between trains, and understand basic commands before adding complexity. DCS is incredibly powerful, but you don't need to use every feature immediately.
Wiring a DCS layout doesn't require years of electrical experience—just patience, attention to detail, and quality components. Take your time, follow your instructions carefully, and you'll have a flexible, reliable digital command system that brings your Lionel trains to life. Happy railroading!
Newsletter
Weekly O-gauge tips & reviews
New reviews, layout ideas, and hobby news — straight to your inbox.