O-gauge photographyO-scale layoutmodel railroad photographyLionel trainstrain roommacro photographylayout documentation
How to Photograph Your O-Gauge Layout for Stunning Results
April 20, 2026
Photographing your O-gauge layout can be just as rewarding as building it. Whether you're documenting a sprawling model railroad, capturing a Lionel train set's intricate details, or sharing your train room with fellow enthusiasts, knowing how to photograph your O-gauge layout for stunning results will elevate your hobby experience. With the right techniques and equipment, you can create images that truly showcase the craftsmanship and passion you've invested in your miniature world.
The foundation of great layout photography starts with lighting. Natural light is often considered the gold standard, but it can be unpredictable and create harsh shadows across your O-scale displays. Instead, invest in consistent, controllable lighting using LED panels or softbox kits. Position your lights at roughly 45-degree angles to eliminate harsh shadows while creating dimension and depth. Avoid placing light sources directly above your scene, as this flattens details and diminishes the three-dimensional appeal of your model railroad. Warm-toned LED lights (around 3000K color temperature) tend to be most flattering for miniature landscapes and vintage Lionel sets, while cooler lights (5000K) work better for modern scenes and contemporary train cars.
Composition is equally critical when documenting your train room layout. Instead of photographing your entire O-gauge display from a single bird's-eye view, get creative with angles and perspectives. Position your camera at track level to capture the experience of riding along the rails—this perspective makes viewers feel immersed in your miniature world. Use the rule of thirds by placing key elements like your locomotive or focal structures off-center rather than dead-center in the frame. Include foreground, midground, and background elements to add layers and depth to your photographs. When framing shots of FasTrack installations or custom track configurations, zoom in on interesting details like crossings, switches, and grade separations rather than always capturing the complete view.
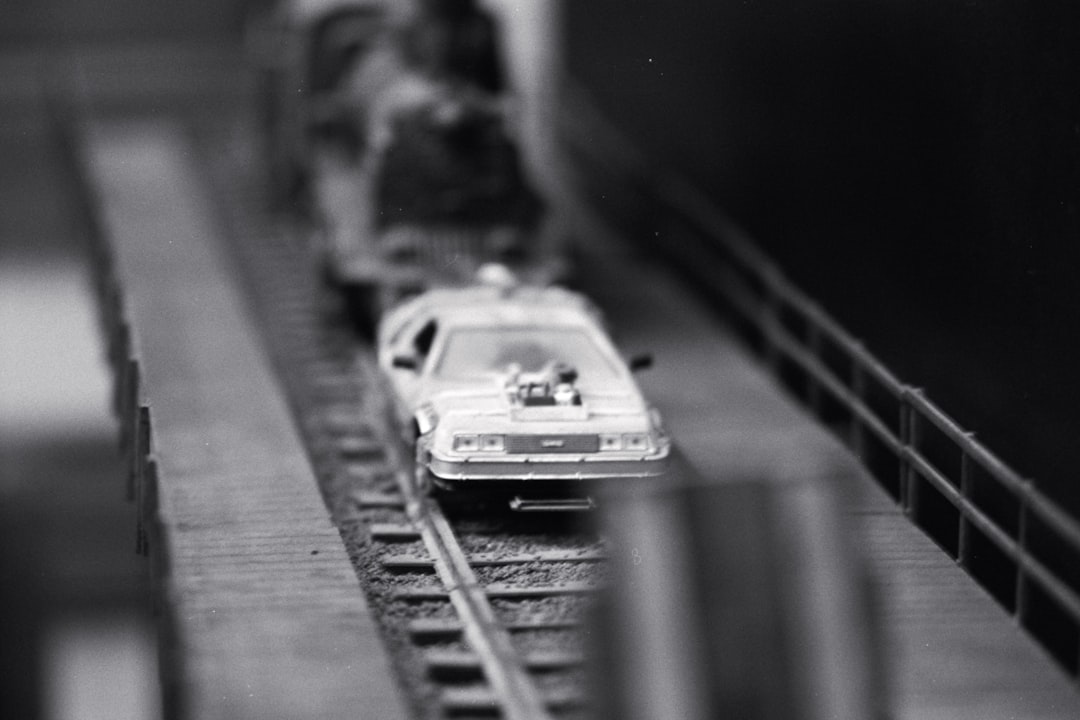
Camera settings require attention if you want truly stunning results. If you're using a smartphone or compact camera, ensure your focus is sharp by tapping on the main subject before shooting. For DSLR or mirrorless camera users, use a shallow depth of field (around f/5.6 to f/8) to keep your primary subject sharp while softly blurring the background—this technique is particularly effective for isolating a beautiful locomotive from busy scenery. A macro lens or macro mode on your camera will reveal stunning details of your model train's engineering and craftsmanship. Consider investing in quality photography equipment like a macro lens or ring light setup, which you can find on [Amazon with options for every budget](https://www.amazon.com/s?k=macro+photography+ring+light&tag=mikesreviews3-20). Shoot in RAW format if possible, as it provides maximum flexibility during post-processing and color correction.
Timing your photography sessions matters more than most hobbyists realize. Photograph your O-gauge layout during times when ambient lighting is consistent, preferably during the day when sunlight remains steady. Avoid shooting when harsh afternoon sun creates strong shadows through windows or skylights. For train room setups with controlled lighting, you have more flexibility, but consistency is still key. Test your lighting setup with a few test shots before committing to a full photography session. Take multiple shots from slightly different angles and zoom levels—you'll be amazed at how one small shift in perspective can transform an ordinary image into something spectacular.
Post-processing is the final step that can take your photography from good to gallery-quality. Adjust brightness, contrast, and saturation to enhance the vibrancy of your model railroad without oversaturating details. Subtle increases to sharpness can emphasize fine details like weathering on boxcars or tiny figures on platforms. Color correction is especially important if your lighting setup casts unusual color casts—a simple adjustment can make your layout's colors appear more accurate and appealing. Don't go overboard with filters; the goal is to enhance what's already there, not create an artificial-looking image.
For more expert tips on showcasing your Lionel trains and O-scale collections, visit vibetrains.com where we feature comprehensive photography guides, layout inspiration, and detailed equipment reviews. Whether you're a seasoned model railroader or just getting started with your first train room, mastering these photography fundamentals will help you document and share your passion with the vibrant O-gauge community. Your layouts deserve to be seen in their best light—literally.