How to Photograph Your O-Gauge Layout for Instagram: Complete 2026 Guide
July 9, 2026
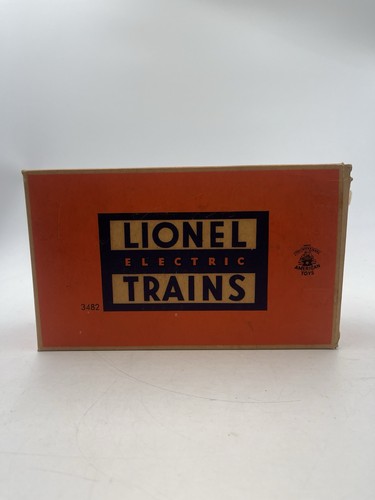
How do you take great photos of your O-gauge layout for Instagram? The model train community on social media is one of the most engaged niche audiences online — and quality layout photography drives real engagement, follower growth, and community recognition. This vibetrains.com guide walks through the techniques that turn casual phone snapshots into shareable train content, covering camera angles, lighting, composition, editing, and the specific tricks that make miniature scenes look impressive on small screens.
Whether you're documenting a build project, sharing individual locomotive purchases, or trying to grow a train-focused Instagram account, the principles here apply. And you don't need expensive gear — modern phone cameras produce excellent results when used thoughtfully.
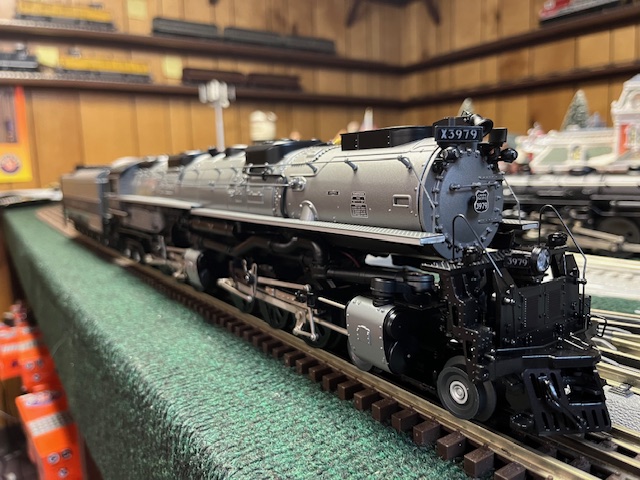
Why Layout Photography Matters
Social media is how the model train community increasingly connects. Instagram, TikTok, YouTube Shorts, Facebook groups, and Reddit's O-gauge communities all reward quality visual content. A well-photographed locomotive gets thousands of impressions; the same locomotive in a poorly-lit phone snap gets ignored.
Beyond audience growth, layout photography helps you document your build. Photos taken at each scenery stage let you see progress over months and years. They provide documentation for insurance. And they build a portfolio of your best work that becomes part of your identity as a modeler.
Camera Gear: You Don't Need Much
Modern phones produce excellent train photos when used correctly. iPhone Pro models and higher-end Android phones (Google Pixel Pro, Samsung Galaxy S series) have multi-camera systems and computational photography that handle model train shots easily. You don't need a dedicated camera to produce content that competes with dedicated railroad photographers.
Optional additions that help: a small tripod or phone mount ($15-$40) for stable low-angle shots, a small LED light panel ($25-$80) for controlled fill lighting, and a phone remote shutter ($10-$15) for hands-off photography that avoids camera shake.
Camera Angles That Work
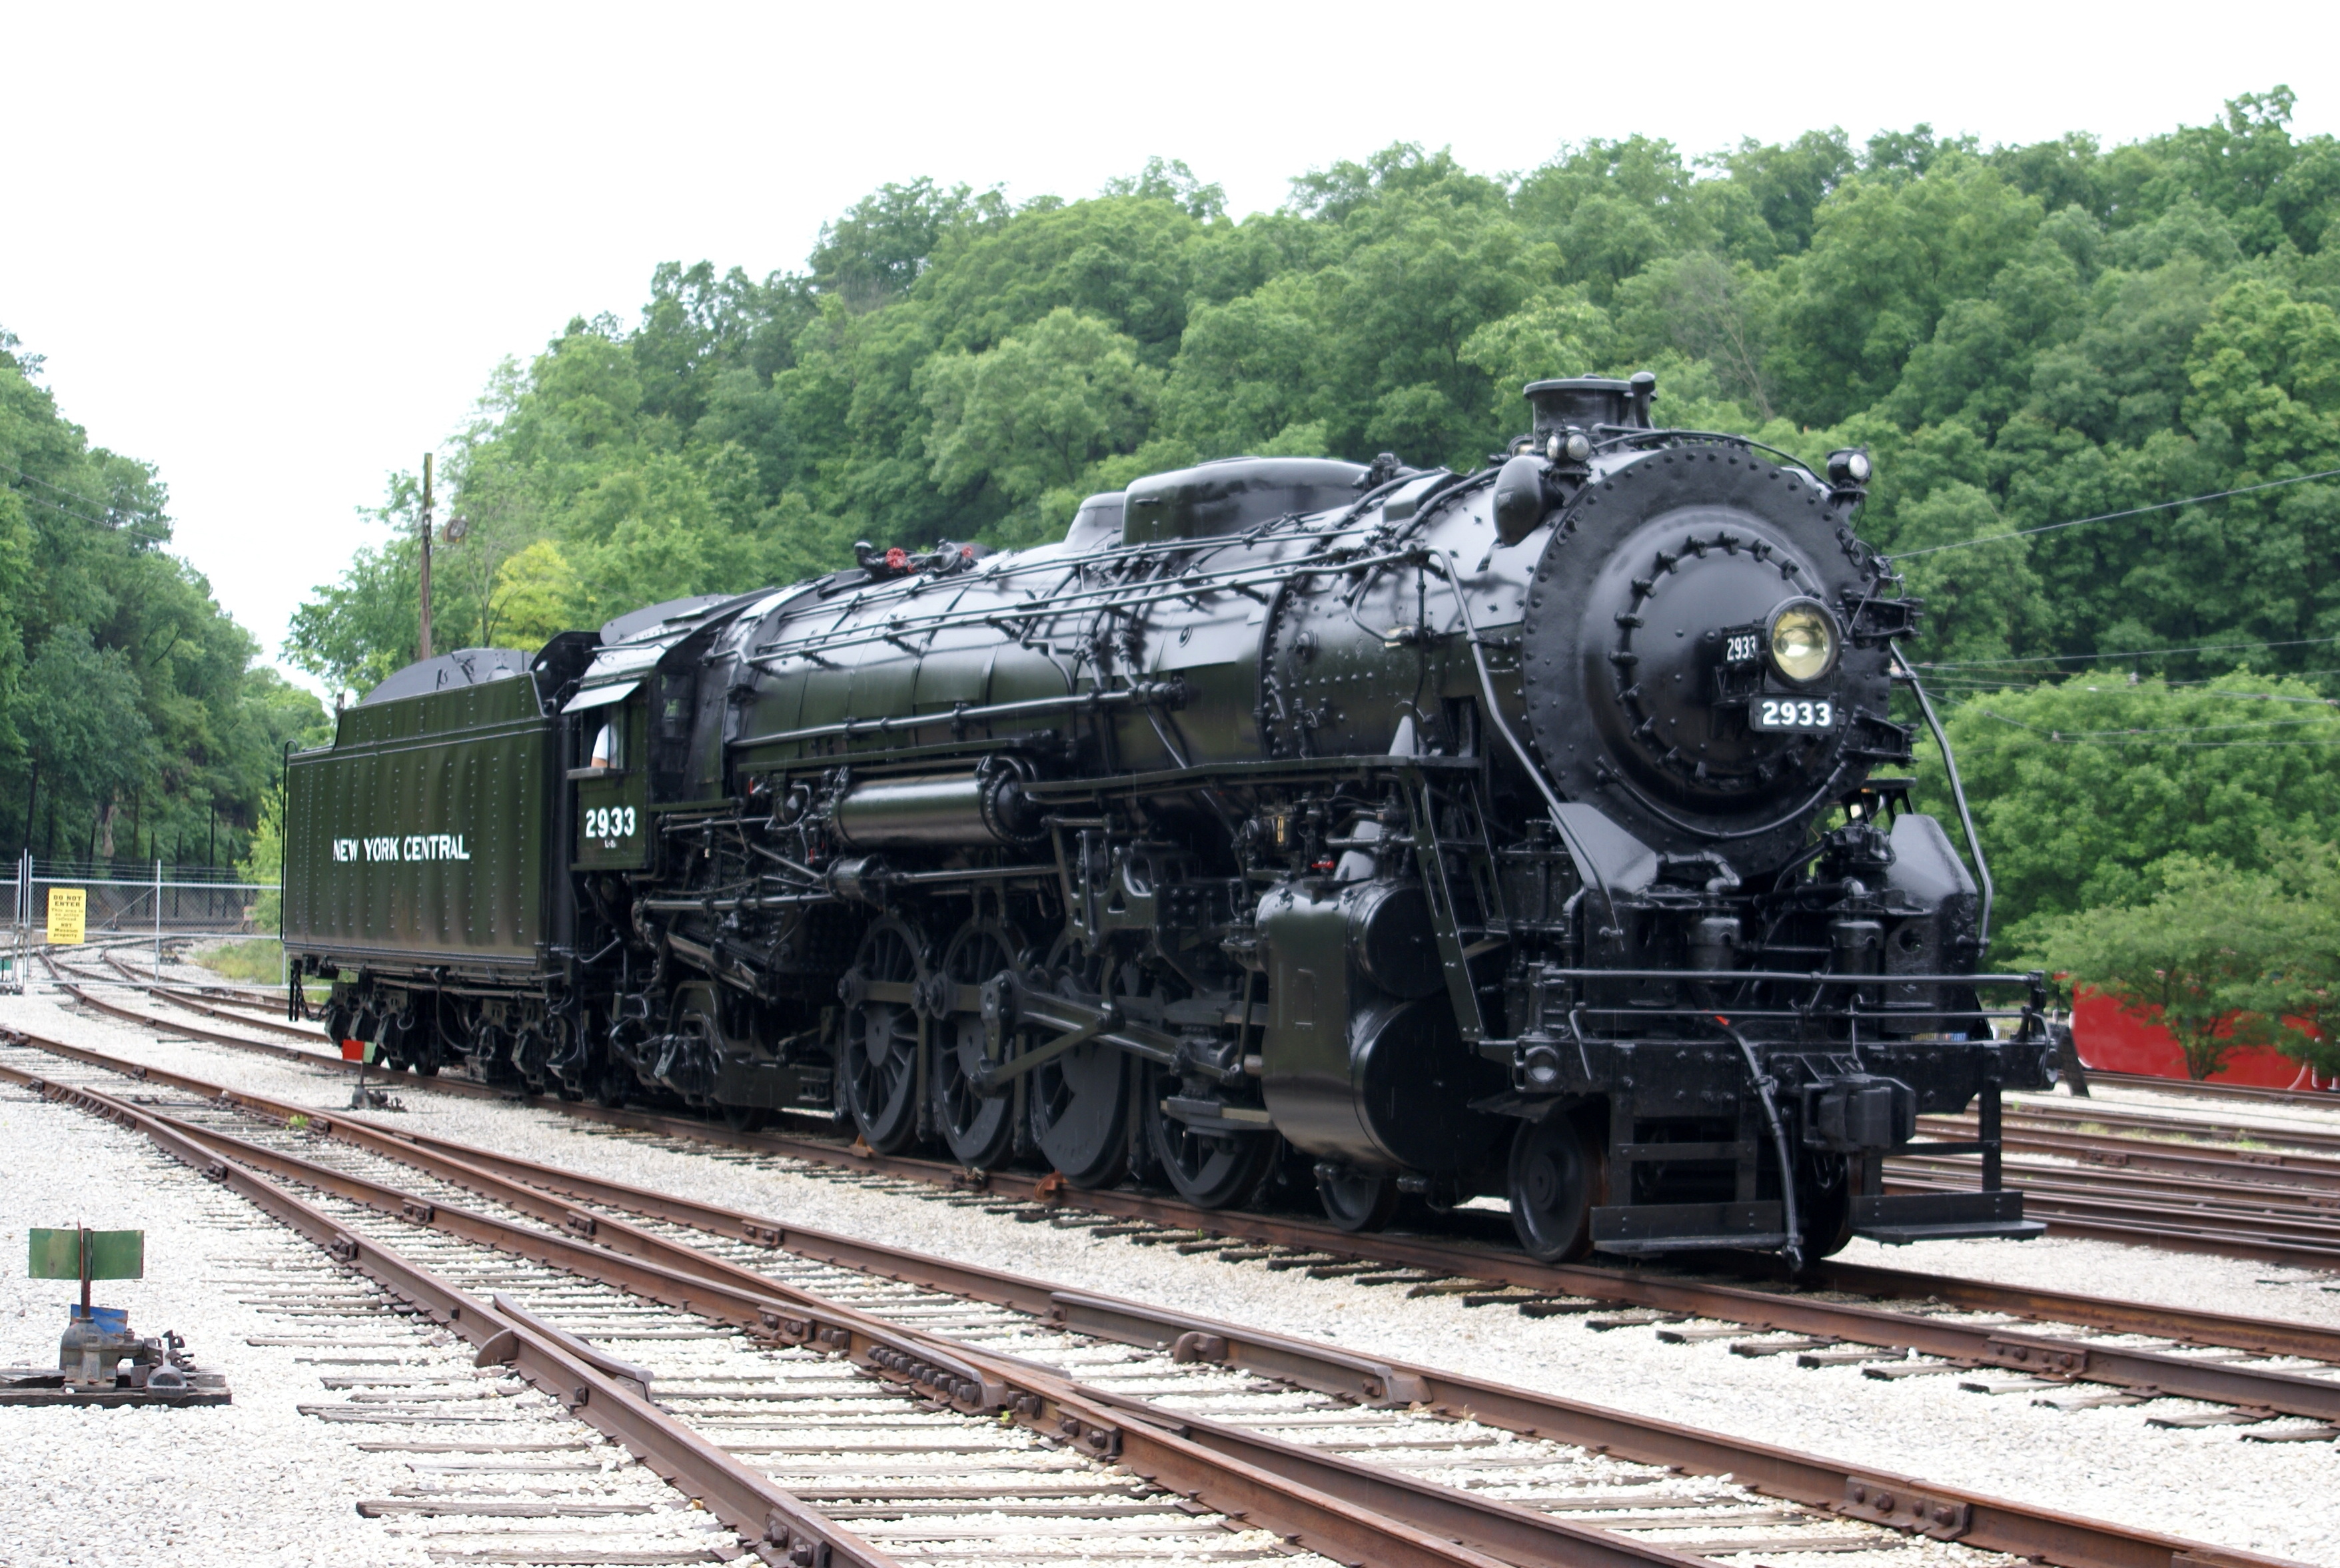
Camera angle is the single most important technical choice in layout photography. Three angles do most of the work:
Low-angle head-on: Position the camera at rail-level directly in front of the locomotive. This makes even small locomotives look imposing and matches the "railfan photography" style that dominates real train photography. Best for hero shots of specific locomotives.
Low-angle three-quarter: Camera at rail level offset 30-45 degrees from the locomotive's front. Shows the locomotive body proportions plus visible detail on the near side. This is the classic locomotive portrait angle.
High-angle wide: Camera elevated above the layout showing the full scene. Best for demonstrating layout composition, showing scenery, and giving context. Less dramatic than low-angle shots but shows more.
Avoid the "flat eye-level" perspective that many casual photographers default to. Standing at normal height looking down at your layout produces the least interesting angle possible.
Lighting Techniques
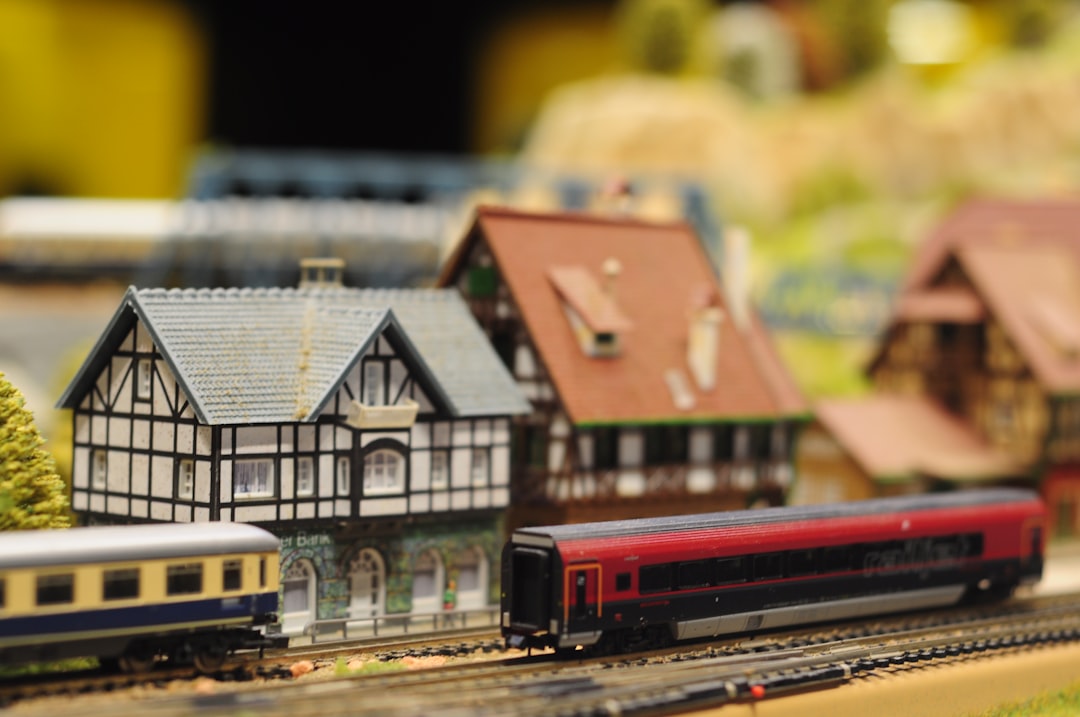
Lighting shapes how your subject reads visually. Two approaches produce the best results:
Directional side lighting: Position your light source (either overhead room lights turned to specific positions, or a portable LED panel) to one side of the locomotive at about 30-45 degrees. Side lighting creates shadows that emphasize three-dimensional detail. Locomotives lit from directly overhead look flat; side-lit locomotives look sculptural.
Warm color temperature: Real photography of miniature scenes benefits from warm color temperatures (2700K-3000K, matching incandescent or "golden hour" outdoor lighting). Modern LED room lights in warmer color temperatures produce better results than cool-white "office" lighting.
Night-scene photography with the layout darkened and structure lighting on produces the most dramatic photos. Turn off room lights, keep only structure lights and street lamps illuminated, and use your phone's night mode. The results look like small-town main street at dusk.
Composition Rules That Actually Work
Four compositional principles produce reliable results:
Rule of thirds: Divide your frame into thirds vertically and horizontally. Position your locomotive along one of the lines rather than dead center. Off-center composition looks more dynamic than centered composition.
Leading lines: Use track, roads, fences, or other linear elements to lead the viewer's eye toward your subject. A shot with the track lines drawing the eye into the locomotive is more powerful than a shot without directional guidance.
Negative space: Don't fill every corner of the frame. Empty background sky, empty foreground, empty space beside the locomotive gives the subject room to breathe. Cluttered frames dilute the visual impact.
Foreground interest: Include an out-of-focus foreground element (a plant, a tree, a signal, an accessory) to add depth. Foreground blur in front of a sharp locomotive reads as professional photography.
The Focus Question
Small subjects at close distance require careful focus management. Modern phones default to autofocus but often focus on the wrong element in complex scenes.
Techniques that help: tap-to-focus on the specific point you want sharp (usually the locomotive's headlight or the driver wheels). Portrait mode with adjustable focus depth for controlled foreground/background blur. Manual focus in phone camera apps that support it, for maximum control on tricky shots.
The "sharp locomotive, blurred background" look that professional railroad photographers use requires either large-sensor cameras or careful phone portrait-mode use. Practice this specifically.
Editing for Instagram
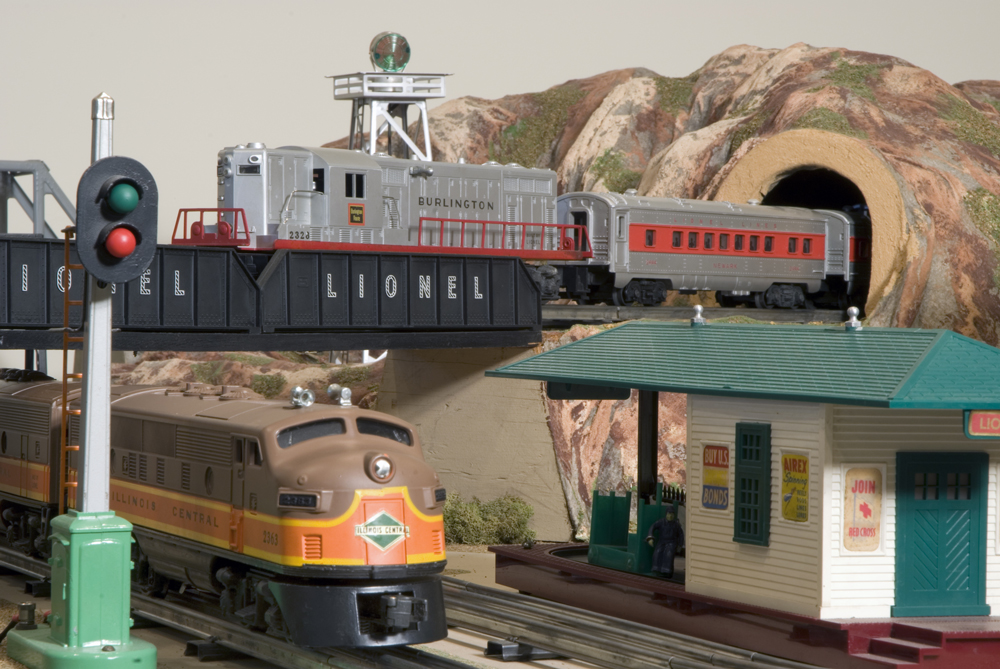
Nearly every great model train Instagram post has been edited from the raw photo. Editing brings out detail, adjusts lighting, and matches the visual style that performs on social media. Two apps do most of the work:
Native camera app editing: iPhone Photos and Google Photos both include capable editing tools. Adjust exposure (usually +0.3 to +0.7 for miniature scenes), highlights (usually -20 to -40 to recover blown-out sky or lights), and shadows (usually +20 to +40 to bring out dark detail).
Snapseed: Free Google editing app with tools that phone camera apps lack — selective adjustments, healing brush for unwanted objects, tone curve control. The "Ambience" adjustment specifically helps miniature scenes.
Avoid heavy filters. Over-processed Instagram-style photography looks obvious and doesn't age well. Subtle edits that enhance what's already there produce content that holds up over years.
Video vs Photo
Instagram, TikTok, and YouTube Shorts prioritize video content, and video of a model train is naturally engaging — the movement itself is what people want to see. Even simple 10-15 second clips of a locomotive rolling past the camera perform well.
For video: keep clips short (7-15 seconds ideal for social platforms), maintain steady camera work (tripod or stabilized handheld), and include audio (train sounds are half the appeal). Vertical format (9:16) for Instagram Reels and TikTok; horizontal (16:9) for YouTube proper.
What Performs on Instagram
Content categories that consistently perform well in the O-gauge Instagram community:
New arrivals: Unboxing videos of new locomotive purchases. The community loves seeing what other hobbyists are buying.
Scenery progress: Before-and-after shots of scenery work. Time-lapse of a mountain being built or a small town coming together generates strong engagement.
Night scenes: Layouts lit at night with structure lighting are dramatically photogenic. Almost always outperform daytime shots.
Detail closeups: Locomotive detail, weathering effects, structure detail. Close-up photography that shows craftsmanship performs.
Operating videos: Trains actually moving, especially at scale-realistic slow speeds. Movement is the essential appeal.
Growing an Instagram Audience
Beyond photography quality, several tactical choices affect Instagram growth:
Post consistently. The algorithm rewards accounts that post regularly. Two to four posts per week at consistent times performs better than sporadic posting.
Use appropriate hashtags. #ogauge, #lionel, #lioneltrains, #modelrailroad, #ogaugerailroading. Mix general and specific tags.
Engage with the community. Follow other O-gauge accounts, comment thoughtfully on their posts, respond to comments on your posts. Community accounts amplify accounts that engage back.
Cross-promote. Share your best content on Reddit's r/modeltrains, on the OGR forum, and in Facebook groups. Different platforms have different audiences.
Common Photography Mistakes
Four mistakes that dominate amateur layout photography:
Shooting from standing height. The "adult standing over a small layout" perspective is the least visually interesting angle. Get down to layout level.
Ignoring backgrounds. Clutter behind the locomotive (workbench mess, room details, other layout sections you didn't intend to feature) ruins otherwise good shots. Frame carefully.
Fluorescent office lighting. Cool-white overhead lighting produces greenish color casts that ruin train photography. Use warm-white lights or supplement with LED panels.
Over-processed editing. Heavy filters, extreme saturation, obvious HDR effects. Restraint is the mark of experienced photographers.
Practice Locomotives and Practice Scenes
Photography skill improves with practice. Set up dedicated photo sessions where you spend an hour photographing one locomotive from different angles with different lighting. The tenth photo of a single locomotive will be much better than the first, and the techniques you learn transfer to future shoots.
Build one small dedicated "photo scene" on your layout — a corner with excellent scenery, no clutter, and good lighting access. Use that scene for locomotive portraits and other hero shots. Having a reliable good-looking background dramatically simplifies future photography.
Frequently Asked Questions
What camera should I use to photograph model trains? A modern iPhone Pro or high-end Android phone produces excellent results for most model train photography. Dedicated cameras (mirrorless, DSLR) offer more control but aren't necessary for social media content.
How do I take good Instagram photos of my model trains? Low-angle head-on or three-quarter shots at rail level, warm side lighting, careful composition with negative space, subtle editing to enhance rather than transform, and consistent posting practice.
What lighting is best for model train photography? Warm-white LED lighting (2700K-3000K) positioned to one side at 30-45 degrees produces the most flattering results. Avoid cool-white fluorescent overhead lighting.
Should I edit my model train photos? Yes, subtly. Adjust exposure, highlights, and shadows to bring out detail. Avoid heavy filters and extreme saturation.
What hashtags work for O-gauge Instagram? Primary tags: #ogauge, #lionel, #lioneltrains, #modelrailroad. Community tags: #ogaugerailroading, #vibetrains, #postwarlionel. Mix general and specific for best reach.
Final Word
Photographing your O-gauge layout well is a learnable skill that pays off in community engagement, personal documentation, and the sheer satisfaction of seeing your modeling work look its best. Start with low-angle shots at rail level, add warm side lighting, compose thoughtfully, and edit subtly. The tenth photo you take will be dramatically better than the first, and by the fiftieth photo you'll be producing content that competes with dedicated railroad photographers. For broader layout context, see our ultimate vibe train room setup guide.
Newsletter
Weekly O-gauge tips & reviews
New reviews, layout ideas, and hobby news — straight to your inbox.