How to Photograph Your O-Gauge Layout: Tips for Stunning Model Train Photos
April 18, 2026

This is one I keep coming back to on my own O-gauge layout — I figured I'd write up what I've learned the hard way. Here's the practical take, not the press-release version.
Why Model Train Photography Matters
You've spent months — maybe years — building your O-gauge layout. The scenery is detailed, the locomotives run smoothly, and the lighting looks just right. But when you snap a photo with your phone and post it online, the magic disappears. The trains look like toys, the perspective is wrong, and the image is blurry.
Good photography can make your O-gauge layout look like a full-size railroad scene. It can fool viewers, preserve your work for posterity, and earn serious respect in the model train community. The best part? You don't need a professional camera or a photography degree. You need a few techniques that work specifically for model railroads — and most of them are free.
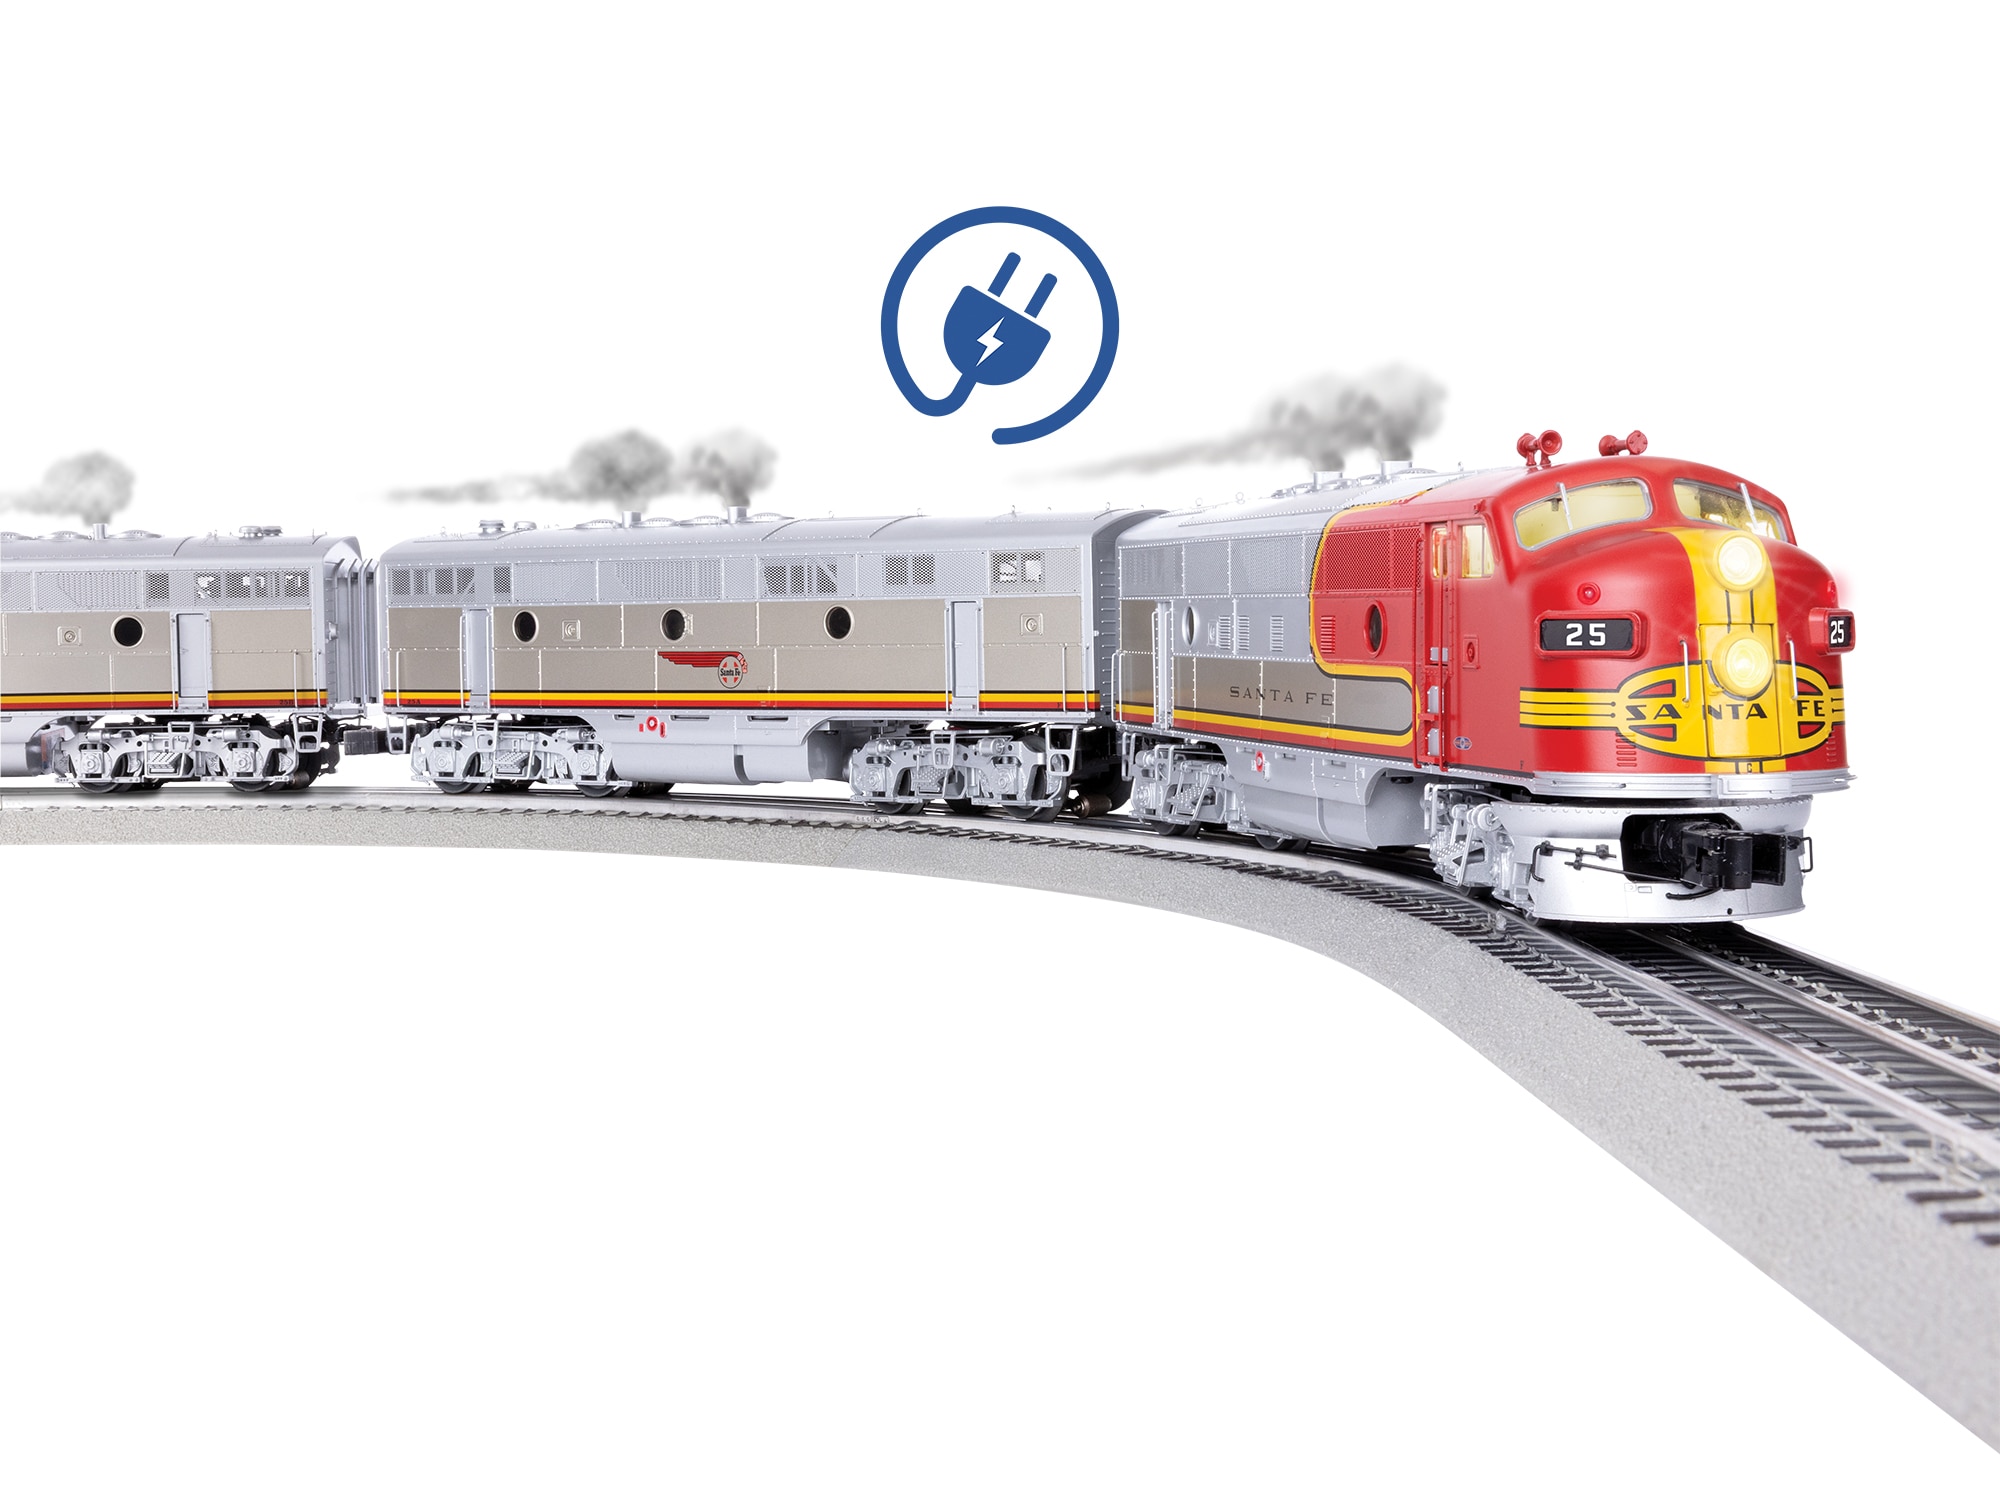
Get Low and Shoot at Eye Level
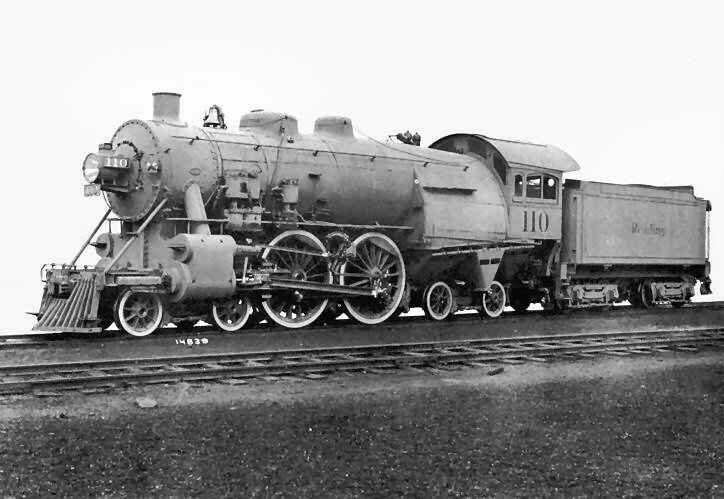
The single biggest mistake hobbyists make is shooting from above. Standing over the layout and pointing a camera down gives you a bird's-eye view that screams "miniature." Instead, get your camera lens as close to the level of the locomotive as possible.
For O-gauge equipment, that typically means getting your lens about 3 to 5 inches off the tabletop. You may need to physically lean over the layout, use a gorilla-style flexible tripod, or prop your phone against a structure. It's awkward, but the results are dramatic. That low angle stretches the perspective, makes structures look taller, and creates depth that tricks the eye into seeing a real scene.
Use a Tripod and Slow Your Shutter
Model train layouts are often lit with LEDs or warm incandescent bulbs — neither is bright enough for a fast handheld shot. The result is motion blur and grain. A small tripod or even a beanbag to stabilize your camera fixes this immediately.
With your camera stabilized, you can use a slower shutter speed and lower ISO to get a clean, sharp image. If you're shooting a moving locomotive, you have two choices: freeze it with a fast shutter (1/500s or faster, which requires brighter light), or intentionally blur the wheels and running gear to imply motion while keeping the background sharp. That second technique — panning with the train as it moves — is a classic railroad photography trick that works brilliantly in O-gauge.
Control Your Background and Depth of Field
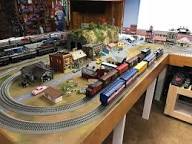
One of the fastest ways to improve your photos is to control what appears behind your subject. A realistic backdrop — whether painted, printed, or a photo mural — makes an enormous difference. If your backdrop is a plain white wall or a cluttered shelf of hobby supplies, no amount of photographic skill will save the shot.
Depth of field is your other major tool. Shooting with a slightly wide aperture (f/2.8 to f/5.6 on a DSLR or mirrorless camera) will blur the foreground and background while keeping your locomotive sharp. This mimics the way professional railroad photographers shoot — selective focus draws the eye exactly where you want it. Smartphone portrait mode can simulate this effect reasonably well if you don't own a dedicated camera.
Light Your Scene Intentionally
Room lighting is rarely good enough for model railroad photography. The light is often overhead and flat, which washes out texture and depth in your scenery.
A simple LED panel light or even a desk lamp positioned low and to one side of your scene creates raking light — shadows that reveal texture in ground cover, rock faces, and building walls. Think of it like late afternoon sun hitting a real mountainside. That directional light is what separates a flat snapshot from a photograph that looks cinematic.
If you're shooting a night scene with lit passenger cars and street lamps, turn off all room lights and let your layout lighting do the work. A longer exposure with a stable tripod will capture the glow beautifully.
Compose Like a Railroad Photographer
Study real railroad photography and you'll notice a few consistent choices: leading lines (tracks pulling the eye into the image), the rule of thirds (locomotive placed off-center), and context that tells a story (a station, a grade crossing, a mountain pass).
Apply those same principles to your layout. Don't center your locomotive in every frame. Let a curve of FasTrack lead the eye from the corner into the middle distance. Include a crossing gate mid-action or a figure standing beside the tracks. These small choices transform a documentation photo into a storytelling image.
Editing: A Little Goes a Long Way
Free apps like Lightroom Mobile, Snapseed, or even the built-in iPhone photo editor can do a lot. Increase contrast slightly, lift the shadows to reveal detail in dark areas under bridges, and add a touch of warmth if you're going for a golden-hour look. Avoid over-sharpening — it makes ballast and ground cover look artificial.
One underrated move: crop aggressively. Sometimes the best photo is hiding inside a mediocre one. Cropping to a widescreen 16:9 ratio often gives model railroad photos a cinematic quality that a standard square or 4:3 frame doesn't.
Share Your Work
Once you have a handful of strong images, post them. The O-gauge community on forums like OGR Forum and groups on Facebook is genuinely enthusiastic about layout photography. You'll get feedback, inspiration, and a reason to keep improving both your layout and your photography.
Your Lionel trains deserve to be seen at their best. With a low angle, steady camera, intentional light, and a little patience, your layout photos can look every bit as dramatic as the full-size railroads that inspired them.
Newsletter
Weekly O-gauge tips & reviews
New reviews, layout ideas, and hobby news — straight to your inbox.