How to Model Water Features on Your O-Gauge Layout: Rivers, Lakes, and Streams
July 20, 2026
Water features transform an O-gauge layout from a static miniature landscape into a living world. A convincing river running under a bridge, a lake reflecting the sky, a stream cascading down a hillside — these are the details that create the strongest sense of place in modeling. Water also anchors bridge scenes, gives industrial layouts a reason for waterfront operations, and provides visual contrast against the dominance of track and structures.
This vibetrains.com guide walks through how to model water features on your O-gauge layout, covering the three primary techniques (resin casting, gel medium, and layered plaster) plus specific approaches for rivers, lakes, ponds, waterfalls, and streams.
Quick Answer: The Three Water Modeling Techniques
Three techniques dominate O-gauge water modeling: Two-part resin (epoxy): Poured liquid that self-levels and cures into transparent solid water. Best for large calm water bodies. Gel medium (Realistic Water, Woodland Scenics EZ Water): Thick pourable paste that cures with visible surface texture. Best for moving water, waterfalls, and stream surfaces. Layered plaster and paint: Traditional technique using plaster base, painted bottom detail, and clear gloss finish. Best for shallow water and detailed shoreline transitions.
Why Water Features Anchor Layouts
Real landscapes are shaped by water. Rivers carved every valley on the continent. Lakes formed the basin of every low point. Streams determined where towns were built, where industries developed, and where railroads laid their tracks. A modeled landscape without water reads as artificial regardless of how much other scenery it has.
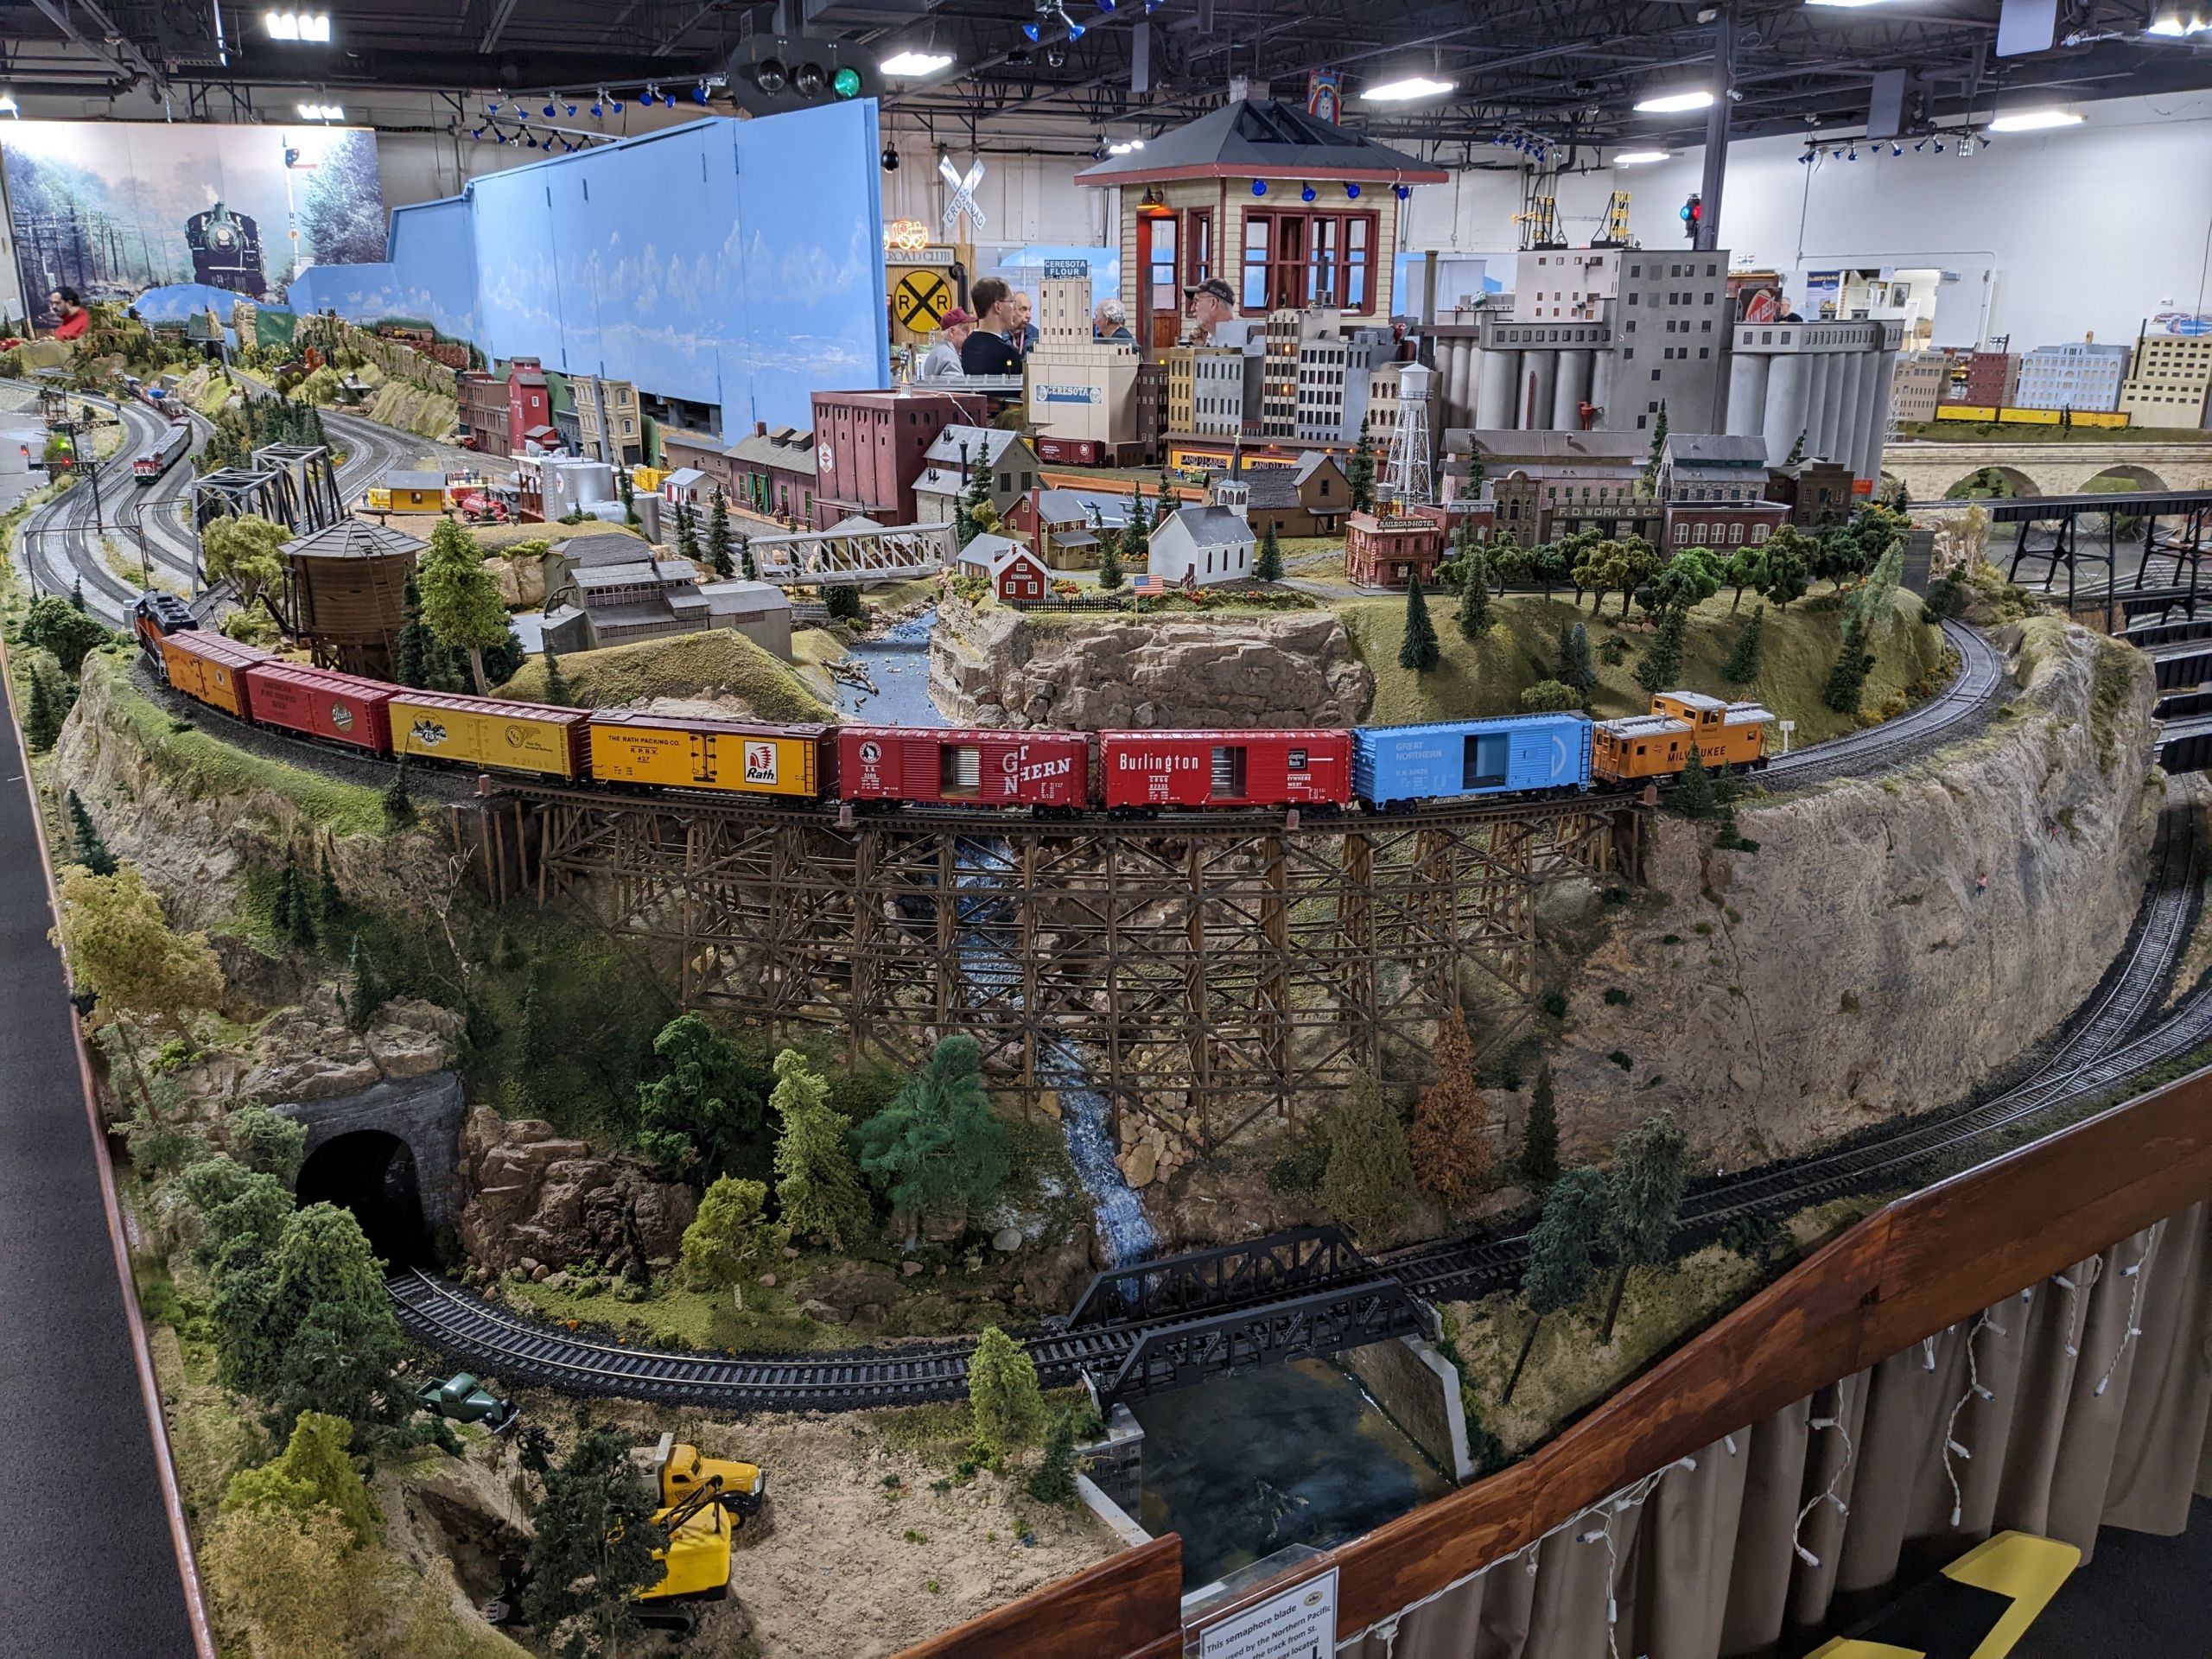
Water features also solve real modeling problems. They provide natural boundaries between scenes. They anchor bridge structures (a bridge without something meaningful to cross looks purposeless). They create photo composition opportunities that dry scenery doesn't match. And they showcase the crossing itself — the visual moment of a train crossing water is one of the strongest images in railroad photography.
Technique 1: Two-Part Resin (Epoxy)
Two-part epoxy resin is the gold standard for calm water bodies — lakes, wide rivers, harbor scenes. The technique produces perfectly transparent solid water that self-levels into a mirror-smooth surface.
Materials: Two-part epoxy resin (EnviroTex Lite, Alumilite Amazing Clear Cast, or specialized model train water resin), mixing containers, stirring sticks, plastic cup for measuring.
Procedure:
1. Build the water bed. Excavate the water area into your foam or plaster base to appropriate depth (usually 1/4 to 1/2 inch for O-gauge).
2. Paint the bottom in appropriate colors. Deep areas should be darker (dark blue, dark green, or dark brown for muddy water). Shallow edges should be lighter. Add rocks, sunken logs, or bottom detail before pouring.
3. Seal the water bed. Any leaks in the surrounding scenery will cause resin to escape. Verify the water area is completely sealed with plaster, silicone, or plastic film.
4. Mix the resin. Follow package directions exactly. Most two-part resins mix 1:1 by volume. Stir slowly for at least 2 minutes to ensure complete mixing without introducing bubbles.
5. Pour the resin into the water bed. Pour in one continuous pour for a smooth surface. Any interruptions during the pour create visible lines in the finished water.
6. Cover with a dust protector (a small plastic tent or box) while curing to prevent debris settling into the wet surface. Cure time is typically 24-48 hours.
After curing, the resin is a hard transparent surface that reflects light like real water. For deeper water bodies, pour in multiple 1/4-inch layers rather than one thick pour — thick pours can heat during curing and cause distortion.
Technique 2: Gel Medium (Realistic Water Products)
Gel medium products (Woodland Scenics Realistic Water, Krylon Colormaster Clear, and similar) are pourable pastes that cure with visible surface texture rather than perfect smoothness. Ideal for moving water — streams, small rivers, waterfalls — where surface ripples and flow patterns matter.
Materials: Realistic Water gel medium (buy the specific product designed for model water — general acrylic gel medium doesn't work the same), disposable brushes, paper towels.
Procedure:
1. Prepare the streambed same as for resin — excavate, paint, and detail the bottom.
2. Apply the gel medium in thin layers (1/16 to 1/8 inch per layer). Use a disposable brush to spread evenly.
3. For flowing water effect, drag the brush in the direction of water flow while the gel is still wet. This creates visible flow texture that resembles moving water.
4. For rippled water, dab the surface with a stiff brush before it cures. The dabs leave small peaks that suggest wave patterns.
5. Allow each layer to cure fully before adding the next (typically 4-8 hours per layer). For a substantial stream, plan on 3-5 layered applications over several days.
Gel medium is more forgiving than resin — you can adjust texture during application, and mistakes can be scraped off before curing. Trade-off: gel medium water isn't perfectly transparent, giving a slightly more artificial look than resin.
Technique 3: Layered Plaster and Paint
The traditional technique using plaster base, painted bottom detail, and clear gloss finish. Best for shallow water and areas where full transparency isn't needed.
Procedure:
1. Build the water area with plaster or lightweight spackle sculpted to shape.
2. Paint the water surface with appropriate colors — darker in the center, lighter at edges, with hint of reflected sky color.
3. Apply multiple coats of clear gloss finish (gloss polyurethane or clear acrylic sealer). Each coat adds depth to the finished water appearance.
4. For depth suggestion, paint a slightly darker "shadow" beneath the water surface before applying gloss finishes. The gloss creates the illusion of water covering the painted detail.
This technique works for shallow water bodies where you don't need actual transparent depth. It's the fastest technique and the most forgiving of mistakes.
Waterfalls and Cascades
Waterfalls require special technique because they show visible falling water rather than horizontal surface. Approach:
1. Build the waterfall structure — rocks, ledges, and the vertical drop of the waterfall.
2. Apply layers of gloss gel medium in vertical strokes to create the appearance of falling water. The medium builds up visibly as falling streams.
3. For extra realism, add white acrylic paint highlights at the top and bottom of the fall — where real waterfalls show white foam.
4. Below the fall, create the plunge pool with either resin or gel medium. Add ripples emanating outward from the falling water impact point.
Waterfalls are among the most visually dramatic water features. A well-executed waterfall becomes a photo focal point for the entire layout.
Rivers and Streams
Rivers and streams require attention to flow patterns:
1. Excavate the streambed following natural river geometry — wider on curves, narrower in straight sections, with gravel bars and sand banks.
2. Paint bottom detail suggesting depth variation (deeper in the middle, shallower at edges) and river bed material (rocks, sand, muddy sections).
3. Apply water medium (resin for calm sections, gel medium for turbulent sections).
4. Add "whitewater" effects where water encounters rocks, bridges, or elevation changes. White acrylic paint dabs or crushed white gel medium suggest turbulence.
5. Add shoreline detail — appropriate vegetation, sand or gravel banks, small debris.
Lakes and Ponds
Lakes and ponds are the easiest water features because they're calm surfaces requiring only surface finish:
1. Excavate the water area with gentle sloping sides.
2. Paint the bottom in graduated colors — very dark blue or brown in the deepest area, transitioning to lighter tones at the edges.
3. Add sunken elements (rocks, submerged logs, a partially-visible boat) for depth interest.
4. Pour resin for a perfectly smooth reflecting surface.
5. Add shoreline vegetation (cattails, small trees, docks or fishing piers) to integrate the lake into the surrounding scenery.
Common Water Modeling Mistakes
Not sealing the water bed: Resin will find any leak and escape into surrounding scenery, ruining hours of work. Verify complete seal before pouring.
Painting bottom too uniform: Real water bottoms have variation — rocks, algae, sediment, depth changes. Uniform-color bottoms read as artificial.
Perfect transparency for muddy water: Real rivers and streams are often muddy, not clear. Tint the resin with a small amount of brown paint for realistic muddy water where appropriate.
Ignoring surface texture: Perfectly smooth water is calm water. Add ripples, waves, or flow texture appropriate to the water body's character.
Missing shoreline detail: A water feature ends at the shoreline, and how the shoreline transitions matters. Add appropriate vegetation, sand or gravel, and shoreline debris.
Frequently Asked Questions
What's the best material for modeling water on a train layout? Two-part epoxy resin (EnviroTex Lite, Alumilite Amazing Clear Cast) is the gold standard for calm water. Gel medium (Woodland Scenics Realistic Water) is best for moving water and waterfalls. Choose based on the water type you're modeling.
How thick can I pour resin for water? Most two-part epoxy resins can be poured up to 1/4 to 1/2 inch per layer. Thicker pours generate heat during curing and can distort. For deeper water, pour in multiple layers with cure time between.
How long does model water take to cure? Two-part epoxy resin: 24-48 hours per layer. Gel medium: 4-8 hours per layer. Layered plaster and paint: 24 hours to fully harden and be paintable.
Can I model a waterfall on a small O-gauge layout? Yes. Waterfalls are visually dramatic on any layout size. Even a small 6-inch waterfall creates strong focal point interest. Use gel medium technique for vertical water surfaces.
How do I add moving water effects? Some hobbyists use small submersible pumps to create actual flowing water on a layout, but this requires complex plumbing and constant maintenance. Most O-gauge water features use static techniques (resin or gel medium) that create the appearance of moving water without actual movement.
Final Word
Water features are one of the highest-return scenery investments in O-gauge modeling. A single well-executed river running under a bridge transforms an otherwise ordinary layout into a memorable scene. Start with a small stream or pond as your first water project, learn the techniques, then scale up to more complex features. For related scenery topics, see our complete scenery guide, our mountains and tunnels guide, and our best O-gauge bridges guide.
Newsletter
Weekly O-gauge tips & reviews
New reviews, layout ideas, and hobby news — straight to your inbox.