How to Choose the Right O-Gauge Curve Radius for Your Layout
March 25, 2026
Wrote this up after I got the same question for the fifth time at a train show. Saving us all the hour-long conversation — here's the real answer.
When planning your Lionel O-gauge layout, one of the most important decisions you'll make is choosing the right curve radius. This choice affects not only how your trains operate but also the overall appearance and functionality of your layout. Getting it right ensures smooth operation, protects your equipment, and creates a more realistic-looking railroad.
Understanding curve radius is straightforward. The radius is simply the measurement from the center point of the curve to the outer rail. Lionel offers several standard options, typically ranging from 18 inches to 72 inches, with some specialty curves available as well. The larger the radius, the wider and more sweeping the curve will be.
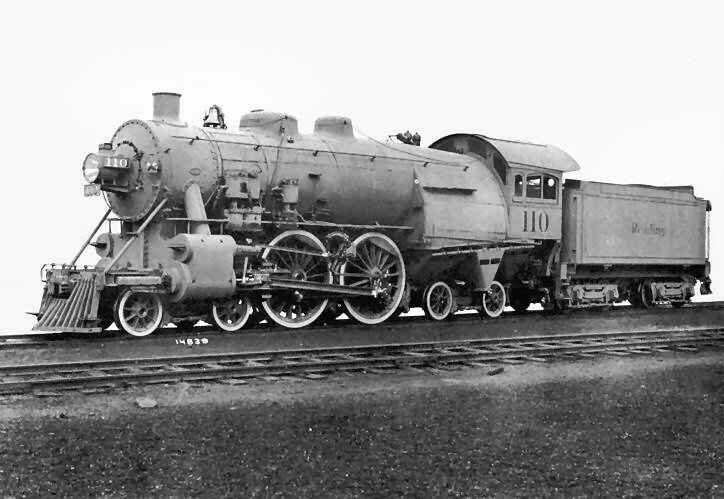
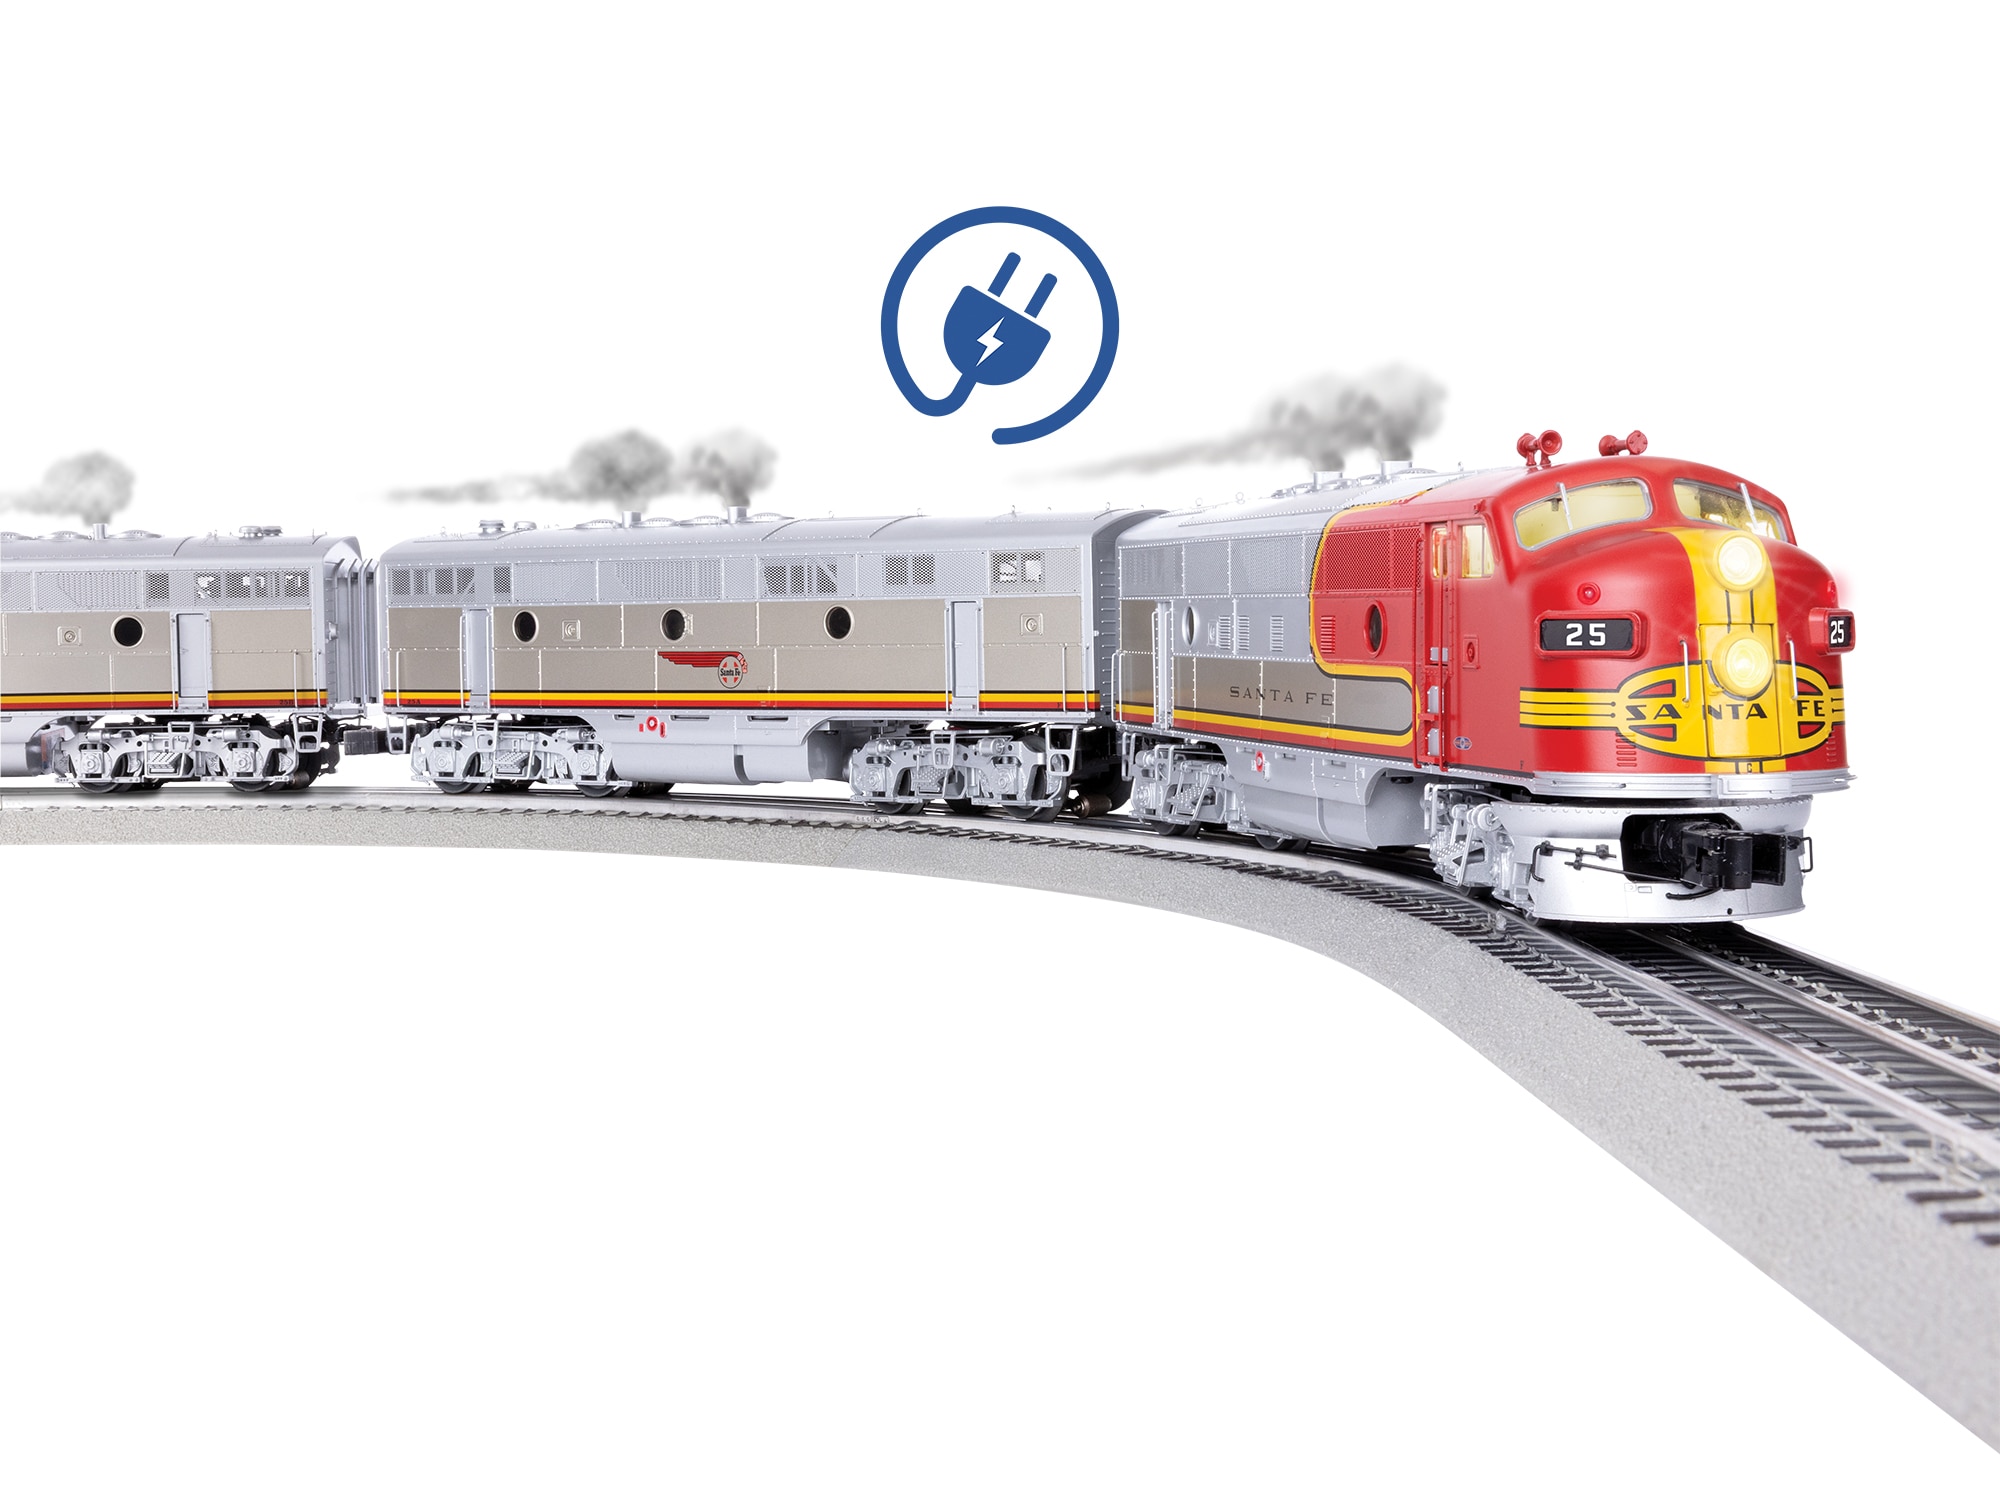
The most critical factor in choosing your curve radius is the size and type of locomotives you plan to run. Lionel's larger steam engines, passenger sets, and modern locomotives generally require wider curves to operate smoothly. If you're running a big 4-8-4 Northern or one of Lionel's impressive Scale Hudson locomotives, you'll want to stick with 48-inch or larger curves. These bigger engines simply can't navigate tight turns without derailing, and forcing them through sharp curves can damage the wheels and track.
If you're working with smaller engines like the diesel locomotives or smaller steam engines, you have more flexibility. Many operators find that 36-inch curves work well with these trains while still allowing for a more compact layout design. The classic Lionel switchers and 0-4-0 engines can handle even tighter 24-inch curves, making them perfect for smaller spaces.
Your available space is obviously a practical constraint. An 18-inch curve requires minimal floor space, making it ideal for beginners or those with limited room. However, keep in mind that tighter curves also look less realistic and can restrict your locomotive options. If you have room to work with, consider going as large as your space allows. A 54-inch or 72-inch curve creates a much more railroad-like appearance and gives you maximum flexibility for future locomotive additions.
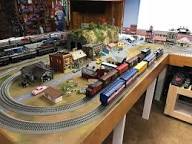
Mixing curve radii on your layout is completely acceptable and actually quite common. Many operators use 48-inch curves on main lines where their larger engines run, then incorporate 36-inch or smaller curves in yard areas where smaller switchers operate. This approach maximizes realism while accommodating your entire roster of equipment.
Here's a practical tip: before committing to a layout design, test your locomotives on borrowed curves of different radii. Many local train clubs have demonstration layouts where you can see how your engines handle various curves. This hands-on testing is invaluable and can save you from costly layout redesigns.
Another consideration is future expansion. Choose a primary curve radius that you think you'll want to use throughout your layout, even if you haven't acquired all your locomotives yet. Consistency in your main lines creates a more cohesive appearance and simplifies track planning.
Remember that curve radius affects more than just operation. Wider curves allow for better sight lines around your layout and look more realistic to observers. They also make it easier to place scenery, buildings, and landscape features along your railroad.
Take time to plan this decision carefully. Your curve radius choice is foundational to your layout's success, affecting everything from locomotive selection to aesthetic appeal. Choose wisely, and you'll enjoy years of smooth, reliable operation.
Newsletter
Weekly O-gauge tips & reviews
New reviews, layout ideas, and hobby news — straight to your inbox.