How to Build a Helix on Your O-Gauge Layout: Complete 2026 Design Guide
July 29, 2026
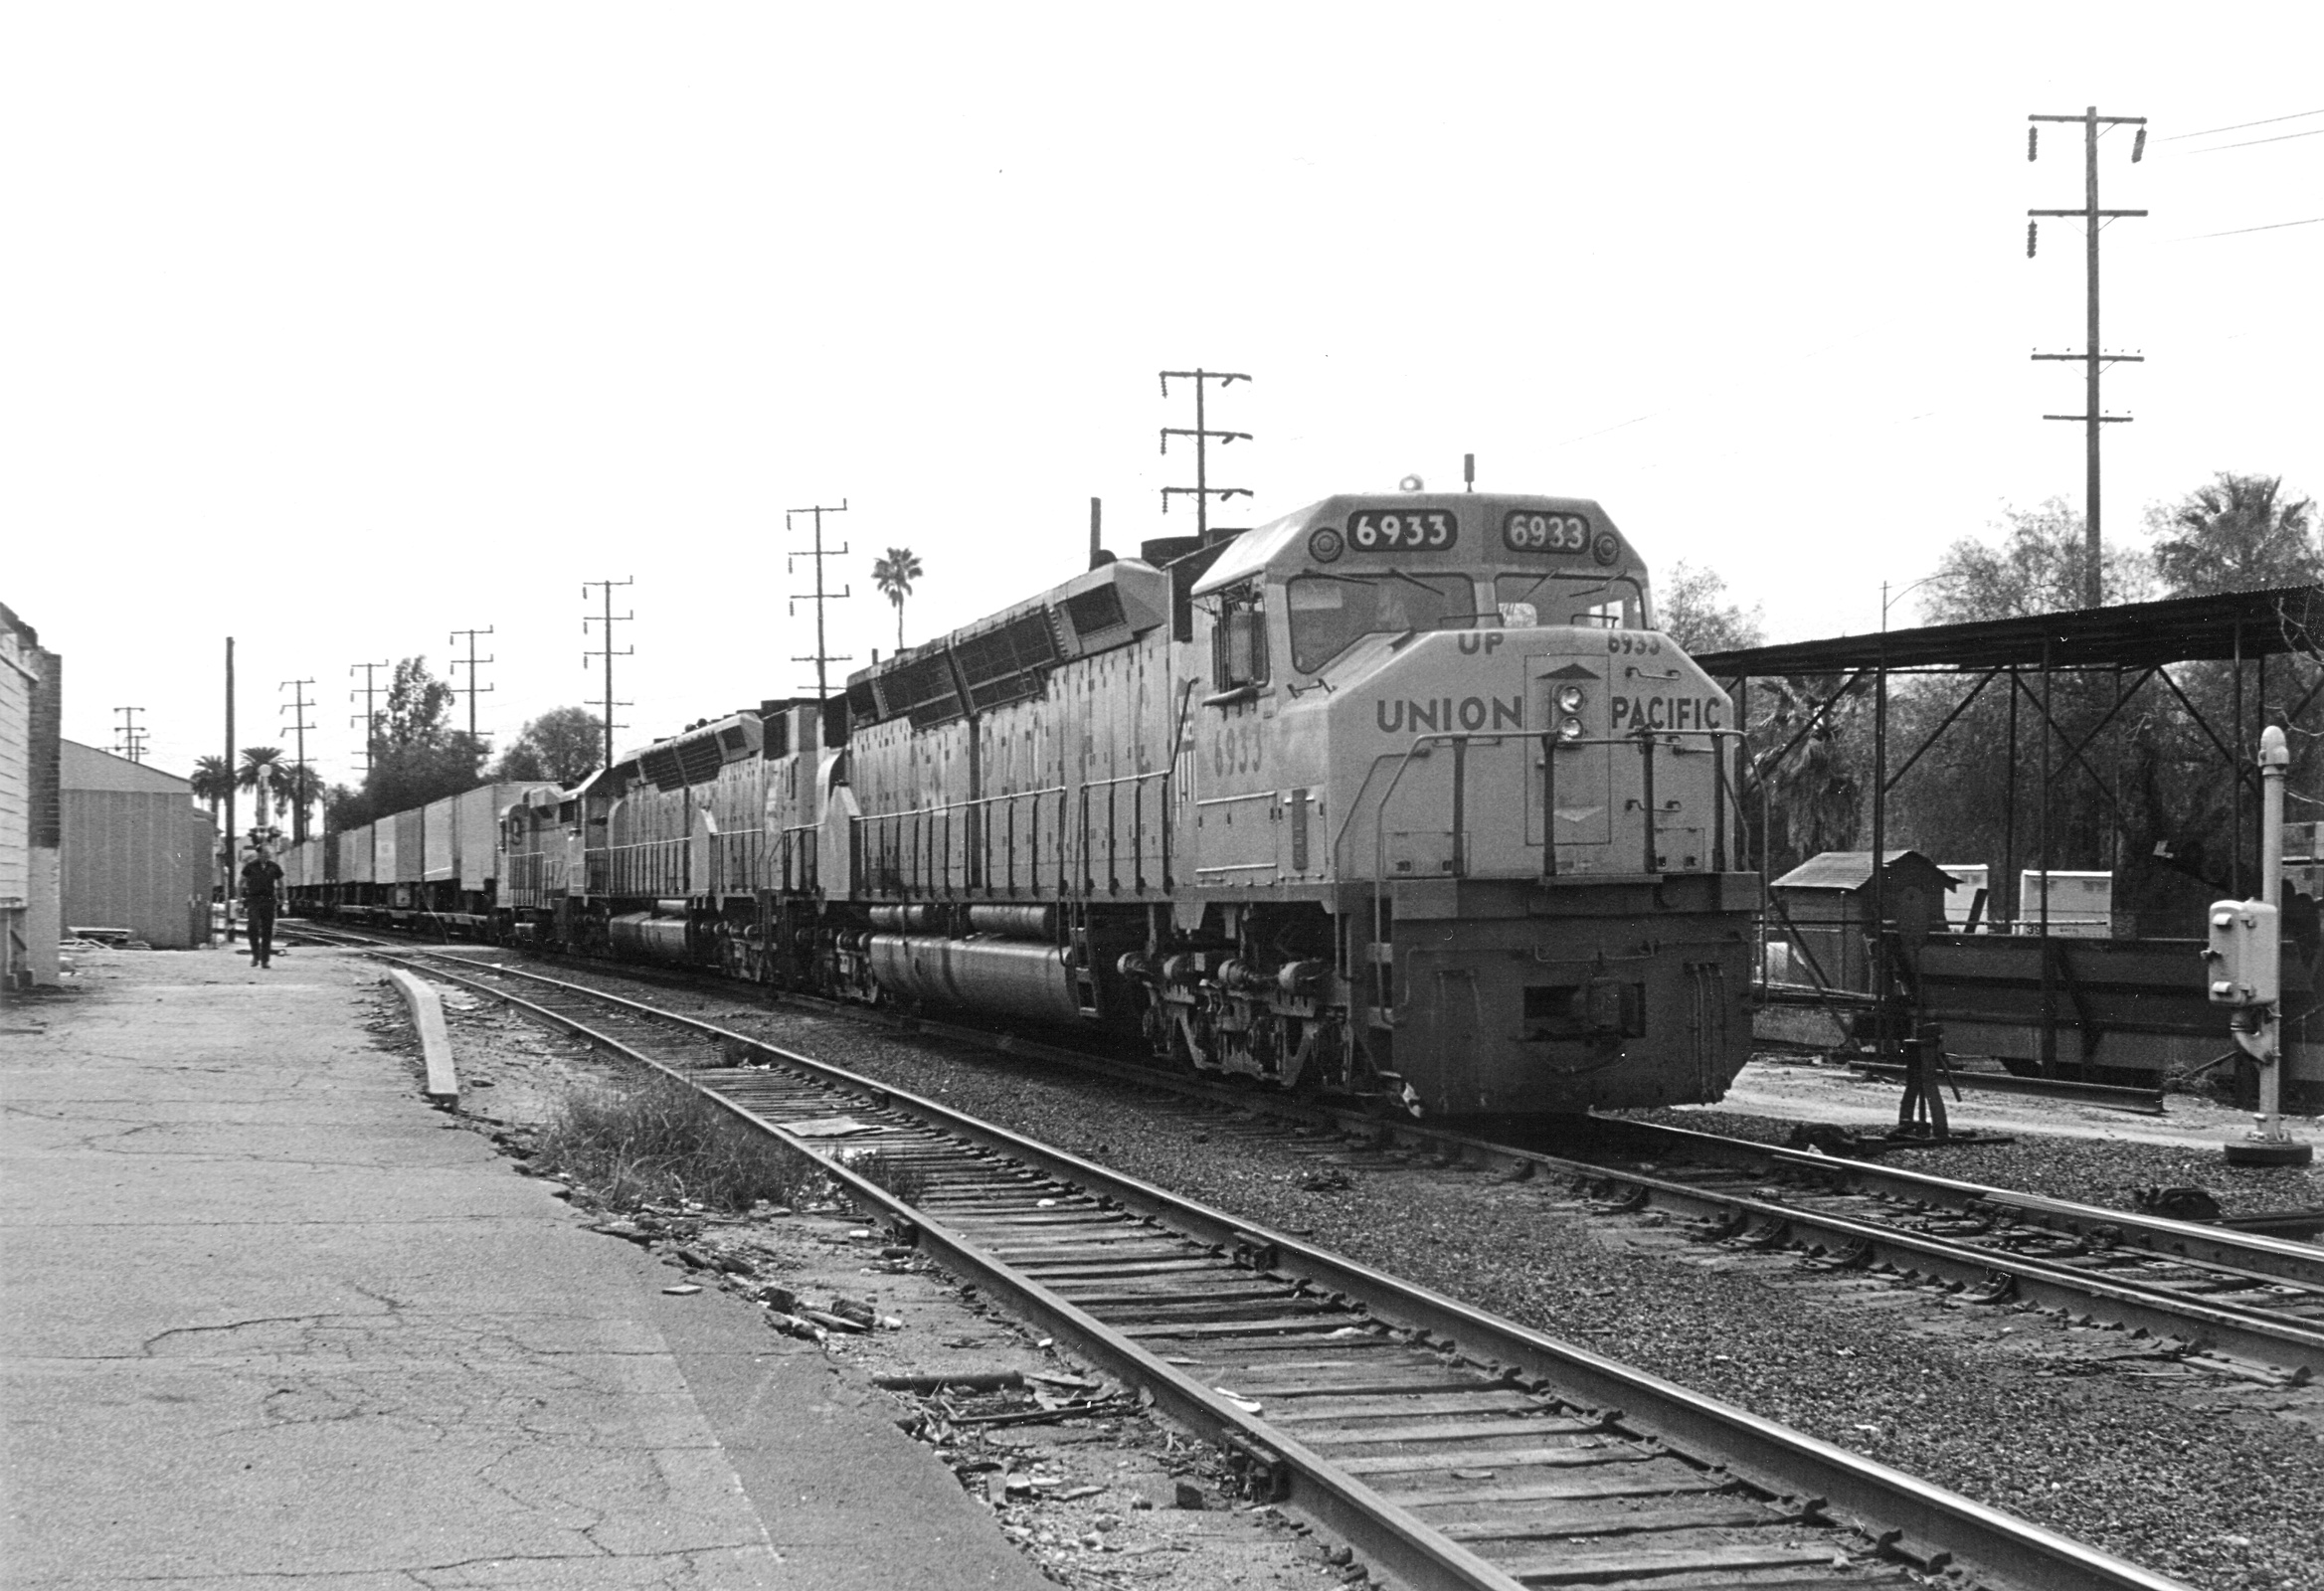
A helix is a spiral of track that connects two or more levels of a multi-level model railroad. When you want your layout to span floors, connect a basement main line to an upper display shelf, or simulate mountainous terrain that gains real elevation, a helix is the engineering solution. This vibetrains.com guide covers how to build a helix on your O-gauge layout, from grade calculations to benchwork construction to wiring approaches.
Helix construction is one of the more technically demanding aspects of O-gauge layout building, but the payoff is enormous. Layouts with helixes support genuine mountain railroading with real elevation changes rather than just visual illusions.
Quick Answer: O-Gauge Helix Design Basics
A functional O-gauge helix requires: Curve radius: O-72 minimum for scale-length equipment and Vision Line articulated steam; O-42 or O-48 acceptable for smaller equipment. Grade: Under 2.5% for reliable operation of long consists. Circumference: Determines vertical rise per loop. Larger radius = more circumference = gentler grade for the same vertical gain. Number of loops: Enough loops to gain the desired vertical height at your chosen grade. Benchwork: Sturdy independent supports for each level. Wiring: Multiple feeder blocks throughout, given the tight helix geometry that resists direct wire access.
What a Helix Actually Does
A helix is essentially a very long ramp coiled into a compact vertical column. Instead of a straight ramp that would need dozens of feet of horizontal space to climb a few feet vertically, the helix wraps that same ramp around a central axis so it fits in a small floor footprint.
The trade-off: helix track is invisible during operation. Trains disappear from the main scene, climb inside the helix column, and reappear at the higher level. Some layouts fully enclose their helix; others leave it partially visible as a scenic mountain interior.
The Grade Calculation
Grade is the ratio of rise (vertical gain) to run (horizontal distance). A 1% grade rises 1 inch per 100 inches of track. A 2% grade rises 2 inches per 100 inches. Grade fundamentally determines whether your locomotives can pull consists up the helix.
Approximate maximum grades for reliable operation:
Steep grade (2.5-3%): Only short consists (3-5 cars). Requires powerful locomotives (LEGACY twin-motor or better). Marginal for most operations.
Moderate grade (1.5-2%): Standard consists (7-10 cars). Any modern Lionel locomotive handles this reliably.
Gentle grade (1-1.5%): Long consists (15+ cars). Even challenged locomotives handle this well.
Very gentle grade (under 1%): Prototype-realistic operation. Unlimited consist length. Requires more helix loops for the same vertical gain.
For most home layouts, target 2% grade as the practical maximum for reliable operation of typical consists.
Calculating Helix Dimensions
Grade determines helix circumference for a given vertical gain per loop:
Circumference formula: C = π × diameter (about 3.14159 × diameter)
Vertical gain per loop: Grade × circumference
Examples:
O-72 helix (72" diameter, 226" circumference): At 2% grade, gains 4.5" per loop. Ten loops gains 45" of vertical height.
O-54 helix (54" diameter, 170" circumference): At 2% grade, gains 3.4" per loop. Ten loops gains 34" of vertical height.
O-48 helix (48" diameter, 151" circumference): At 2% grade, gains 3" per loop. Ten loops gains 30" of vertical height.
Larger diameter helix produces more vertical gain per loop at the same grade — which means fewer loops for the same total height, and less lost horizontal main line to helix construction.
Curve Radius Considerations

Helix curves add complications beyond regular curve requirements:
Constant curvature: Unlike a regular loop where straight sections give equipment brief relief, helix curves are continuous. Locomotives and cars are constantly navigating curves throughout their helix travel.
Grade combined with curves: Locomotives working uphill on curves need more traction than the same locomotives on level curves. Some locomotives that handle O-54 curves at level can't handle O-54 curves at 2% grade.
Larger radius recommended: Add margin over the manufacturer's minimum curve specification. If a locomotive requires O-54 minimum, run it on O-60 or O-72 in the helix.
For general curve compatibility, see our O-gauge curve radius guide.
Benchwork Construction
Helix benchwork requires more thought than standard flat benchwork. Key considerations:
Central column support: The helix wraps around a central vertical column. This column bears no traffic — just structural support. Common material: 2x4 lumber or PVC pipe.
Level supports: Each helix level needs independent structural support. Common approach: circular plywood platforms mounted to the central column at appropriate heights.
Roadbed and track: Standard FasTrack or traditional Lionel rail on the level supports. Cork or foam roadbed under the track provides noise reduction and smooth running.
Grade support: The track must actually be graded (rising continuously) as it wraps around the helix. Different levels rest on different height supports.
Vertical clearance between levels: Every level needs sufficient clearance for the tallest locomotive plus safety margin. For O-gauge, plan 4.5-5" vertical clearance between levels (locomotive plus 1" margin).
Wiring the Helix
Helix wiring is more complex than standard track wiring due to access limitations:
Multiple feeder blocks: The helix cannot be reliably powered from a single feeder. Add power feeders every 6-8 feet of track (every 2-3 loops on most helixes).
Independent block wiring: Wire each helix level as an independent power block. Enables troubleshooting individual sections without disrupting the whole helix.
Access provisions: Build access panels or removable sections that allow rewiring after initial construction. Wiring issues 5 years later are much easier to fix through access panels than by disassembling the helix.
Command control considerations: LEGACY and TMCC command signals work through the helix like any other track section. Ensure track power delivery is robust for reliable command signal reception. For LEGACY setup, see our LEGACY command base setup guide.
Location and Enclosure Options
Where you build the helix affects operational aesthetics:
Fully enclosed helix: Trains disappear into a scenic mountain, climb invisibly, and reappear at the higher level. Most common approach — enables full immersion in the operational scene without visible helix machinery.
Partially visible helix: One side visible as scenic mountain interior. Enables troubleshooting access while maintaining scenic illusion.
Fully visible helix: Some layouts leave the helix exposed as a "railroad building" element. Unusual but occasionally works aesthetically.
Utility area helix: Helix built in unfinished basement corners or utility spaces. No scenic treatment. Purely functional.
Testing and Troubleshooting
Before permanent installation, test the helix design:
Grade test: Run your longest expected consist up and down the helix multiple times. Confirm reliable operation at the target grade.
Locomotive selection test: Verify each locomotive you plan to run works on the helix. Some locomotives may need to be limited to shorter consists.
Command control test: Verify LEGACY or TMCC commands reach every helix section. Add additional feeders if command signals weaken.
Long-term operation test: Run the helix continuously for hours to verify no equipment overheats, no wiring shorts, and everything continues working. Better to discover issues before enclosing and finalizing scenery.
Common Helix Building Mistakes
Grade too steep: The single most common problem. 3% grade sounds achievable on paper but often exceeds what locomotives can pull. Design for 2% maximum.
Curve radius too tight: O-54 minimum curves at 2% grade may not accommodate locomotives that handle O-54 at level. Add margin.
Insufficient vertical clearance: Locomotives with tall boilers or added weathering can't fit through undersized clearances. Verify actual locomotive height plus safety margin.
Skimping on wiring feeders: Access will be very limited after construction. Add more feeders than seem necessary during initial build.
No access provisions: Enclosed helix that can't be accessed for repairs becomes a permanent maintenance headache.
Frequently Asked Questions
What curve radius do I need for an O-gauge helix? Minimum O-54 for most modern Lionel; O-72 for Vision Line articulated steam. Add margin beyond the locomotive's stated minimum for reliable operation at grade.
What grade is safe for a helix? 2% grade is the practical maximum for reliable operation of typical consists with most Lionel locomotives. Steeper grades work only for specialized short consists with powerful locomotives.
How much vertical height can a helix gain? Limited only by loop count and total space. Ten O-72 loops at 2% grade gains 45 inches vertically — enough to span basement to second-floor viewing height.
Can I build a helix in a small layout? Yes, but the space commitment is significant. A basic O-54 helix requires 54" x 54" footprint (about 20 square feet). Consider this before committing to a helix on space-constrained layouts.
Do I need a helix? No — most O-gauge layouts don't use helixes. Consider a helix only if you specifically want multi-level operation or need to overcome real vertical space constraints in your layout.
Final Word
A well-designed helix opens layout possibilities that flat layouts can't match. Design carefully around grade, curve radius, and access considerations. For related layout construction topics, see our train table DIY guide and 4x8 layout planning guide.
Newsletter
Weekly O-gauge tips & reviews
New reviews, layout ideas, and hobby news — straight to your inbox.