How to Plan a 4x8 O-Gauge Layout: Track Plans and Tips for Beginners
May 13, 2026
Most of what you'll find on this topic online is rewritten manufacturer copy. This isn't. It's what I've learned running trains on a real basement layout.
The 4x8 sheet of plywood is the unofficial standard for first O-gauge layouts — and for good reason. It fits in a basement, garage, or spare bedroom, it's cheap to build, and it gives you enough real estate for a meaningful track plan with scenery, structures, and operational variety. But cramming an O-gauge layout onto 32 square feet takes more thought than most beginners realize. This vibetrains.com guide walks you through everything you need to plan a 4x8 layout that runs well, looks great, and grows with your skills.
Understand O-Gauge Curve Geometry First
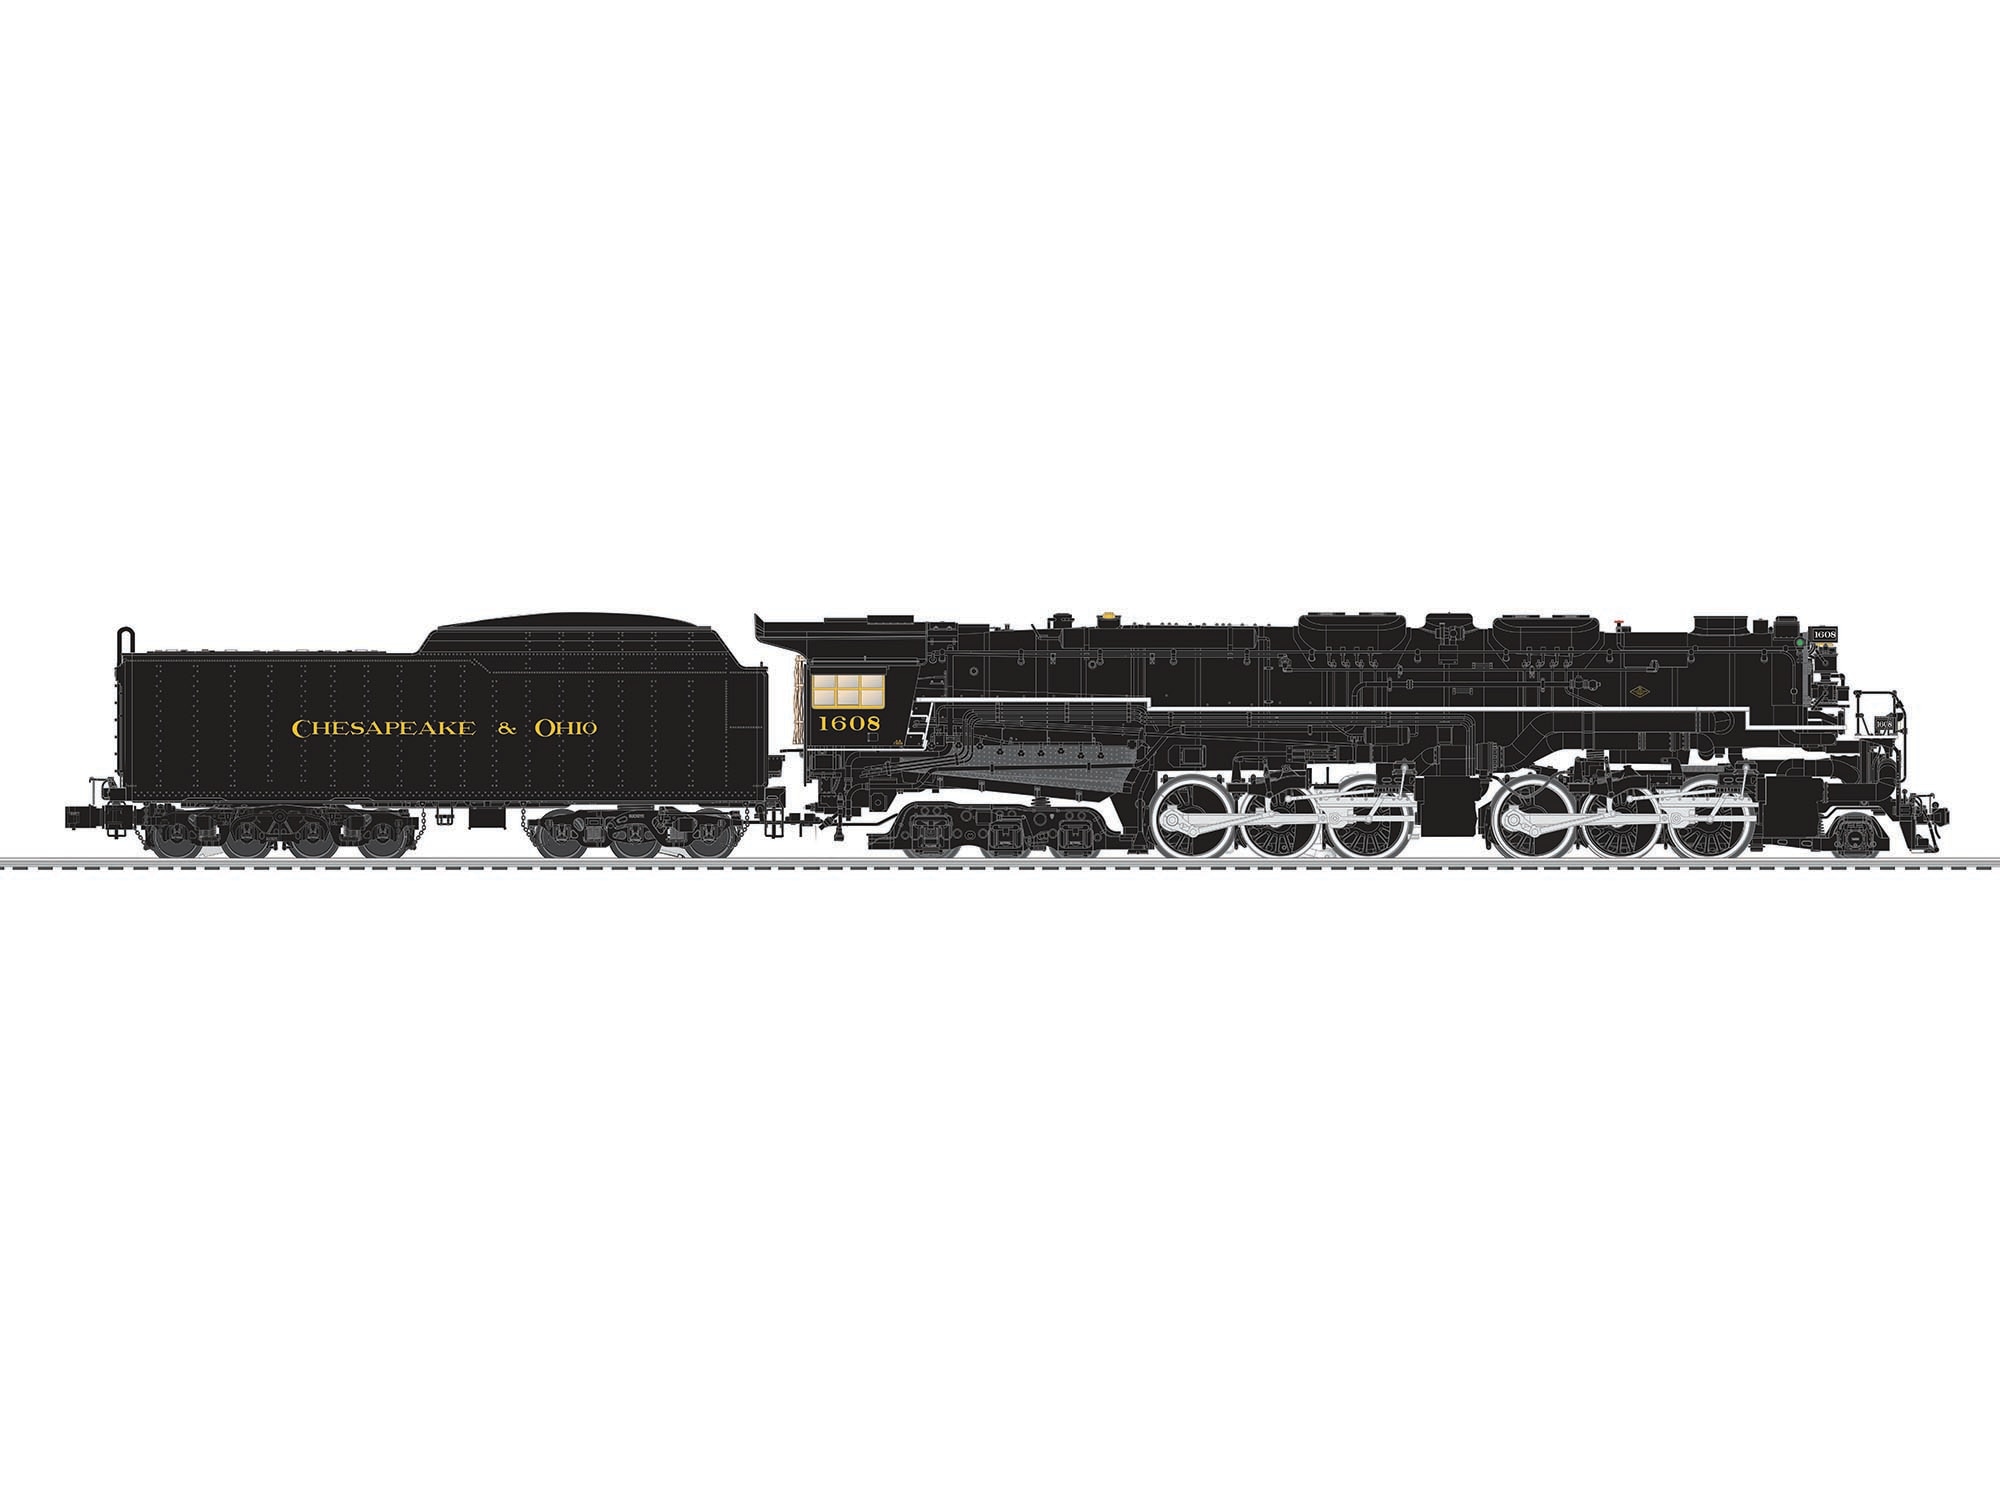
The single biggest constraint on a 4x8 O-gauge layout is curve radius. O-31 curves (31-inch diameter) are the tightest standard size and take up 31 inches just for the half-circle at each end — leaving only 26 inches between the loops on a 4x8 table. That's enough for a simple oval but tight for anything more ambitious. O-36 and O-42 curves give better operational reliability and a more realistic look, but eat up more table. If you want to run scale-length passenger cars or large steam locomotives like a Hudson or Big Boy, you'll need at least O-42 — which essentially commits you to a single oval plus a siding on a 4x8. For more on choosing your track system, see our FasTrack vs Atlas vs RealTrax comparison.
Classic Plan #1: Simple Oval with Inner Siding
The starter plan: a single O-31 oval with a passing siding on the inside that lets two trains share the loop. Add a few uncoupling tracks at strategic points and you can park one consist while the other runs. This is the plan we recommend for a brand-new vibe trains hobbyist — it's quick to build, runs reliably out of the box, and gives you space for scenery on either long side. The biggest advantage is that it's forgiving: any locomotive in any state of tune will run on it. The biggest limitation is operational variety; after a few months you'll want more.
Classic Plan #2: Folded Dogbone with Yard
The dogbone (or "out and back") plan twists a single track into a long zigzag with reverse loops on each end, allowing a train to run in one direction across the layout, turn around at the end, and run back. On a 4x8 it's a tight fit, but with O-31 curves you can build a folded dogbone with a three-track yard along one side for parking spare locomotives and cars. This plan gives you the longest possible main line on a 4x8 and is the most rewarding to operate — though it requires more switches and more careful wiring. Wiring isolated reverse loops on a three-rail O-gauge layout is generally simpler than on a two-rail DCC layout, since the third rail doesn't reverse polarity, but it still requires some thought.
Classic Plan #3: Twin Oval with Crossover
For two-train independent operation, the twin oval plan uses two concentric loops connected by a pair of crossover switches. One train runs the outer loop, another runs the inner, and the crossovers let them swap tracks for variety. This is the plan you see on most published 4x8 starter layouts and the one most factory track packs are designed for. The drawback is that scenery space is limited — you have two ovals filling most of the table — but for pure running it's excellent and visually impressive when you have a steam locomotive on one loop and a modern diesel on the other.
Choosing Your Track System
For a 4x8 layout, Lionel FasTrack is the right call for nearly everyone. The integrated roadbed makes assembly fast, the snap connections are rock-solid, and the curve packs you need for any of these plans are widely available. Atlas O looks more realistic but takes longer to lay and costs more — appropriate if you're building a permanent display layout but overkill for a first project. MTH RealTrax is fine if you can find what you need in stock, but supply has tightened. Browse FasTrack 4x8 layout packs on Amazon for pre-bundled track sets.
Benchwork and Table Construction
A 4x8 sheet of half-inch plywood, laid on a frame of 1x4 lumber with cross-braces every two feet, gives you a flat, sturdy table that won't sag under the weight of scenery. Mount the table on heavy-duty folding legs or simple 2x4 sawhorses. Set the height at 40 to 44 inches off the floor for comfortable standing operation. Add a 1x4 fascia all the way around for a finished look and to keep tools, parts, and stray bits from rolling off the edge. Paint the table top a flat brown or green before laying track — it'll save you painting work later and looks much better than bare plywood through gaps in the scenery.
Scenery Zones for Maximum Impact
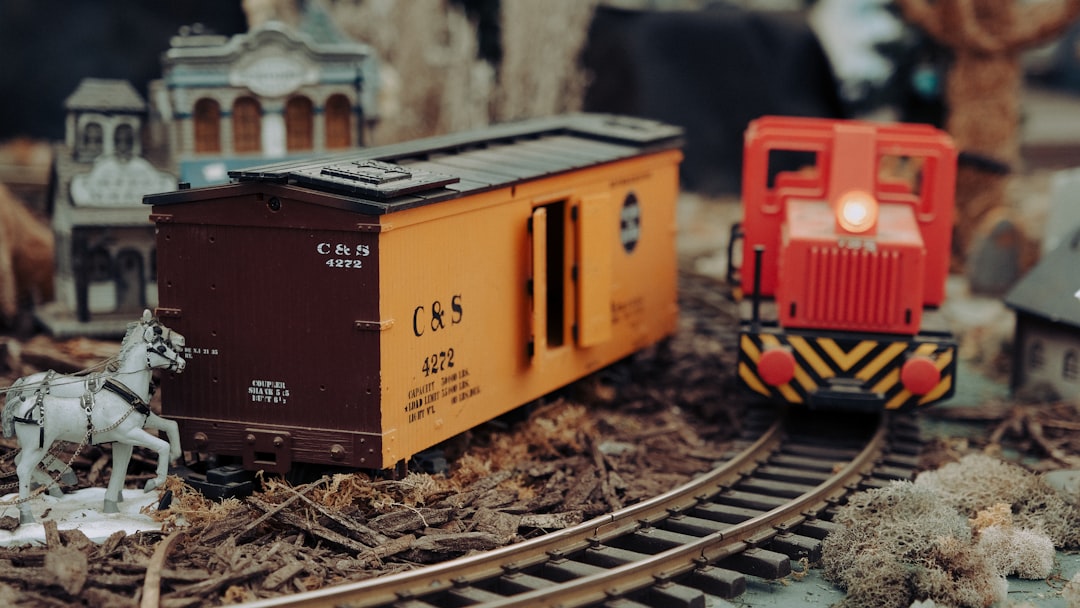
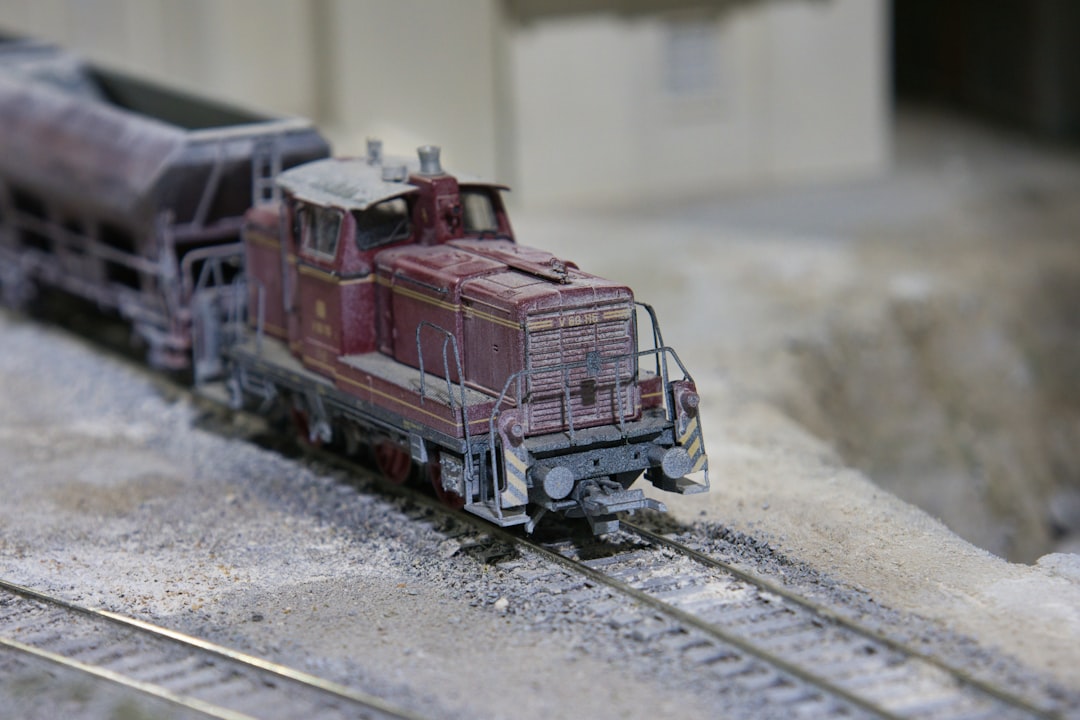
On a 4x8 you can fit four to six distinct scenery zones if you plan them carefully. Consider: a small town with a station and a couple of structures, a wooded hill on the back side, an industrial area with a freight siding, and an open countryside section with grass and a stream. Don't try to fit everything — each zone should have enough space to breathe. Use Woodland Scenics ground foam for grass, foam board for terrain, and small structures from Lionel, MTH, or Atlas O. The most important rule: build scenery in layers, starting from the bottom (ground color) and working up to small details last.
Wiring a 4x8 Layout
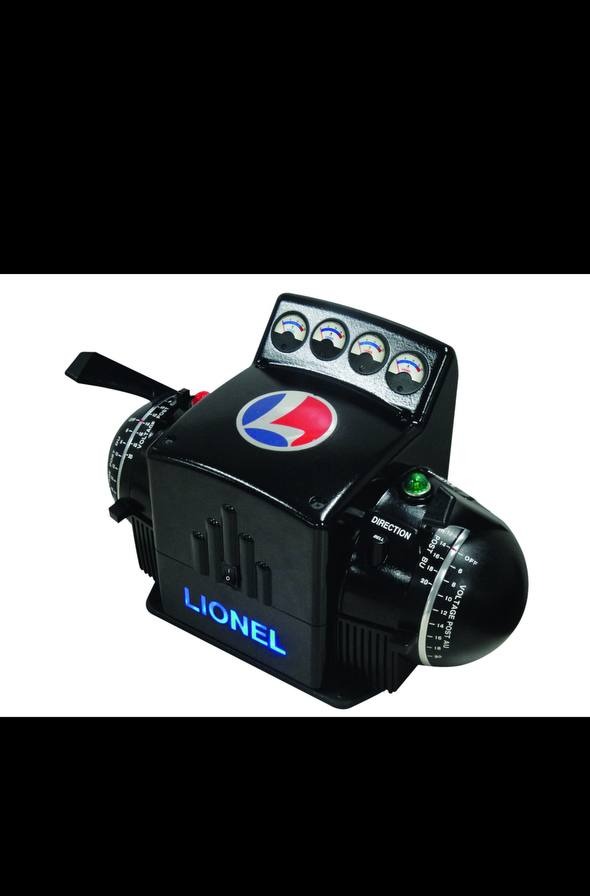
For a 4x8 with FasTrack, you really only need two feeder pairs — one on each long side of the table — connected to a power bus underneath. This eliminates voltage drop and gives every locomotive multiple electrical paths. Run a separate accessory bus for building lighting and operating accessories so they don't share power with the track. For LionChief and LEGACY control, plug the command base directly into the track power lead and you're done. For more detail on wiring, see our complete layout wiring guide.
Growing Beyond 4x8
Most vibe train hobbyists outgrow a 4x8 within a year or two. The good news is that a 4x8 is a great pilot project — you'll learn track laying, wiring, scenery, and operation on a manageable scale before committing to a basement layout. When you do upsize, the locomotives, rolling stock, and many of the structures from your 4x8 transfer directly. The skills you build on a 4x8 are the same skills you'll need on a 12x16 layout — just with more square feet to fill. For ideas on what comes next, see our ultimate vibe train room setup guide.
Final Tips for First-Timers
Don't rush the planning. Spend an afternoon with a pencil, graph paper, and the dimensions of your chosen curves — or use free track planning software like AnyRail or RR-Track. Test-fit your track loose on the table before you fasten anything down; you'll catch geometry mistakes that aren't obvious on paper. Run trains for a week on the loose track to identify problem spots before you commit. And document your build with photos as you go — your future self will appreciate the record, and so will the vibe trains community when you share it online.
Newsletter
Weekly O-gauge tips & reviews
New reviews, layout ideas, and hobby news — straight to your inbox.