How to Build a Realistic Mountain Scene on an O-Gauge Layout
March 28, 2026
Wrote this up after I got the same question for the fifth time at a train show. Saving us all the hour-long conversation — here's the real answer.
Building a mountain scene on your O-gauge layout is one of the most rewarding ways to add depth and drama to your railroad empire. Whether you're designing a scenic Alpine route or a rugged western landscape, creating believable mountains will elevate your layout from good to absolutely spectacular. Let's explore the techniques that will help you build mountains that look as impressive as the real thing.
Start by planning your mountain's structure before you begin any construction. Sketch out your layout on paper and consider where your mountain will sit, how high it should be, and what kind of scenery fits your railroad's theme. Remember that O-gauge trains need adequate clearance, so plan for at least 18 inches of height for most locomotives and cars to pass safely through tunnels. Consider sightlines from different angles—your layout should look good from all viewing positions.
The foundation of any good mountain is an armature made from crumpled newspaper, wire mesh, or foam. Many experienced modelers prefer using rigid foam boards stacked and carved to rough shape because they're lightweight and easy to modify. Build your armature over a wooden frame secured to your layout's baseboard. Use screws and wooden supports to ensure stability, as a collapsing mountain in the middle of an operating session is no one's idea of fun.
Once your basic structure is in place, apply a shell of plaster cloth or screen-reinforced plaster to create the mountain's surface. This creates a solid base for your scenery materials. Work in sections, allowing each area to dry completely before moving to the next. The plaster creates a realistic rocky appearance and provides excellent adhesion for your scenic materials.
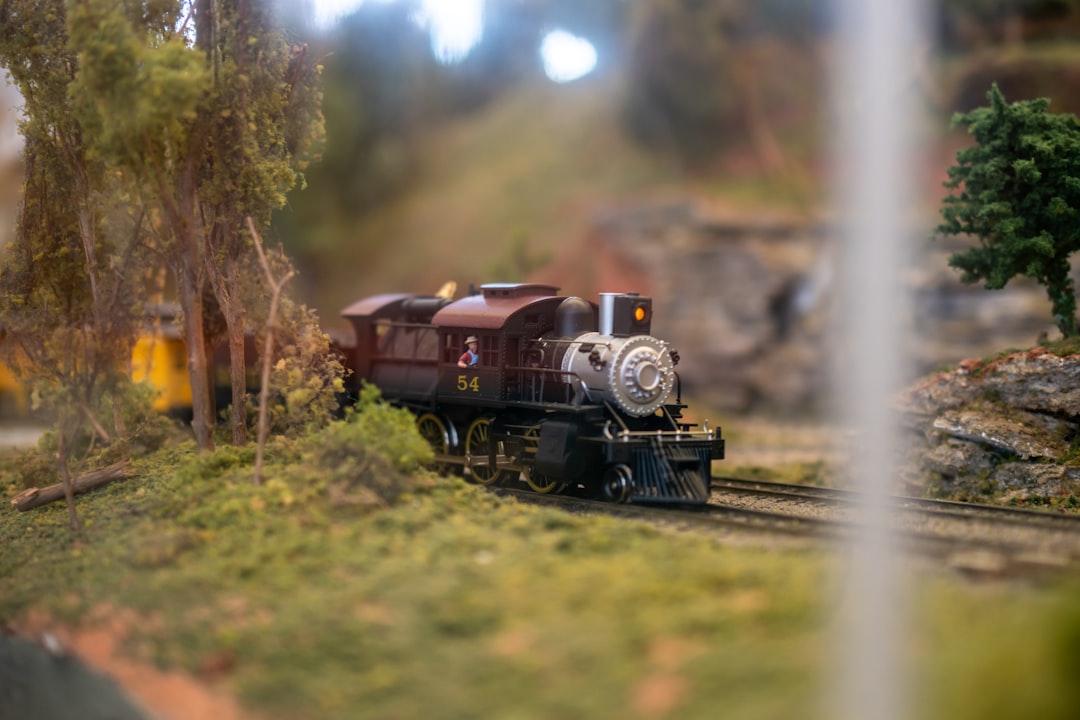
Now comes the fun part—adding realistic rock formations. Use natural rocks, cork bark, and sculpted foam to create varied textures and colors. Vary your rock sizes and arrange them in natural-looking patterns, as real mountains don't have uniform features. Paint your rocks with earth tones, grays, and browns, adding highlights with dry brushing to enhance dimension. Don't forget to include snow patches on higher elevations if your layout's climate calls for it.
For vegetation, strategically place lichen, moss, and model trees to break up rocky areas and add life to your mountain. Evergreen trees work wonderfully on mountain slopes, especially when you vary their heights and spacing. Leave some exposed rock visible—mountains aren't completely covered in trees. Add weathering effects with diluted black and brown paint to create shadows in crevices and suggest erosion patterns.
Tunnels are crucial mountain features that add operational interest. Plan your tunnel portals carefully, ensuring they align properly with your track. Paint tunnel interiors flat black or dark gray to create depth. Well-lit tunnels add realism, so consider installing LED lighting inside to illuminate trains as they pass through.
Finally, add scenic details that enhance realism. Mountain lakes, waterfalls, hiking trails, and small structures like mining operations or mountain lodges bring your mountain to life. These details tell a story and give viewers something interesting to discover.
Building a realistic mountain takes patience and planning, but the results are absolutely worth the effort. Your O-gauge layout will become a captivating miniature world that draws everyone's attention. Start small if you're new to mountain building, then tackle more ambitious peaks as you develop your skills. Happy building!
Newsletter
Weekly O-gauge tips & reviews
New reviews, layout ideas, and hobby news — straight to your inbox.