How to Add Realistic Lighting to Your O-Gauge Layout
April 8, 2026
If you're reading this you're probably one Reddit thread or YouTube rabbit hole deep. Here's the version I wish I'd had — practical, specific, no fluff.
Why Lighting Makes or Breaks a Layout
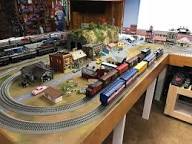
You can have the most detailed scenery and the finest locomotives on the market, but if your layout is lit with a single overhead fluorescent tube and nothing else, it's going to look flat. Lighting is one of the fastest, most affordable upgrades you can make to an O-gauge layout—and the results are immediate. A few well-placed LEDs can make a small 4x8 layout look like a real railroad town at dusk.
This guide covers the core techniques: overhead fascia lighting, street lamps and signals, building interiors, and under-layout LED strips. Whether you're running Lionel FasTrack or Gargraves, the principles apply across the board.
---
Start With Overhead Lighting
Before you light anything on the layout itself, get control of the light hitting it from above. Harsh overhead shop lighting creates glare and washes out colors, especially on lighter scenery like snow scenes or desert terrain.
The goal is soft, diffused, directional light that mimics early morning or late afternoon sun. Here's what works:
- LED shop lights with a warm color temperature (2700K–3000K) hung 18–24 inches above the layout surface give a natural, golden tone that makes everything look better.
- Positioning matters. Mount lights at a slight angle rather than directly overhead to create shadows in scenery, which adds depth.
- Dimmers are worth every penny. A simple inline dimmer lets you dial in the right ambiance and simulate different times of day.
---
Street Lamps and Platform Lights
This is where O-gauge really shines—literally. Because O-scale is large enough to accommodate working bulbs inside small fixtures, the hobby has a huge selection of operating street lamps, platform lamps, and signal lights.
Lionel's own accessories include working street lamps in several styles (coachman, modern, and freight yard varieties). These are easy to wire: most accept standard 14–18V AC from an accessory terminal on your transformer.
For a more budget-friendly approach, third-party O-scale street lamps from Woodland Scenics and Model Power are widely available and accept small grain-of-wheat bulbs or pre-installed LEDs. Many hobbyists replace the original bulbs with warm white LEDs (3mm or 5mm) to reduce heat and extend lamp life dramatically.
Wiring tip: Run a dedicated accessory bus along the underside of your layout using 18-gauge wire. Tap individual lamps off this bus rather than daisy-chaining from lamp to lamp. This keeps voltage consistent and makes troubleshooting much easier later.
---
Building Interiors
Lit building interiors are a game-changer for nighttime scenes. The glow of a diner window or a factory floor visible through industrial skylights adds storytelling you can't get any other way.
The simplest approach: warm white LED strip tape inside hollow buildings. Most O-scale structure kits (Lionel, MTH, Woodland Scenics Design Preserve, and Atlas O all make them) have hollow interiors. Cut a short strip of 12V warm white LED tape, stick it to the ceiling inside the building, and wire it to a small 12V wall adapter or your accessory bus through a voltage regulator.
For extra realism: - Use orange-tinted cellophane over windows to simulate incandescent warmth. - Leave some buildings unlit — not every building is open at night, and the contrast makes the lit ones pop. - Add paper or printed interior scenes (available as free downloads from several model railroad sites) visible through the windows.
---
Under-Layout Accent Lighting
This one surprises people: lighting the underside of the layout fascia with a cool blue LED strip creates a subtle halo effect that makes the entire layout appear to float. It's a technique borrowed from stage design, and it works beautifully in a darkened train room.
Use cool white or light blue 5050 LED strip rated for 12V, mounted along the bottom edge of the layout valance facing downward. Pair it with a dimmer so you can adjust the intensity.
---
Putting It All Together: The "Golden Hour" Setup
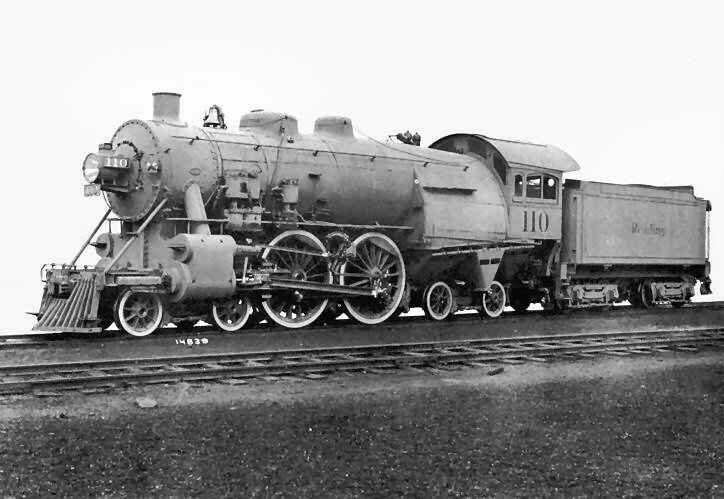
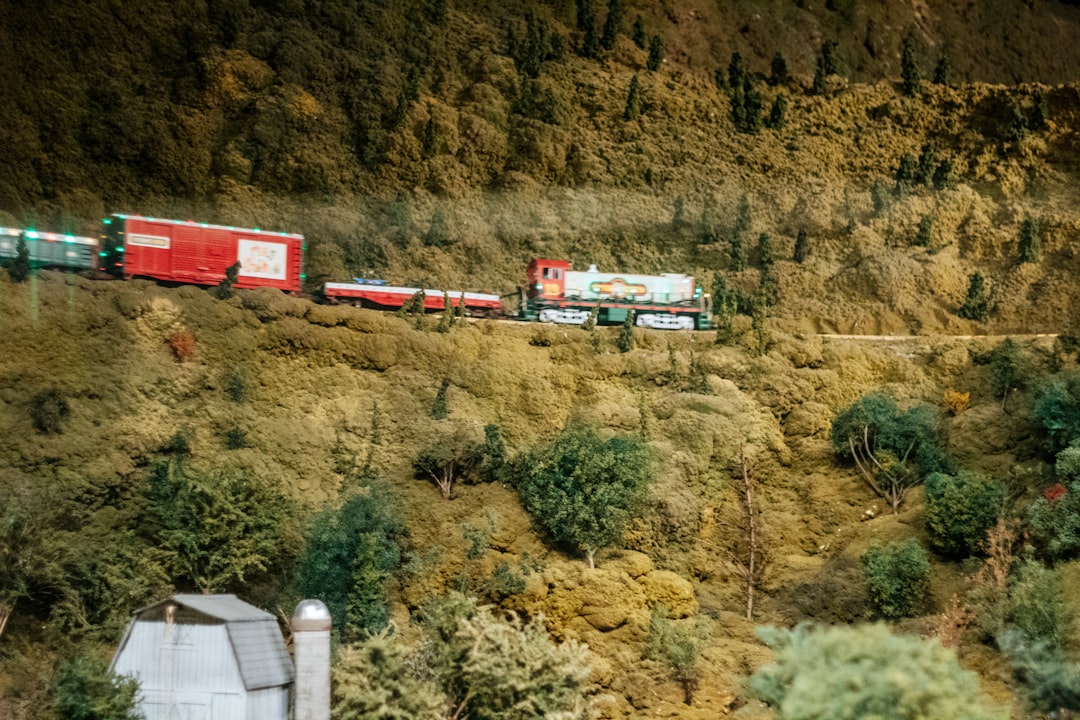
For the best overall effect, aim for what photographers call golden hour: warm overhead light at low intensity, lit building interiors, glowing street lamps, and a cool blue fascia accent. Run a Lionel steam locomotive past a small town scene under these conditions and the result is genuinely striking.
Here's a quick budget breakdown for a 4x8 layout:
| Item | Estimated Cost | |---|---| | 2x warm LED shop lights + dimmer | $40–$60 | | 6–8 O-scale street lamps (LED) | $30–$50 | | LED strip tape + 12V adapter | $15–$25 | | Interior lighting supplies | $10–$20 | | Total | $95–$155 |
That's a significant visual upgrade for under $200—far less than a new locomotive, and arguably more impactful to first-time visitors.
---
Final Thoughts
Lighting is one of those layout upgrades that rewards you every single time you run your trains. Start with the overhead light source, add a few street lamps to your main scene, and drop some LED strips into your most detailed buildings. You'll immediately see why experienced operators treat layout lighting as a core part of the hobby, not an afterthought.
Newsletter
Weekly O-gauge tips & reviews
New reviews, layout ideas, and hobby news — straight to your inbox.