How to Weather Your O-Gauge Locomotives for a Realistic Look
May 8, 2026

I bought, broke, fixed, or watched a friend wreck most of what's covered here. This is the honest take from someone with a working layout, not a content farm.
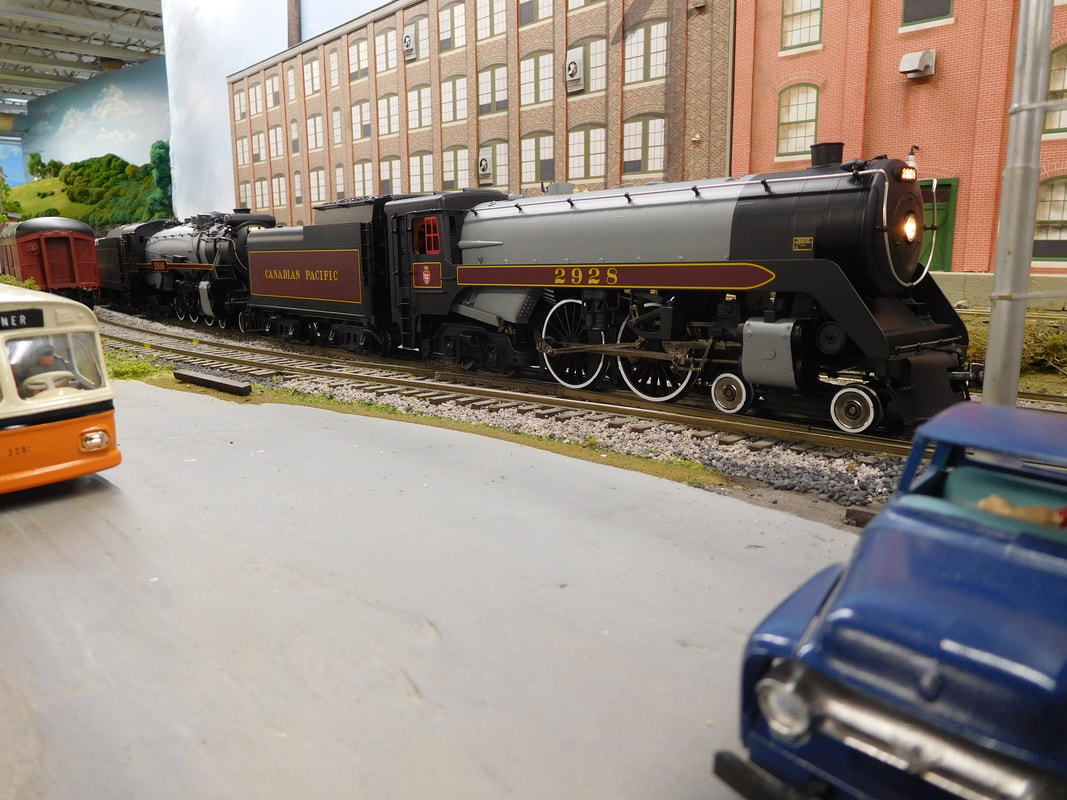
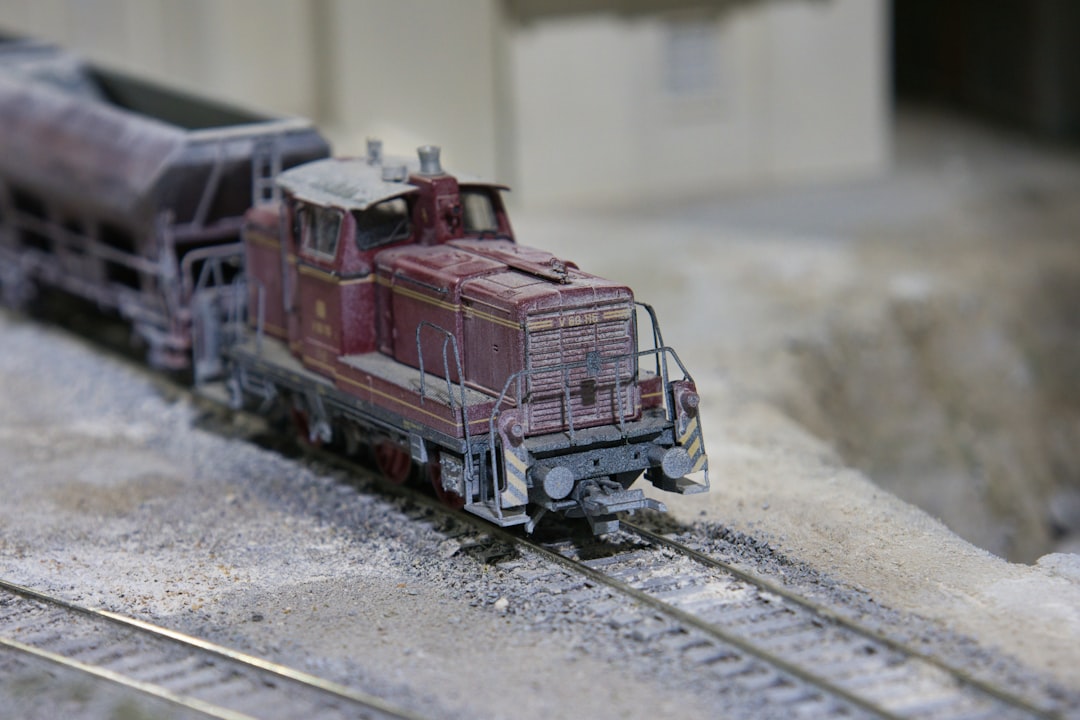
Walk through any club layout or train show and you will spot the difference instantly: some locomotives look like they just rolled off the showroom floor, and others look like they have been hauling coal across the Allegheny Mountains for thirty years. The second group sells the vibe. Weathering — the deliberate, controlled application of dirt, rust, soot, and grime — is the single highest-impact technique in the O-gauge hobby. It is also the one most beginners avoid because they are scared of ruining a $400 locomotive. This guide walks through the safe, reversible weathering techniques that turn a factory-fresh Lionel into a believable working engine.
Why Weathering Matters for Vibe Trains
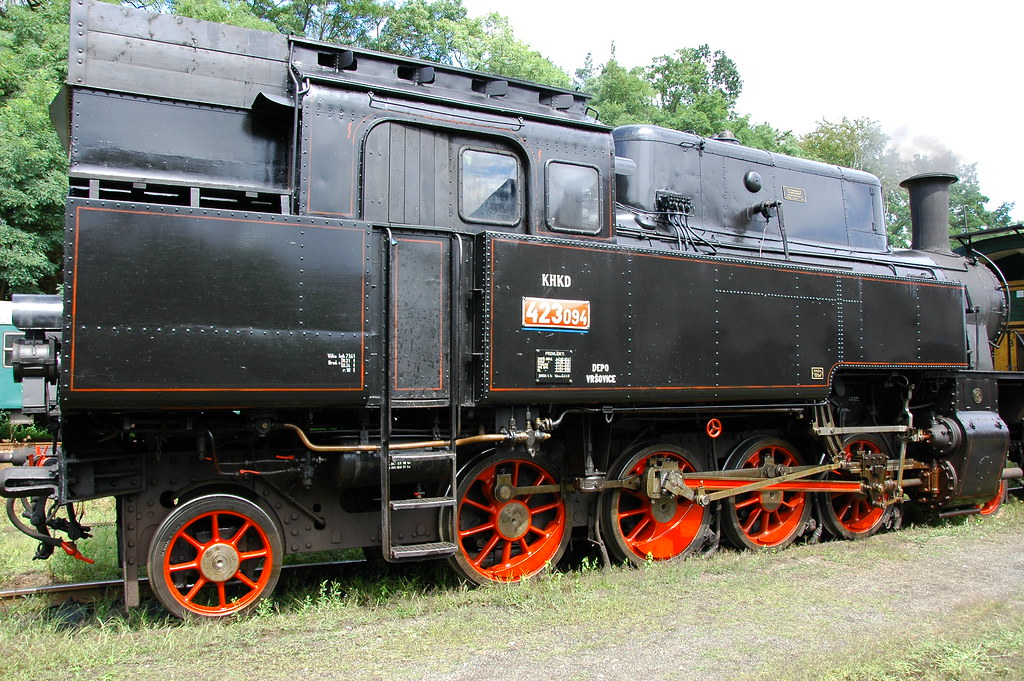
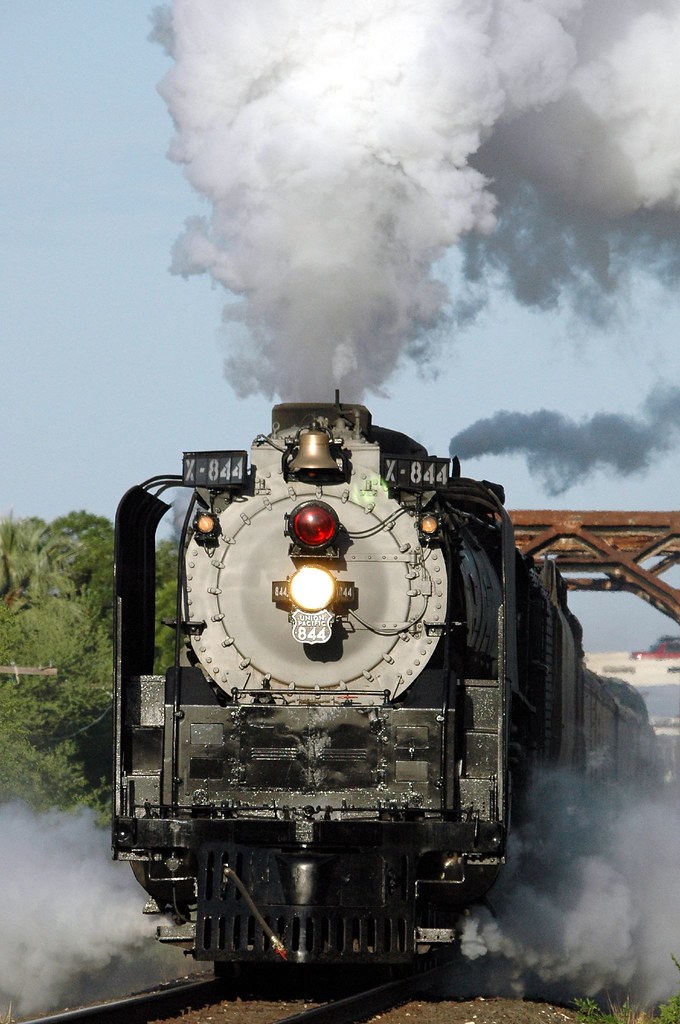
Real locomotives accumulate dirt. Steam engines develop white calcium streaks under the boiler from leaking water. Diesels collect black exhaust soot above the radiator vents and brake-shoe rust on the trucks. Trucks and couplers turn nearly black from oil and grime. When a perfectly clean model rolls past a weathered freight car, your eye registers the mismatch immediately — even if you cannot articulate why. Weathering aligns the locomotive with the rest of the scene and makes the entire layout read as a real place. For a broader take on what makes a layout feel alive, see our vibe trains beginner guide.
Tools and Materials You Need
You do not need an airbrush to start. The most beginner-friendly approach uses three categories of materials: weathering powders (Bragdon, AK Interactive, Tamiya), thin enamel washes (AK Interactive Engine Grime, Vallejo Model Wash), and a soft flat brush. A bottle of Testors Dullcote spray sealer locks everything in place when you are done. Total investment to get started is under $50. Add a cheap airbrush kit later if you decide to commit. You can browse weathering powders on Amazon to compare options.
Start with a Test Subject
Never weather your most expensive locomotive first. Pick a $30 freight car or a beater LionChief diesel from eBay and practice on that. The skills transfer one-for-one, but the consequences of a mistake are dramatically lower. Spend a weekend weathering three or four cheap freight cars before you touch your Vision Line Hudson. This is the single most important rule new modelers ignore.
Step-by-Step: Basic Locomotive Weathering
Wipe the model down with isopropyl alcohol on a soft cloth to remove finger oils. Mask any windows or details you do not want touched with thin painter's tape. Mix a thin black-brown enamel wash and brush it into every panel line and rivet detail — the wash flows by capillary action into the recessed areas and instantly creates depth. Wipe excess off the raised surfaces with a clean cloth before it dries. This single step, called a "panel wash," makes more visual difference than any other technique. For diesels, add a vertical streak of brown-black wash below each radiator vent to simulate exhaust soot. For steam engines, drag a thin white-gray wash downward from the boiler bands to simulate calcium leaks.
Weathering Powders for the Final Vibe
Once the wash dries, apply weathering powders with a soft flat brush. Brown-rust powder goes on the trucks, couplers, and lower body skirt — anywhere that would catch road grime. Light gray "dust" powder gets dusted across the roof and tops of the cars to simulate accumulated dust. Black soot powder goes around exhaust stacks and diesel radiators. Powders are forgiving — if you go too heavy, brush them off and start over. When the look is right, seal everything with two light coats of Testors Dullcote held about 12 inches from the model. The Dullcote unifies the surface sheen and locks the powders in place permanently.
Common Mistakes to Avoid
The biggest beginner mistake is overdoing it. A locomotive should look used, not abandoned. Step back from the model every few minutes and look at it from across the room — that is how viewers will see it on your layout. If the weathering is screaming at you, dial it back. The second mistake is not testing on scrap first; the third is forgetting to seal with Dullcote, which means the powders rub off the first time you handle the engine. For more layout-focused tips, see our vibe train room setup guide.
Where Weathering Fits in the Hobby
Weathering is the bridge between toy-train operation and scale modeling. Once you weather your first locomotive and see what it does to the overall feel of your layout, you will not go back to factory-fresh paint. Plan your fleet accordingly: heavy weathering on freight power, light weathering on passenger engines, and tasteful selective weathering on display models. The vibe rewards restraint and observation more than any specific technique. Browse cheap O-gauge freight cars on Amazon to start practicing tonight.
Newsletter
Weekly O-gauge tips & reviews
New reviews, layout ideas, and hobby news — straight to your inbox.