How to Wire Multiple Blocks on Your O-Gauge Layout for Independent Train Control
August 10, 2026

Block wiring divides your O-gauge layout into electrically isolated sections that can be powered independently. Block wiring enables running multiple trains simultaneously with conventional (non-command) control, easier troubleshooting when problems occur, and reliable command signal delivery on layouts running LEGACY or TMCC. This vibetrains.com guide walks through complete block wiring for O-gauge layouts: block design principles, insulated rail joiners, wiring approaches for both conventional and command control operation, and DIY installation procedures.
Quick Answer: Block Wiring Basics
Block wiring divides your layout into electrically isolated sections using insulated rail joiners at block boundaries. Each block gets its own power feeder from the transformer (or command base). Toggle switches or command control enables independent power to each block. For conventional operation: multiple blocks allow multiple trains to run at different speeds. For LEGACY or TMCC command control: blocks improve command signal delivery and enable troubleshooting isolation. Total installation: 30-60 minutes per block for wiring, plus insulated rail joiners at each boundary. Basic materials: $20-$50 for a 4-block layout.
Why Block Wiring Matters
Layouts with only single-block wiring have limitations:
Conventional operation constraint: Without blocks, multiple locomotives on the same powered track all run at the throttle setting. You can't have one locomotive stopped while another runs.
Command control weakness: Command signals (LEGACY, TMCC) degrade over long track runs. Multiple blocks with independent feeders keep command signals strong throughout the layout.
Troubleshooting difficulty: A short circuit or wiring problem on single-block layouts affects the entire layout. On block-wired layouts, problems isolate to specific blocks.
Zone-based operations: Different track areas can operate independently — active mainline while the yard is powered off, for example.
Block wiring is standard practice for any serious O-gauge layout beyond starter set size.
Block Design Principles
Where you place block boundaries determines how useful your block wiring is:
Divide by operational zones: Main line, yard, industrial spurs, passing sidings. Each operational zone typically wants its own block.
Reasonable block length: 4-12 feet per block is typical. Too short creates excessive wiring complexity. Too long defeats the purpose.
Isolation points at yard entrances: Yards need dedicated block wiring separate from mainline operations. Yard blocks let you power off yard operations while mainline continues.
Reverse loop considerations: Reverse loops need special block wiring to prevent short circuits (for two-rail operation). Lionel three-rail avoids most of this complexity — reverse loops just work.
For LEGACY-specific setup context, see our LEGACY command base setup guide.
Materials You'll Need
Block wiring supplies:
Insulated rail joiners: Plastic rail joiners that create electrical breaks between adjacent track sections. Different track systems use different joiners (Lionel FasTrack, Atlas O, and traditional rail all have their own). Cost: $3-$8 per pack.
Wire: Bus wire (typically 14-16 gauge) for main power runs. Feeder wire (typically 18-22 gauge) for connections to individual track sections. Cost: $10-$25 for adequate wire for most layouts.
Terminal blocks: Distribution blocks that connect bus wire to multiple feeders. Screw terminal or spring terminal designs. Cost: $5-$15 per terminal block.
Toggle switches: Manual switches to control block power. Various styles available. Cost: $3-$10 per switch. Optional if using command control.
Wire strippers, soldering iron, solder: Basic wiring tools. Reusable across future projects.
Multimeter: For testing connections. Essential for troubleshooting.
Total materials for a 4-block layout: $30-$70. Reusable knowledge and tools apply to future block wiring.
Step 1: Plan Block Boundaries
Before running any wire, sketch your layout and mark block boundaries:
1. Identify operational zones (main, yard, sidings, industries).
2. Mark logical break points between zones. Typically at switches or in the middle of long straight sections.
3. Verify block lengths are reasonable — 4-12 feet each.
4. Note where the transformer/command base is located. Wire runs from central location to each block.
5. Document the plan for future reference.
Step 2: Install Insulated Rail Joiners
At each block boundary, replace conductive rail joiners with insulated (plastic) joiners:
1. Locate the boundary between blocks in your existing track.
2. Remove the conductive rail joiner from that connection.
3. Install an insulated rail joiner in its place.
4. Verify continuity between adjacent rails is broken. Use a multimeter to confirm no electrical connection across the boundary.
5. Repeat for every block boundary on your layout.
Note: for Lionel three-rail track, insulated joiners only need to be installed on the center rail (which carries power). The outer rails carry ground return and typically remain conductive throughout the layout.
Step 3: Run the Power Bus
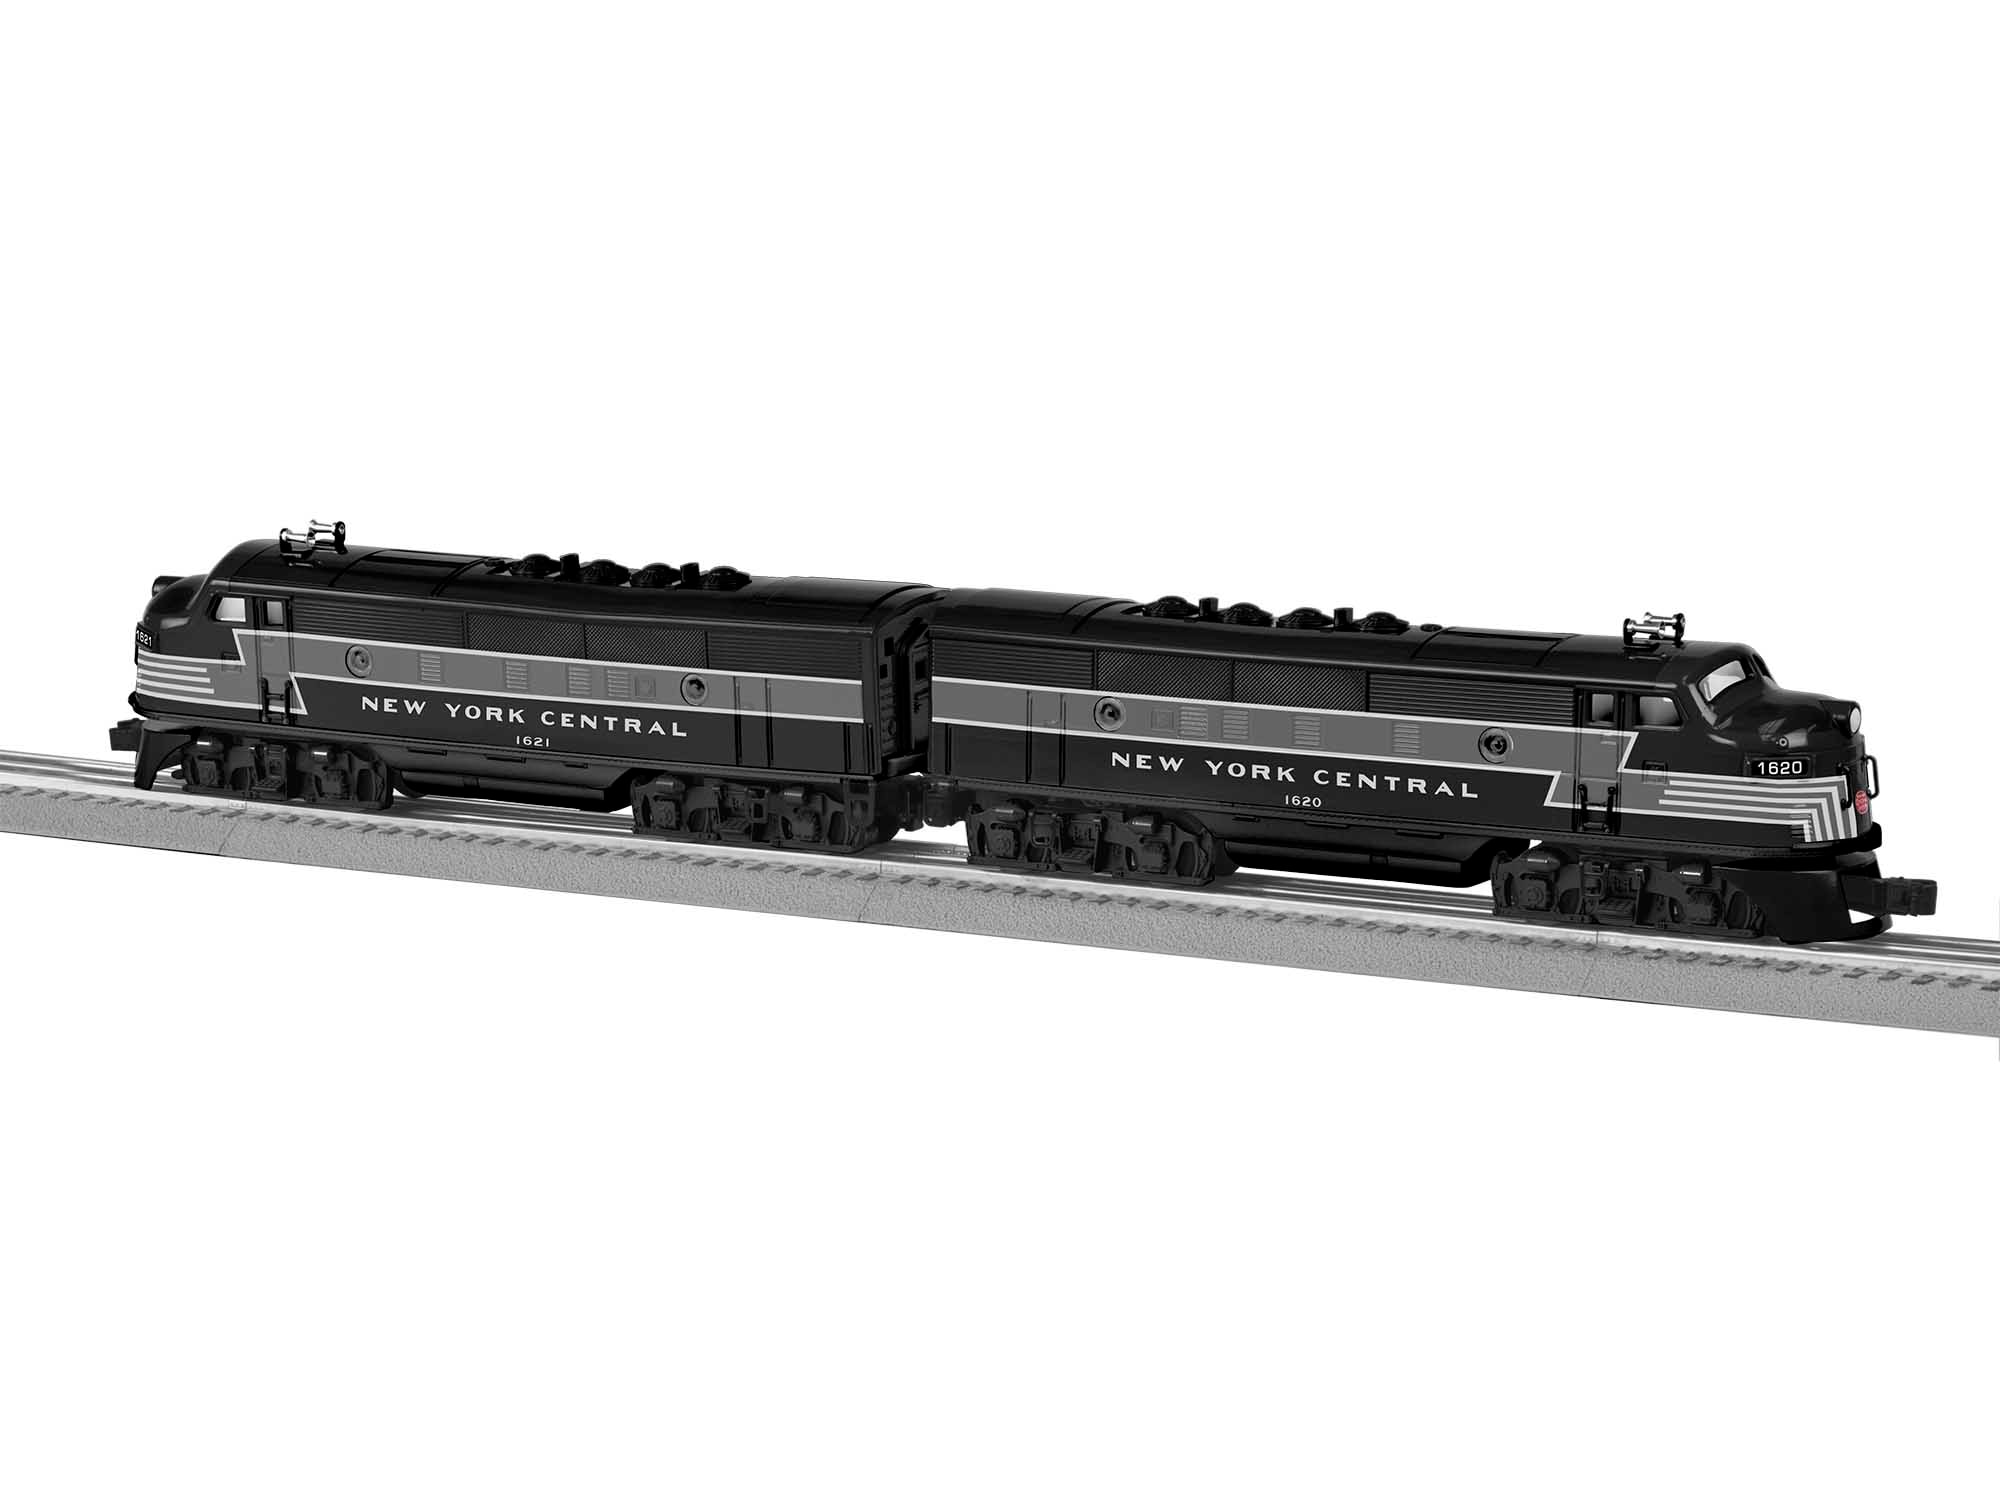
The power bus is a pair of heavy-gauge wires (14-16 gauge) that runs underneath your layout, following the general path of the track loop:
1. Route bus wire from the transformer/command base underneath the layout, following the general track path.
2. Use zip ties or wire clips to secure the bus underneath the layout table.
3. Terminate the bus at terminal blocks positioned near each block that needs power feeders.
4. Label everything as you install. Future troubleshooting is much easier with labeled connections.
Step 4: Connect Block Feeders
From each terminal block, run feeder wires up to the specific block track:
1. Solder feeder wire (18-22 gauge) to the underside of the center rail at the target block.
2. Route the feeder from the track down through a small drilled hole in the layout surface.
3. Connect the feeder to the terminal block below.
4. Repeat for every block that needs power.
Each block needs its own feeder connected to the power bus.
Step 5: Add Toggle Switches (For Conventional Operation)
For conventional control (non-command) operation, add toggle switches to enable independent block power:
1. Install toggle switches between the power bus and each block's feeder.
2. Position switches at your operating position for easy access during operating sessions.
3. Label switches with the block they control.
4. Test each switch — verify power reaches the block when the switch is on, no power when off.
For command control (LEGACY, TMCC) operation, toggle switches are optional — the command system handles individual locomotive control regardless of block wiring.
Step 6: Test the Complete System
After wiring is complete, verify operation:
1. Turn on the transformer. Verify power reaches every intended block through the switches (for conventional) or directly (for command).
2. Place a locomotive on each block in sequence. Verify smooth operation in each.
3. For command control, verify command signals reach every block. Test the command system on locomotives in each block.
4. Simulate a short circuit in one block. Verify other blocks continue operating.
5. Document all wiring for future reference.
Wiring for Command Control (LEGACY, TMCC)
Command control adds specific block wiring considerations:
Multiple feeder points: Command signals attenuate over long track runs. Add feeders every 6-8 feet on large layouts to maintain command signal strength.
Consistent phase: All feeders connecting to the same block must maintain consistent electrical phase. Reversed phase between feeders causes short circuits.
Command isolation: Some layouts wire command signals separately from track power to prevent command signal interference from track noise. Advanced setup, not required for typical layouts.
Block programming: LEGACY layouts can program specific blocks as "invisible" (yard/staging blocks) where locomotive automation happens off-scene.
Wiring Accessories on Separate Bus
Best practice: wire accessories (structure lighting, operating buildings) on a separate power bus from track power:
Separate transformer: Accessories connect to a dedicated accessory transformer, not the main track transformer.
Independent bus: Accessory bus runs underneath layout separately from track power bus.
Isolation from track: Accessories can't interfere with command signals when wired independently.
For accessory-specific wiring, see our O-gauge wiring guide.
Common Block Wiring Mistakes
Insufficient bus wire gauge: Undersized bus wire causes voltage drop across long runs. Use 14-16 gauge minimum for bus wire.
Skipping insulated joiners at boundaries: Missing insulated joiners defeat the purpose — power flows between blocks regardless of switch settings.
Poor labeling: Six months after installation, unlabeled wiring is a nightmare to troubleshoot. Label everything.
Ignoring phase consistency: Especially critical for large layouts with multiple feeder points per block.
Combining track and accessory power: Creates interference. Always separate these.
Frequently Asked Questions
What are blocks in model railroad wiring? Blocks are electrically isolated sections of track that can be powered independently. Block wiring enables independent train control (conventional), reliable command signal delivery (LEGACY/TMCC), and easier troubleshooting.
How many blocks does an O-gauge layout need? Small layouts (4x8): 2-4 blocks. Medium layouts (8x12): 4-8 blocks. Basement-filling layouts: 8-20 blocks. Depends on operational complexity and layout size.
Do I need block wiring for LEGACY? Not required but strongly recommended. Command signals weaken over long track runs; multiple blocks with independent feeders maintain reliable command control.
Can I add block wiring to an existing layout? Yes. Add insulated rail joiners at boundary points, run feeders from the transformer to each block, install optional toggle switches. Can be done incrementally without dismantling the layout.
What tools do I need for block wiring? Wire strippers, soldering iron and solder, screwdriver, multimeter for testing, insulated joiners for your track system, and various gauges of wire. Total tool investment $30-$80 for reusable equipment.
Final Word
Block wiring is one of the most impactful reliability upgrades for O-gauge layouts. An afternoon of installation transforms operation — independent train control, reliable command signals, easier troubleshooting. Start with 2-3 blocks on your existing layout, learn the techniques, then expand as needed. For related layout wiring topics, see our O-gauge wiring guide and LEGACY command base setup guide.
Newsletter
Weekly O-gauge tips & reviews
New reviews, layout ideas, and hobby news — straight to your inbox.